10 Must-Know Secrets for Amazing Telescope Photos

Exploring the universe through the lens of your telescope is akin to setting sail on an endless ocean, where each snapshot is a discovery waiting to happen.
You’ve likely marveled at the vibrant colors in Hubble images, understanding that these hues are not just for show but serve to reveal details unseen in mere black and white.
This is just the tip of the iceberg. To truly master the art of telescope photography and disclose the universe’s hidden marvels, you’ll need to know more than just the basics of colorization.
Set sail on this journey, and you’ll discover secrets that transform your celestial captures from ordinary to extraordinary, leaving you wondering what other mysteries lie just a click away.
Key Takeaways
- Opt for telescopes with large apertures and long focal lengths for detailed and vibrant celestial images.
- Use sturdy, adjustable tripods to ensure stability and precision in capturing the night sky.
- Combat light pollution by choosing dark locations and employing light pollution filters for clearer shots.
- Master post-processing with software like Adobe Photoshop to enhance clarity, color, and reduce noise in your astrophotography.
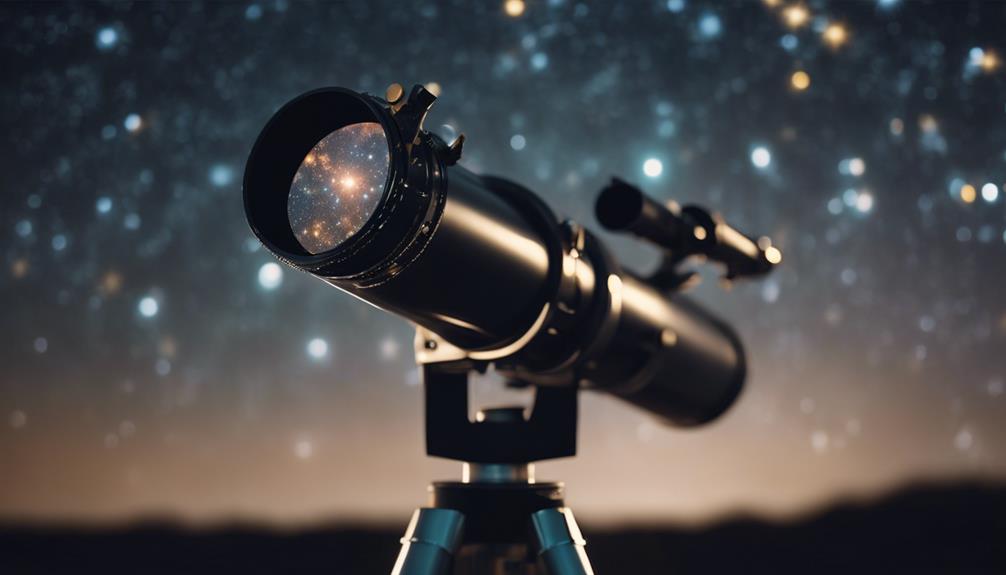
Choosing the Right Equipment
Starting on the journey of astrophotography, selecting the right equipment is pivotal, as it directly influences the quality and detail of the celestial wonders you’ll capture. Diving into the universe of stars and galaxies requires a telescope that doesn’t just skim the surface but plunges deep into the cosmos to bring back breathtaking images.
Opting for a telescope with a larger aperture is paramount. This isn’t just a suggestion; it’s a necessity. A larger aperture captures more light, allowing you to expose the intricate details and vibrant colors of distant nebulas and galaxies. It’s like opening a wider window to the universe, where every additional inch of aperture offers a clearer, more detailed view.
But it’s not just about how much light you can gather. The quality of the images you dream of capturing hinges on the focal length of your telescope.
A longer focal length magnifies your celestial subjects, bringing planets, moons, and distant stars into sharp, detailed focus. It’s about choosing a tool that transforms distant specks of light into vivid landscapes of other worlds. This decision defines your journey in astrophotography, guiding you closer to the cosmos with every shot you take.
Ensuring a Stable Setup
To capture the cosmos in all its glory, you can’t overlook the significance of selecting the right tripod. A robust tripod acts as the cornerstone of your setup, ensuring your telescope remains unwavering in its pursuit of the stars.
Mastering secure mounting techniques further guarantees your equipment’s alignment and tracking precision, essential for those breathtaking, crystal-clear celestial shots.
Choosing the Right Tripod
While starting on your astrophotography journey, selecting a sturdy tripod is essential to capturing those breathtaking celestial moments with unmatched clarity and stability. Just as the James Webb Space Telescope and Hubble Space Telescope have revolutionized our understanding of space through stability and precision, your tripod can elevate your astrophotography to new heights.
Consider these important aspects:
- Material: Opt for aluminum or carbon fiber to support your telescope’s weight effectively.
- Adjustability: Look for tripods with adjustable legs and a solid base for the best viewing angles and stability.
- Portability: Ensure the tripod is easily transportable for capturing celestial events from different locations.
- Investment: Prioritize quality to enhance your telescope’s performance and your astrophotography results.
Choosing the right tripod is a step towards revealing the secrets of the universe through your lens.
Secure Mounting Techniques
Once you’ve chosen a robust tripod, mastering secure mounting techniques becomes your next crucial step to making sure your astrophotography setup remains stable and ready to capture the universe’s marvels with precision.
A high-quality mounting system is key, not only for stability but also for the smooth tracking of celestial objects. Here’s how to guarantee your telescope is perfectly poised for those breathtaking shots:
| Requirement | Technique |
|---|---|
| Stability | Use a sturdy tripod or equatorial mount |
| Balance | Properly counterbalance telescope and camera |
| Precision Tracking | Invest in quality mounting with smooth controls |
| Weight Support | Ensure mount supports telescope and camera weight |
| Maintenance | Regularly check and adjust for alignment |
Embrace these techniques to transform your celestial photography, capturing the night sky’s grandeur with unparalleled clarity and beauty.
Achieving Perfect Focus
Mastering manual focus techniques and leveraging live view magnification are your keys to revealing astoundingly sharp telescope photos. By manually adjusting your telescope’s focus, you’re in control, fine-tuning the image to capture the universe’s intricate details with precision.
Using live-view magnification, you can zoom in on a star, ensuring that every celestial snapshot you take is as clear and detailed as the night sky itself.
Manual Focus Techniques
Achieving perfect focus in your telescope photos demands mastering the art of manual adjustment. You’ll meticulously manipulate the focus ring until each celestial body leaps into sharp, undeniable clarity.
To elevate your images beyond the ordinary and capture the ethereal dance of infrared light across the cosmos, embrace these manual focus techniques:
- Use the telescope’s highest magnification eyepiece to fine-tune focus, capturing intricate details of celestial wonders.
- Steer clear of relying solely on autofocus; manual control brings unmatched precision.
- Adjust the focus ring slowly and with patience, ensuring you don’t overshoot the best spot of clarity.
- Experiment with subtle focus adjustments, discovering the sharpness that brings your telescope photos to life.
Master these techniques, and watch as the universe reveals its secrets, one focused photograph at a time.
Live View Magnification
Harnessing the power of live view magnification on your DSLR camera, you can dial in the perfect focus for your telescope photography, ensuring each celestial object is captured with unparalleled sharpness.
This technical marvel lets you zoom in on a particular area of your image, allowing for meticulous adjustments until every star and planet pops with clarity.
For astrophotography enthusiasts, the ability to magnify the live view is a game-changer. It transforms the challenge of achieving pinpoint focus on distant celestial bodies into a manageable, even enjoyable task.
By manually fine-tuning the focus while zoomed in, you ensure that your telescope photos aren’t just images, but gateways to the cosmos, brimming with detail, precision, and the awe-inspiring beauty of the universe.
Minimizing Light Pollution
To capture the cosmos in all its glory, you’ll need to minimize light pollution, a pervasive issue caused by excessive artificial lighting that severely impacts the quality of astronomical images. As an astrophotographer, combating light pollution isn’t just about finding the right location; it’s about embracing techniques and technologies that preserve the dark sky.
Here’s how you can enhance the quality of your telescope photos by reducing light pollution:
- Choose Dark Sky Locations: Venture away from the glow of cities and towns. Selecting remote areas dedicated to dark sky preservation can greatly improve the clarity and depth of your astrophotography.
- Utilize Light Pollution Filters: Invest in filters designed to block out wavelengths of light emitted by common artificial sources. These filters can greatly reduce the orange glow that often plagues night sky photos.
- Shield Light Sources: Advocate for and implement the use of hoods or covers on outdoor lighting. Redirecting light downwards reduces spillage into the sky, making maintaining natural darkness important for capturing stellar images.
- Support Dark Sky Preservation Efforts: Engage with communities and organizations focused on reducing light pollution. Your advocacy not only benefits your astrophotography but also contributes to the global movement to preserve our night skies.
Mastering Exposure Settings

Mastering the intricate dance of aperture, shutter speed, and ISO is essential for capturing the universe’s grandeur through your telescope. These three pillars of exposure settings are your toolkit for exploring the vast expanse of the night sky, each adjustment a step towards perfection in your celestial photography.
Adjusting the aperture size is akin to tuning the eye of your camera, determining the depth of field and how much of the cosmic scene falls into sharp relief. A wider aperture lets in more light, essential for dimly lit stars and galaxies, but requires a delicate balance to maintain the sharpness across your image.
Shutter speed, on the other hand, dictates the duration for which your camera’s sensor is exposed to light. A slower shutter speed captures the faintest glimmers of distant stars, transforming them into brilliant points of light, but beware, as it can also introduce motion blur if not carefully managed.
Finally, ISO sensitivity is your ultimate tool in this cosmic conquest. A higher ISO brightens your image, making elusive celestial bodies stand out against the void. However, it’s a double-edged sword, as increasing ISO too much can introduce graininess into your galactic portraits.
Mastering these settings requires patience and relentless experimentation. Each adjustment is a step closer to revealing the night sky’s mysteries, from the subtle glow of nebulae to the crisp outlines of the moon’s craters. Plunge into this journey with passion, and the universe will expose its secrets to you, one shutter click at a time.
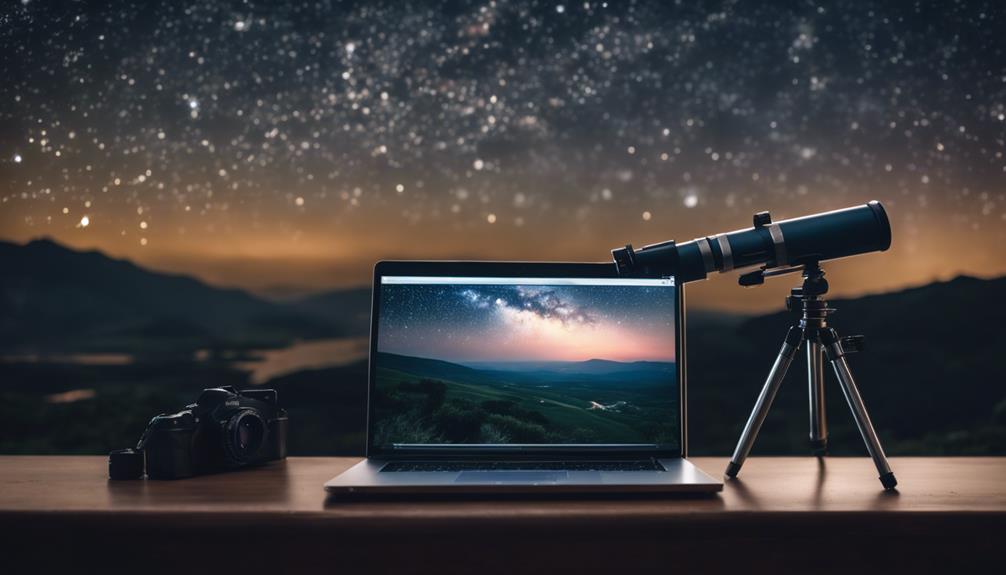
Post-Processing Techniques
Once you’ve captured the cosmos through your telescope, the magic of post-processing awaits to elevate your images.
You’ll meticulously adjust image clarity, commence on color correction strategies, and apply noise reduction tips to reveal the universe’s stunning details.
With tools like Adobe Photoshop and PixInsight at your fingertips, you’re set to transform raw captures into awe-inspiring celestial masterpieces.
Enhancing Image Clarity
Unveiling the full potential of your telescope photos hinges critically on mastering post-processing techniques, where software like Adobe Photoshop and Lightroom becomes your digital darkroom, allowing you to adjust contrast, brightness, and sharpness to reveal the cosmos’s hidden details.
The art of transforming raw celestial captures into stunning visuals is both a science and an art, honed over years and with each new image.
- Utilize calibration frames like flat and dark frames to reduce noise, enhancing the clarity of celestial bodies.
- Stack multiple exposures to increase the signal-to-noise ratio, making distant galaxies and nebulae pop.
- Adjust brightness and contrast to draw out the texture and structure of astronomical phenomena.
- Sharpen images judiciously to delineate edges without introducing artifacts, ensuring stars shine with crystal clarity.
Color Correction Strategies
To bring your telescope images to life, precise color correction is vital, allowing you to accurately portray the vibrant and subtle hues of celestial wonders.
| Technique | Purpose | Tool Suggestion |
|---|---|---|
| White Balance | Adjust for true color representation of stars | Adobe Lightroom |
| Color Saturation | Enhance the vividness of galaxies and nebulae | Adobe Photoshop |
| Hue Adjustment | Correct specific color casts in celestial objects | Adobe Lightroom |
| Contrast Enhancement | Highlight details by balancing light and dark | Adobe Photoshop |
| Color Balancing | Ensure natural hues across the image | Adobe Lightroom |
Through meticulous color correction, you’ll transform your telescope photos into breathtaking depictions of the cosmos, capturing the essence of celestial objects in their true colors. Embrace these techniques to make your images resonate with the beauty of the universe.
Noise Reduction Tips
After mastering color correction, you’ll want to tackle the noise that can obscure the stunning details in your telescope images, turning to post-processing techniques for pristine clarity. Embrace these noise reduction techniques with a blend of passion and precision:
- Utilize software tools like Adobe Lightroom or PixInsight, specifically designed to cleanse your telescope photos of unwanted noise.
- Apply stacking strategies to multiply your images, greatly improving the signal-to-noise ratio, a cornerstone in astrophotography.
- Integrate dedicated noise reduction plugins such as Topaz DeNoise AI or Nik Collection’s Dfine, engineered for the nuanced demands of telescope imagery.
- Experiment with luminance and color noise reduction sliders, fine-tuning to achieve that delicate balance between noise reduction and the preservation of celestial details.
These methods will elevate your telescope photos from merely captured to meticulously crafted celestial masterpieces.
Timing Celestial Events
Mastering the art of timing celestial events is important for astrophotographers aiming to capture the universe’s most fleeting and spectacular moments.
This precise timing involves knowing exactly when astronomical phenomena, such as planetary alignments, meteor showers, and eclipses, grace the night sky. It’s the cornerstone of astrophotography that separates the memorable shots from the mundane.
To nail this, you’ll need to dive deep into the schedules and patterns of these celestial events. Tools like Stellarium and NASA’s SkyWatch have become essential, offering detailed forecasts of when and where these phenomena will occur. It’s not just about marking your calendar; it’s about syncing with the cosmos, ensuring you’re ready at the perfect moment.
Furthermore, your vigilance for clear skies is critical. Monitoring weather conditions is non-negotiable, as clarity is the gateway to capturing sharp, detailed images. You’re at the mercy of nature, and she demands respect and preparation.
To add to that, understanding the best times and locations for these events can dramatically enhance your results. Positioning yourself strategically for the best lighting and visibility not only elevates your images but also immortalizes your connection with the celestial dance. This meticulous approach to timing celestial events is what transforms astrophotography from a hobby into an art.
Remote Imaging Tips
Delving into remote imaging, you’ll find that leveraging the power of telescopes situated in dark, serene locations can dramatically elevate your astrophotography, offering unparalleled clarity and detail in your celestial captures. This technique allows you to escape the blight of light pollution, capturing astronomical images that are breathtaking in their precision and beauty. With remote imaging, the night sky reveals its secrets in ways you’ve never seen before.
Consider these essential aspects to enhance your remote imaging experience:
- Advanced Cameras and Filters: Utilize cutting-edge cameras and specialized filters designed for precise data collection. These tools are vital in isolating specific wavelengths of light, ensuring your astronomical images aren’t only stunning but also scientifically valuable.
- Dark Skies Access: Opt for telescopes located in remote observatories. These sites are meticulously selected for their dark skies, providing a canvas black and vast enough to bring out the faintest cosmic features.
- Weather Monitoring Systems: Leverage sophisticated weather monitoring systems. These systems predict the best conditions for astrophotography, ensuring your efforts yield high-quality photos without the interference of clouds or poor visibility.
- Strategic Site Location: Embrace locations chosen for minimal artificial light interference. The strategic positioning enhances image clarity and accuracy, making your captures as true to the cosmos as possible.
Cultivating Patience and Practice
Embracing the art of astrophotography demands not only technical skill but a patient temperament, as capturing the cosmos’s awe-inspiring beauty hinges on waiting for those perfect moments under the stars.
You’ll find that patience is your best companion in this journey, where the celestial dance doesn’t adhere to our earthly schedules. Waiting for ideal conditions is more than a test of will; it’s a fundamental step in capturing the universe’s splendor through your telescope.
| Aspect | Role of Patience | Role of Practice |
|---|---|---|
| Framing | Awaiting the perfect composition | Refining your ability to capture vastness or detail |
| Focusing | Waiting for clear skies | Sharpening your skills to achieve crisp images |
| Exposure | Timing for celestial events | Experimenting with settings for best light capture |
Practice, intertwined with patience, propels you forward. Each session with your telescope, adjusting focus, experimenting with exposure, and refining framing, not only hones your technical abilities but deepens your connection with the night sky.
As you persevere, learning to wield your tools with precision, the clarity and detail of your astrophotography will soar, transforming patience and practice into the keystones of capturing breathtaking telescope photos.
Advanced Equipment Selection

To elevate your astrophotography to celestial heights, carefully selecting advanced equipment is essential, focusing particularly on telescopes with large apertures for superior light capture and image detail. The aperture isn’t just a number; it’s your gateway to the cosmos, allowing you to unravel the mysteries of the night sky with unparalleled clarity and depth.
To fine-tune your celestial quest, consider these critical elements:
- Large Aperture: The larger the aperture, the more light you’ll gather, enhancing both the clarity and detail of your astrophotographs. This is fundamental in revealing the faintest stars and most intricate nebulae structures.
- Focal Length: Your telescope’s focal length dictates its magnification power and field of view, allowing you to tailor your setup for wide-field galaxy shots or detailed planetary imaging.
- Mount Type: Whether it’s an equatorial or alt-azimuth, the right mount aligns with your astrophotography ambitions, offering precise tracking and stability for those long exposure captures.
- Sturdy Support: A robust tripod or mount minimizes vibrations, ensuring that your long-exposure shots remain sharp and free from blurring.
Investing in quality camera adapters and filters further refines your connection between telescope and camera, ensuring your imaging setup is optimized for capturing the universe in its full glory.
Frequently Asked Questions
What Is the Best Way to Take Pictures Through a Telescope?
To take pictures through a telescope, you’ll need to focus on camera settings, assure mount stability, and manage light pollution. Perfecting these aspects lets you capture the cosmos with breathtaking clarity and vivid detail.
What Is the Most Detailed Image of the James Webb Telescope?
The most detailed image from the James Webb Telescope showcases a molecular cloud, revealing deep field exploration, infrared capabilities, and cosmic composition analysis, offering a passionate glimpse into the birth of stars and planets.
What Allows the Webb Telescope to Take Such Amazing Images?
You’re witnessing Webb’s wonders thanks to its advanced optics, infrared capability, and unique location advantage. This trio transforms views, revealing the universe’s hidden beauties and sharpening shots of celestial scenes with spectacular specificity.
Are James Webb Photos Real?
Yes, James Webb photos are real. Despite public skepticism, advanced technology guarantees image authenticity. Capturing infrared light, it reveals cosmic secrets, from star births to distant galaxies, with precision and integrity. You’re witnessing true cosmic art.
Conclusion
Now that you’ve got the ins and outs of capturing the cosmos, remember, Rome wasn’t built in a day. Your journey to stellar photography will be sprinkled with trials and triumphs.
Embrace each shot’s unique narrative, from choosing your gear to revealing the night sky with your lens. Let patience be your guide, and practice your compass.
With every click, you’re not just taking photos; you’re exposing the universe’s hidden symphonies. So, aim high, shoot for the stars, and capture the magic.