10 Must-Know Tips for Stellar Telescope Photography

When astrophotographer Alice Riggs captured the Horsehead Nebula in stunning clarity, she didn’t just point her telescope at the sky and hope for the best. She followed specific techniques that you’ll need to master if you’re aiming for similar success.
From choosing the right equipment to understanding how to post-process your images, there’s a wealth of knowledge to acquire. You’re probably wondering what it takes to turn your night-sky photographs from good to great. While I can’t spill all the secrets just yet, I will say that focusing on the basics is only the beginning.
Let’s explore how advanced preparation and the right settings can elevate your telescope photography, leaving you with images that not only capture the beauty of the cosmos but also showcase your skills as a photographer.
Key Takeaways
- Select a telescope and camera that excel in low-light conditions and support manual focus for sharp images.
- Master manual focusing and utilize tools like Bahtinov masks for unparalleled sharpness in capturing celestial objects.
- Employ post-processing techniques and software to enhance image sharpness, reduce noise, and correct color for professional results.
- Combat light pollution with narrowband filters and use advanced accessories like camera trackers for optimal astrophotography success.
Choosing the Right Telescope
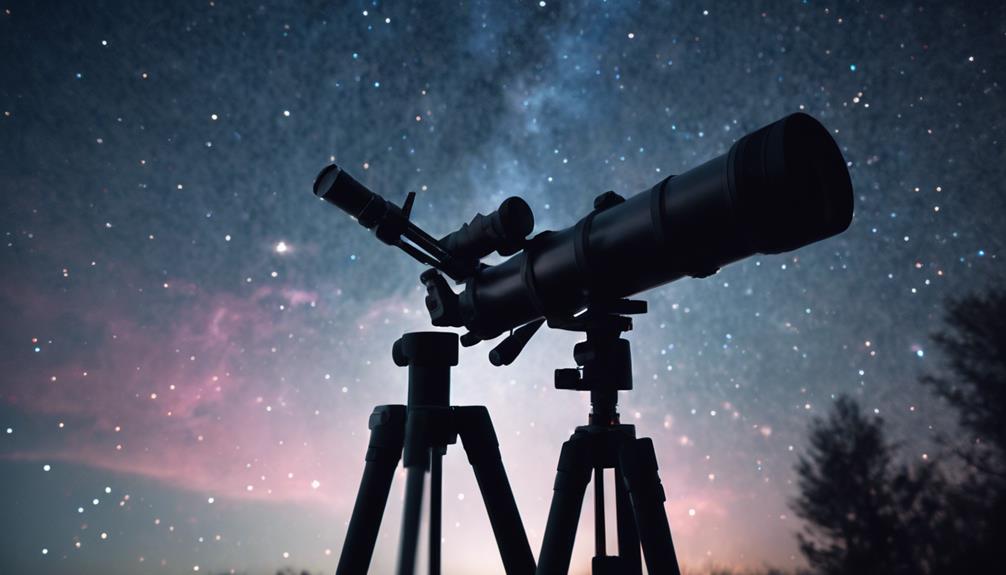
Selecting the ideal telescope is a significant step in capturing the awe-inspiring beauty of the cosmos, requiring careful consideration of aperture size, focal length, and the type of optics that best suit your astrophotography ambitions.
The aperture size of your telescope is critical; it dictates the light-gathering capability, directly impacting your ability to see and photograph faint celestial objects. A larger aperture means a brighter, clearer image, but don’t forget about portability and your budget.
Focal length determines your field of view and magnification, shaping the types of celestial bodies you can capture with clarity. Whether you’re zooming in on distant galaxies or capturing wide-field star clusters, your telescope’s focal length sets the stage for what’s possible in your astrophotography journey.
Choosing between a refractor, reflector, or compound telescope hinges on your specific imaging goals. Refractors are renowned for their sharp, contrast-rich images, making them ideal for lunar and planetary photography. Reflectors, offering larger apertures at more accessible prices, are excellent for deep-sky imaging. Compound telescopes blend the best of both, though they come with a higher price tag.
Don’t overlook the importance of mount type. An equatorial mount, though more complex, facilitates accurate tracking of celestial objects across the night sky, essential for long-exposure astrophotography. Ultimately, quality optics and coatings are non-negotiable. They enhance image clarity, contrast, and overall visual performance, ensuring your celestial captures aren’t just seen, but truly experienced.
Selecting a Compatible Camera
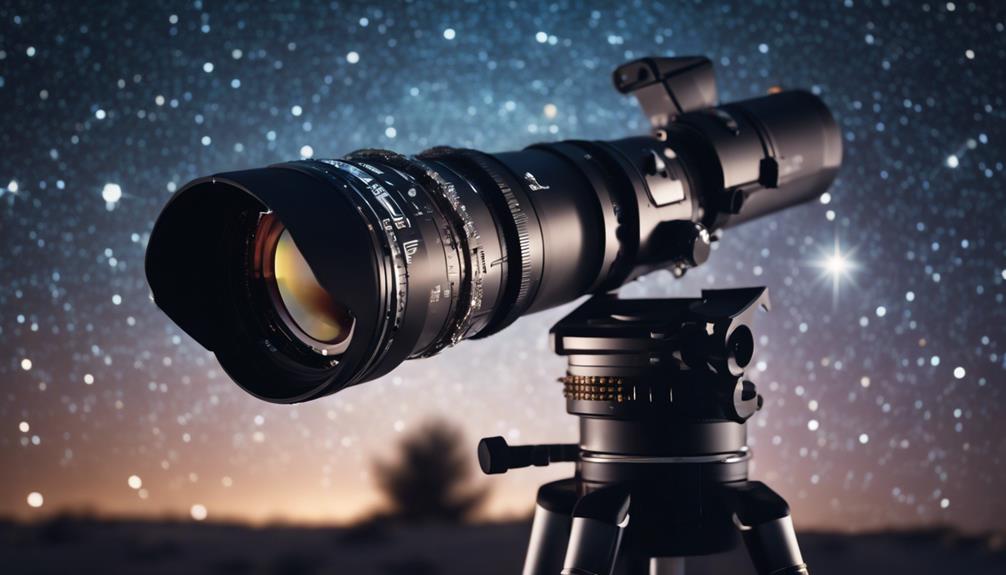
Once you’ve chosen the ideal telescope, finding a camera that complements its capabilities is essential for astrophotography success. Delving into the night sky’s mysteries demands a camera that’s not just any run-of-the-mill device but a powerful tool tailored for the dark, expansive canvas above us.
When you’re in the market for such a camera, consider the following:
- Choose a camera with manual mode and compatibility with telescope attachments for precise control over every shot. This allows you to adjust settings like shutter speed, ISO, and aperture to match the night’s demands perfectly.
- Look for DSLR or mirrorless cameras with exceptional low-light performance and high ISO capabilities. These cameras will become your trusted companions, capturing the faintest celestial lights with clarity.
- Opt for cameras with larger sensors and high megapixel counts. This guarantees your captures of celestial objects are brimming with detail, ready to disclose the universe’s secrets in your photos.
- Make sure the camera supports long exposure times. This is critical for astrophotography, as longer exposures allow more light to reach the sensor, revealing the night sky’s wonders that are invisible to the naked eye.
Selecting the right camera is a pivotal step in your astrophotography journey, setting you on a path to capturing the night sky’s breathtaking beauty with your telescope.
Understanding Mount Stability
Achieving impeccable astrophotography requires a steadfast focus on mount stability, a cornerstone in preventing the blur of star trails during long exposures.
Without it, you’re left with less than stellar results, far from the sharp images of celestial objects you’re aiming for. Stability isn’t just a necessity; it’s vital, especially when capturing detailed images of planets, stars, and deep-sky objects.
Equatorial mounts are your best ally in this endeavor. They’re engineered to compensate for Earth’s rotation, ensuring that your targets remain in steady focus throughout extended exposure times.
However, achieving this level of precision isn’t just about having the right equipment; it’s about mastering its setup. A properly balanced and aligned mount is paramount for high-quality telescope photos.
| Key Factor | Why It Matters |
|---|---|
| Equatorial Mounts | Compensate for Earth’s rotation, reducing star trailing. |
| Stability | Essential for capturing detailed, sharp images. |
| Extended Exposure | Allows for detailed captures of deep-sky objects. |
| Proper Balance | Prevents movement and vibration, vital for sharpness. |
| Alignment | Ensures celestial objects remain in the frame during tracking. |
Mastering Focus Techniques
As you venture into the world of telescope photography, mastering focus techniques becomes essential for capturing sharp star images.
You’ll find that manual focus, guided by high-contrast celestial objects, offers unparalleled precision and detail in your astrophotographic endeavors.
Embracing manual focus best practices, such as using focusing aids and fine adjustments in live view, will greatly elevate the quality of your celestial captures.
Achieving Sharp Star Images
To capture the crisp, intricate beauty of stars through your telescope, mastering manual focusing techniques is essential. Achieving sharp star images transforms your telescope photography from ordinary to extraordinary. Here’s how you can guarantee clarity and detail in every celestial shot:
- Use the infinity focus point on your lens as a starting point during daylight; it’s a critical step for precise night-time focusing.
- Overcome the challenge of focusing in low light by practicing and refining your skills.
- Enhance the quality and clarity of your images by routinely practicing on stars.
- Remember, the combination of the right focal length, light capturing, and manual focusing techniques is key to capturing sharp images.
Your dedication to mastering these techniques will reveal the full potential of your telescope photography, allowing stars to shine in their full glory.
Manual Focus Best Practices
Mastering manual focus techniques is important for capturing the unparalleled beauty of the night sky through your telescope. In astrophotography, achieving sharp star images hinges on your ability to manually focus with precision.
Marking the infinity focus point on your lens during daylight can dramatically improve your nighttime focusing speed and accuracy. This practice is essential for overcoming the inherent challenges of manual focusing in telescope photography.
Here’s a deeper look into manual focusing:
| Technique | Benefit | Application |
|---|---|---|
| Marking Infinity Point | Quick, accurate nighttime focusing | Pre-observation |
| Manual Focusing | Sharp, clear star images | During observation |
| Practice | Improved precision and confidence | Pre and post-observation |
| Reviewing Results | Identifying areas for improvement | Post-observation |
| Patience | Achieving stunning results | Throughout |
Mastering these techniques is fundamental to capturing the night sky’s awe-inspiring beauty.
Navigating Exposure Settings
Exploring exposure settings requires a delicate balance of aperture, shutter speed, and ISO to effectively capture the majesty of stellar objects. Achieving the perfect shot in telescope photography isn’t just about pointing and shooting; it’s a dance of precision and patience, where every adjustment can reveal the cosmos in breathtaking detail.
- Long Exposure Time: To embrace the faint whisper of distant galaxies, long exposures are indispensable. This technique allows your camera sensor ample time to collect the scarce light, exposing details invisible to the naked eye. However, this comes with the challenge of tracking celestial motion precisely to avoid star trails, unless that’s your artistic intent.
- Low ISO for Reduced Noise: Opting for a lower ISO setting is critical for keeping the image clean and free of digital noise. While this demands longer exposure times, the resulting clarity and depth in your photos make it a worthwhile trade-off.
- Wide Aperture Settings: Utilizing a wide aperture, such as f/2.8, serves a dual purpose. It enhances light intake, facilitating faster shutter speeds to freeze celestial motion, and it enhances the depth of field, bringing the cosmos into sharp relief against the infinite void.
- Balanced Shutter Speed: The choice of shutter speed is a pivotal decision. It must be long enough to capture the faint glow of stars but balanced with your telescope’s focal length to prevent blurring.
Mastering these settings is your gateway to revealing the celestial sphere, transforming elusive astral bodies into stunning, tangible images that resonate with the awe of exploration.
Utilizing Imaging Software
Once you’ve captured the cosmos through your lens, diving into the world of imaging software like PixInsight and Adobe Photoshop becomes your next important step in astrophotography.
These powerful tools are indispensable for transforming your long exposures of the Milky Way into awe-inspiring visuals. Mastering camera settings and capturing the night sky is just the beginning; the magic unfolds as you process your astrophotography images with these specialized applications.
PixInsight offers an exceptional suite of features designed specifically for the unique challenges of astrophotography, such as advanced noise reduction algorithms that are vital for enhancing the clarity of images taken under the faint glow of distant stars. Its ability to calibrate, align, and stack your captures maximizes the detail and depth of your astronomical photos, revealing nuances of the universe that are invisible to the naked eye.
Adobe Photoshop, with its complete toolset, provides an invaluable platform for fine-tuning your images. Its thorough toolset allows you to adjust contrast, brightness, and color balance, bringing out the best in your captures of celestial wonders.
Becoming proficient in these imaging software programs is essential for elevating your astrophotography. They empower you to turn the raw beauty of the cosmos into masterpieces that capture the imagination.
Post-Processing for Clarity
After capturing the night sky through your telescope, the journey to perfection continues with post-processing for clarity.
You’ll employ techniques such as enhancing image sharpness, applying noise reduction, and mastering color correction basics to bring out the awe-inspiring details of celestial objects.
Utilizing tools like Adobe Lightroom and Photoshop, you’ll transform raw captures into vivid, detailed masterpieces that truly reflect the beauty of the universe.
Enhancing Image Sharpness
To elevate the clarity of your telescope images, mastering the art of sharpening in post-processing software like Lightroom or Photoshop is essential.
In the domain of Milky Way and night sky photography, where long focal lengths and high ISO settings are commonplace, achieving sharpness while minimizing star trails demands precision. Adjusting white balance and maximum exposure time can further enhance your celestial captures.
- Adjust Clarity and Contrast: Fine-tune these settings to accentuate the delicate textures of celestial bodies.
- Selective Noise Reduction: Apply it judiciously to keep your stars crisp.
- Local Adjustments: Target specific areas for a more refined sharpening effect.
- Experiment with Sharpening Techniques: Techniques such as High Pass filter or Unsharp Mask can dramatically improve the detail in your astronomical photographs, making every captured moment of the cosmos strikingly vivid.
Noise Reduction Techniques
Building on the pursuit of image sharpness, let’s explore noise reduction techniques, a key step in achieving unparalleled clarity in your telescope photography.
Delve into the world of astrophotography with tools like DeepSkyStacker or Sequator. These stacking software marvels meticulously combine multiple frames, substantially diminishing noise and elevating your celestial captures.
Embrace dark frame subtraction to eradicate hot pixels and amp glow, refining your images to near perfection. Calibration frames, including darks and bias, are your allies in minimizing noise, ensuring a pristine outcome.
Venture into the domain of post-processing software such as Lightroom or Photoshop, where noise reduction algorithms await to polish your shots. Experimentation is your guide to mastering noise reduction techniques, striking a delicate balance between noise elimination and detail preservation.
Color Correction Basics
Diving deeper into the domain of astrophotography, mastering the basics of color correction basics becomes essential for extracting the true brilliance of celestial wonders through your telescope photography. Utilizing tools like Lightroom or Photoshop, you can precisely adjust:
- Color Tones: Tweaking these can greatly enhance the clarity and depth of your images.
- White Balance: Correcting this guarantees the true colors of celestial objects shine through, unaffected by light pollution.
- Color Temperature and Tint: Balancing these elements brings out the natural beauty of the cosmos in your telescope photography.
- Color Casts: Removing aberrations caused by lens or atmospheric interference improves the overall quality of your astrophotography.
Consistent application of these color correction basics in post-processing guarantees a cohesive and professionally polished look across your celestial portfolio.
Aligning for Precision
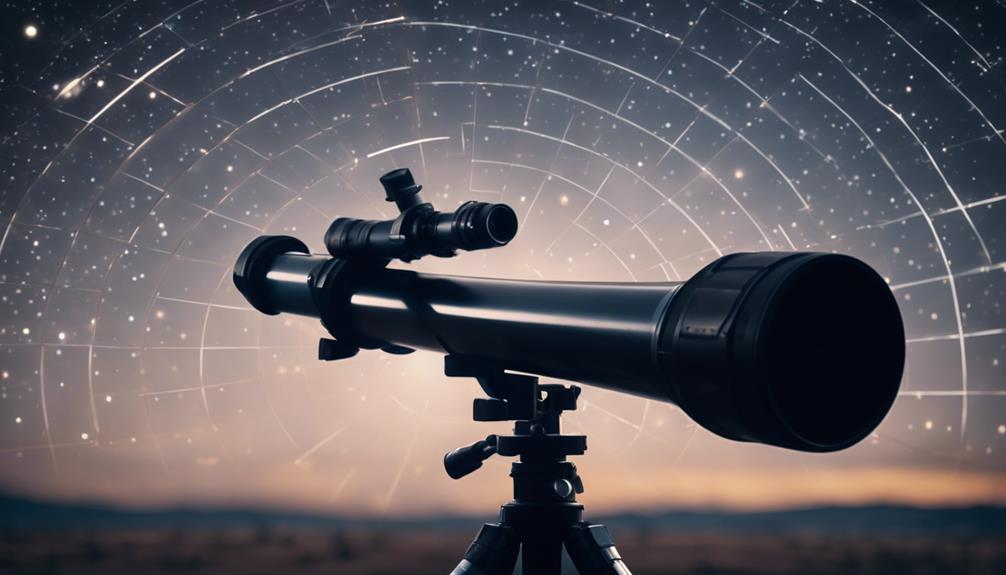
Achieving razor-sharp images of celestial wonders hinges on your telescope’s precise alignment, a foundational step that cannot be overlooked in the world of astrophotography.
Using important alignment techniques guarantees your telescope tracks your celestial target with precision, capturing the universe’s beauty without the blur of motion. Alignment, using specific stars or the celestial pole, alongside calibration, keeps your telescope’s motion control on point.
Utilizing software for star alignment or polar scopes greatly enhances your ability to achieve accurate telescope alignment.
This digital aid streamlines the process, guiding you through calibration steps and making sure your setup is optimized for the night’s observations. Regular calibration and adjustment of your alignment settings are important for maintaining the highest quality in your astro-images.
Here’s a quick guide to get you started:
| Step | Tool | Purpose |
|---|---|---|
| 1 | Polar Scope | Align with celestial pole |
| 2 | Star Alignment Software | Precise tracking calibration |
| 3 | Regular Adjustment | Maintain alignment accuracy |
| 4 | Calibration | Enhance image quality |
Diving into the technicalities of alignment and calibration might seem challenging at first, but it’s a journey well worth the effort for the breathtaking results you’ll achieve.
Overcoming Common Challenges
In your journey through the cosmos with a camera lens, you’ll inevitably face several challenges, from battling light pollution to mastering the art of sharp focus. Overcoming these obstacles requires a blend of technique, technology, and timing.
- Achieve Unparalleled Sharpness: Using a Bahtinov mask or your camera’s live view mode helps you nail the focus on celestial bodies. Precision in focus is non-negotiable for capturing the awe-inspiring details of the night sky.
- Combat Light Pollution: Light polluted skies are a modern astronomer’s bane. Scout for darker locations and employ narrowband filters to cut through the glow. The best time for this? New moon nights when skies are at their darkest.
- Best Shutter Speeds: Adhering to the 500 rule helps avoid star trails without a tracking mount. Using a fast, sturdy Carbon Fiber Tripod stabilizes your setup, ensuring sharp, clear images at slower shutter speeds.
- Enhance Image Quality: Calibration frames (Darks, Flats, Bias) are your secret weapon. They improve the final image, removing artifacts and enhancing clarity, making every captured photon count.
Embrace these strategies with passion and precision, and your telescope photography will soar to new heights, revealing the universe’s mysteries in stunning detail.
Advancing Skills With Accessories

To elevate your astrophotography, consider integrating advanced accessories that tackle Earth’s rotation, improve focus, and cut through light pollution. Harnessing tools like a quality camera tracker, akin to having your personal Hubble Space Telescope, compensates for our planet’s rotation. This permits longer exposures, capturing the cosmos with breathtaking clarity and detail.
Explore precision focusing with a Bahtinov mask, a simple yet ingenious accessory that guarantees your stars and celestial objects are tack-sharp. It’s a game-changer, enhancing image sharpness to professional levels.
Don’t let urban glow dim your aspirations. A light pollution filter acts as your guardian, blocking intrusive artificial light, and revealing the true beauty of the night sky. Pair it with narrowband filters to cut through the sky’s haze, isolating specific wavelengths from nebulae and galaxies. This combination transforms your captures, exposing celestial wonders in stunning detail.
Moreover, consider the transformative power of a field flattener. It corrects optical distortions, ensuring edge-to-edge sharpness across your images. Each of these accessories, from star trackers to field flatteners, elevates your astrophotography journey, pushing the boundaries of what you can capture and create.
Frequently Asked Questions
What Settings for Stellar Photography?
For stellar photography, start with manual focus adjustments and utilize light pollution filters. Embrace long exposure techniques and guarantee camera stabilization. Adjust ISO sensitivity, calibrate white balance, and use a remote shutter release for precision.
What Is the Best Way to Take Pictures Through a Telescope?
To capture the cosmos’ majesty, perfect your mount alignment and use camera adapters. Master focusing techniques and exposure control. Overcome light pollution with image stacking and guarantee tracking accuracy for breathtaking celestial snapshots.
What Are the Tips for Photographing the Sky?
To capture the sky’s majesty, you’ll need camera stabilization for crisp images, mind light pollution, track moon phases, assess weather conditions, blend exposures, use star tracking for precision, and apply dark frame subtraction for clarity.
What Focal Length Is Best for Deep Sky Astrophotography?
For deep sky astrophotography, you’ll want a focal length that matches your sensor’s compatibility and maximizes aperture importance. Assure mount stability, use a field flattener, minimize light pollution, and optimize tracking accuracy and exposure time.
Conclusion
Ready to transform your night sky captures into awe-inspiring masterpieces? Remember, it’s not just about having the right gear; it’s about mastering its use.
Have you ever wondered how the pros make it look so effortless? It’s their deep understanding of focus, stability, and exposure, paired with a relentless pursuit of clarity in post-processing.
Dive deep into the nuances of telescope photography, embrace the challenges, and accessorize wisely. Your dedication will soon unfold the universe in ways you’ve only dreamed of.