Planetary Photography: Frequently Asked Questions
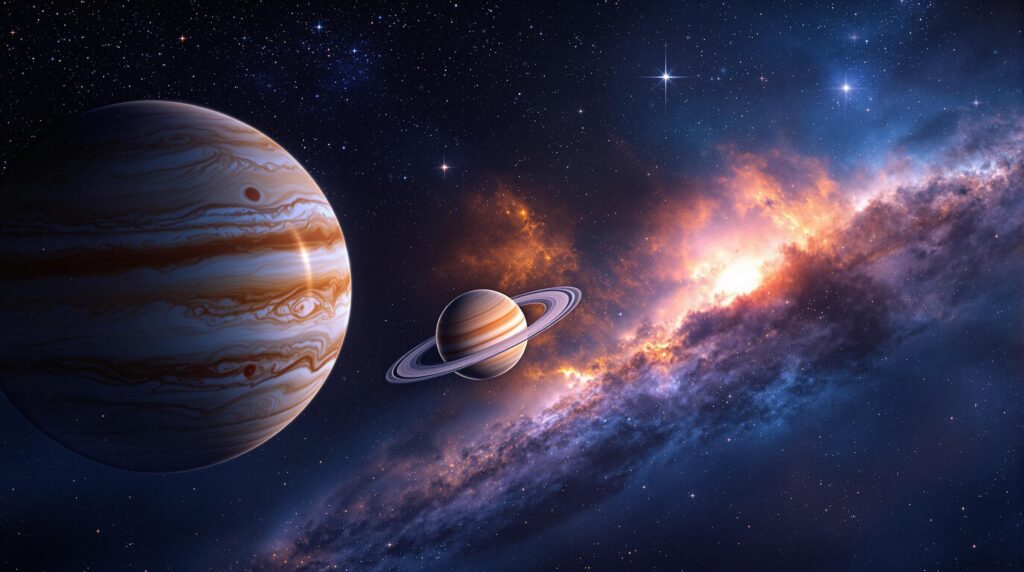
Want to photograph planets like Jupiter or Saturn? Planetary photography focuses on capturing detailed images of planets in our solar system. Unlike deep-sky imaging, it requires specialized gear, techniques, and patience to overcome challenges like atmospheric turbulence and small target sizes. Here’s a quick summary to get started:
- Key Gear: Telescopes with long focal lengths (e.g., Celestron EdgeHD 11"), high-frame-rate cameras (e.g., ZWO ASI585MC), and accessories like Barlow lenses and filters.
- Techniques: Use "lucky imaging" to capture thousands of frames and stack the sharpest ones. Adjust settings like exposure time, gain, and ROI for each planet.
- Software: Tools like FireCapture, AutoStakkert!, and RegiStax help with image capture, stacking, and sharpening.
Pro Tip: Let your telescope cool for 2-4 hours to stabilize its optics, and always check collimation for sharp focus. Ready to dive deeper? Let’s explore the best equipment, settings, and tips for stunning planetary images.
Planetary Imaging with the Celestron C11: Beginners Guide to Lucky Imaging Setups
Required Equipment
For successful planetary imaging, you’ll need equipment that meets specific optical standards. Let’s dive into the key tools and their specifications.
Choosing a Telescope
A telescope with the right focal length and aperture is crucial. The Celestron EdgeHD 11" (with a 2800mm focal length and f/10) is a top choice for advanced imaging. For beginners, a 6" Schmidt-Cassegrain is a solid starting point, while more experienced users may prefer the 11" EdgeHD for its superior performance.
Best Cameras for Planets
For planetary imaging, the ZWO ASI585MC and ASI678MC stand out. These cameras can capture hundreds of frames per second while keeping read noise to a minimum. Their small pixel sizes (2-3µm) are ideal for capturing fine details of planetary surfaces.
Must-Have Tools
To get the best results, you’ll need more than just a telescope and camera. Here are some additional tools that can make a big difference:
- Barlow Lens: Use a 2x to 5x Barlow lens to enhance resolution and capture finer planetary details.
- Filters: A UV/IR cut filter reduces chromatic aberration, while specialized filters (like infrared, methane, or red) can highlight specific planetary features.
- Mount: A sturdy equatorial mount, like the Sky-Watcher EQ6-R Pro or Celestron CGEM II, ensures stability for high-magnification imaging. Choose a mount with accurate tracking and a weight capacity at least 1.5 times your setup’s total weight.
- Additional Tools: An electronic focuser and a dew shield help maintain image clarity during long sessions. An Atmospheric Dispersion Corrector (ADC) is especially useful for imaging planets low on the horizon.
These tools complement your primary gear and set the stage for the capture techniques we’ll discuss next.
Camera Settings and Methods
Once you’ve chosen your equipment, configuring your camera correctly is key to getting detailed planetary images.
Exposure and Frame Rates
Different planets require specific exposure times and frame rates to achieve the best results:
- Jupiter and Mars: Use 1-5ms exposures at 100-200fps.
- Saturn: Opt for 5-20ms exposures at 60-100fps.
- Uranus and Neptune: These need longer exposures, ranging from 20-100ms, with frame rates around 30-60fps .
Set your gain to 50-75% of the camera’s maximum (e.g., 200-300 on a 400-gain scale). This helps balance noise levels while preserving details .
Setting the ROI
Adjusting the Region of Interest (ROI) can significantly improve your imaging speed and efficiency. Here’s a quick guide:
| Planet Size in Frame | Recommended ROI | Frame Rate Improvement |
|---|---|---|
| 50-70% of frame | 1000×1000 px | 2-3x faster |
| 30-50% of frame | 800×800 px | 3-4x faster |
| 20-30% of frame | 640×480 px | 4-5x faster |
Smaller ROI settings focus on the planet, reducing unnecessary data and boosting performance.
Image Capture Software
Using the right software can make a big difference in your results.
FireCapture is a favorite among advanced astrophotographers. It offers extensive customization, high-speed capture, and features like built-in planetary alignment and advanced histogram controls .
For those new to planetary imaging, SharpCap is an excellent choice. It provides an easy-to-navigate interface with tools like real-time stacking and planetary analysis. Its smart histogram functionality helps fine-tune exposure settings while maintaining focus . Key features include:
- Live histogram adjustments
- Focus assistance
- ROI configuration
- Support for multiple file formats (SER, AVI, FITS)
Keep an eye on your histogram while capturing images. Aim to keep the peak around 70-80% for the best detail .
"Software like AutoStakkert! can automatically select the best frames from a video sequence, effectively mitigating poor seeing conditions ."
sbb-itb-9161f90
Processing Planet Images
Once you’ve fine-tuned your capture settings, it’s time to process the images step by step.
Image Stacking Steps
Start by loading your SER or AVI files into AutoStakkert!. Place alignment points (APs) carefully across the planet’s surface. For example, when working with Jupiter, aim for 100-200 APs and stack the top 10-30% of frames. Don’t forget to enable the Drizzle option to improve resolution .
Before stacking, use PIPP to stabilize and crop the frames – this is especially useful for dimmer planets like Uranus. For such targets, consider stacking 300-500 frames to get better results .
Sharpening Methods
For sharpening, RegiStax is a go-to tool. Use wavelet sharpening to enhance features like Jupiter’s bands or Martian terrain. Adjust mid-layer wavelets for gas giants and use more subtle settings for smaller planets. If you’re working on ringed planets like Saturn, tools like Topaz Sharpen AI can help, but use them sparingly .
Make sure to apply noise reduction before sharpening. Layer masks are helpful to protect delicate features during adjustments. If focus-related artifacts appear, revisit earlier tips on achieving sharp focus. For specific structures, like Saturn’s Cassini Division, AI tools such as Topaz Sharpen AI can add clarity .
Finally, account for planetary rotation by using derotation techniques. This allows you to combine data from multiple capture sessions while keeping surface details aligned .
Common Problems and Solutions
Even with the best equipment and processing techniques, challenges like weather and atmospheric conditions can heavily influence results.
Bad Weather Solutions
When imaging Jupiter under poor seeing conditions, adjust your camera settings to capture 2000 frames in 60 seconds with a 1/30s exposure. From there, stack only the top 10-20% of the sharpest frames .
Using infrared filters can also help reduce atmospheric dispersion during turbulent conditions .
Here’s how to tackle specific issues caused by poor seeing:
| Condition | Suggested Fix | Benefit |
|---|---|---|
| High Turbulence | Increase frame rate, shorter exposures (1/60s) | Captures fleeting moments of clarity |
| Low Altitude Planets | Use methane or red filters | Improves contrast through atmospheric haze |
| Heat Distortion | Image during stable temperature periods | Reduces thermal interference |
Getting Sharp Focus
Achieving sharp focus is just as important as dealing with environmental challenges, and it requires technical precision.
A Bahtinov mask is a great tool for this. Placing it over your telescope’s aperture creates a diffraction pattern, where perfect focus is achieved when the central spike aligns with the intersection of the other two spikes .
Steps for accurate focusing:
- Point your telescope at a bright star near your target planet using 2x-5x Barlow magnification.
- Use the live view feature and histogram feedback to make fine adjustments.
- Double-check your telescope’s collimation alignment for the best results.
"Proper collimation ensures that all optical elements are perfectly aligned, maximizing the telescope’s resolving power for planetary details", according to a recent study on planetary imaging .
To keep focus stable, let your telescope acclimate to the local temperature before starting your session. Temperature differences can create thermal currents that blur your images .
Summary and Tips
To achieve the best results in planetary imaging, focus on the right equipment and techniques:
Start with a telescope that has a long focal length and pair it with a high-frame-rate camera. When adjusting your gain, aim for a background that’s just a bit brighter than pitch black. This ensures you capture enough detail without losing important features to overexposure.
If you’re ready to take things up a notch, think about switching to a mono camera with RGB filters. Though this setup is more challenging, it often delivers better results than one-shot color cameras, especially for capturing fine planetary details .
To bring out the most detail, use stacking and sharpening tools. Incorporating derotation methods during processing helps maintain proper alignment of features.
Here are some ways to refine your skills:
- Keep a record of your settings and the atmospheric conditions during each session.
- Practice often, even when conditions aren’t perfect.
- Join astrophotography communities like Cloudy Nights or Stargazers Lounge to exchange tips and learn from others .
Regular practice and connecting with others in the field are key to improving your planetary imaging techniques.
FAQs
Now that you’ve got the basics of capturing and processing down, let’s tackle some common technical questions.
What focal length is needed for planetary imaging?
To photograph planets effectively, you’ll need a telescope with at least a 2000mm focal length . Why? Planets are tiny in the night sky, and this level of magnification helps bring out surface details.
According to Choosing a Telescope, focal length works hand-in-hand with aperture. For example, an 8-inch telescope with an f/10 ratio strikes a good balance . A slower focal ratio like f/10 is ideal for planetary imaging because it boosts contrast and minimizes chromatic aberration.
How do you take pictures of Saturn and Jupiter?
If you’re aiming to capture Saturn or Jupiter, here’s what you’ll need for more advanced setups:
- Filters: Try an Astronomik Planet IR Pro 742 Filter to cut through atmospheric interference and reveal finer details .
- Frame rates: Shoot at 200fps or higher when the atmosphere is stable.
Atmospheric conditions play a huge role in planetary imaging (see Common Problems). Use IR filters and record 200fps video during moments of stability. Then, stack the best 10% of frames using AutoStakkert! for sharper results .