Build Your Own Telescope: Easy DIY Guide for Beginners
In the vast expanse of the universe, building your own telescope may seem like crafting your own spaceship, but it's actually within your reach. You'll find that assembling a simple refracting telescope from everyday items isn't just feasible; it's a rewarding project that demystifies the cosmos right from your backyard.
This guide walks you through selecting the right materials, from paper towel tubes to the perfect convex lenses, ensuring safety and maximizing functionality. By aligning optical components and choosing the ideal eyepiece, you're on your way to revealing celestial secrets.
Let's set off on this journey together, and discover what wonders await in the night sky.
Key Takeaways
- Quality lenses are crucial for clear and accurate celestial images.
- Personalizing your telescope enhances the connection to your creation.
- Proper lens alignment and adjustment are essential for optimal performance.
- Building a telescope can be a fun and educational DIY project.
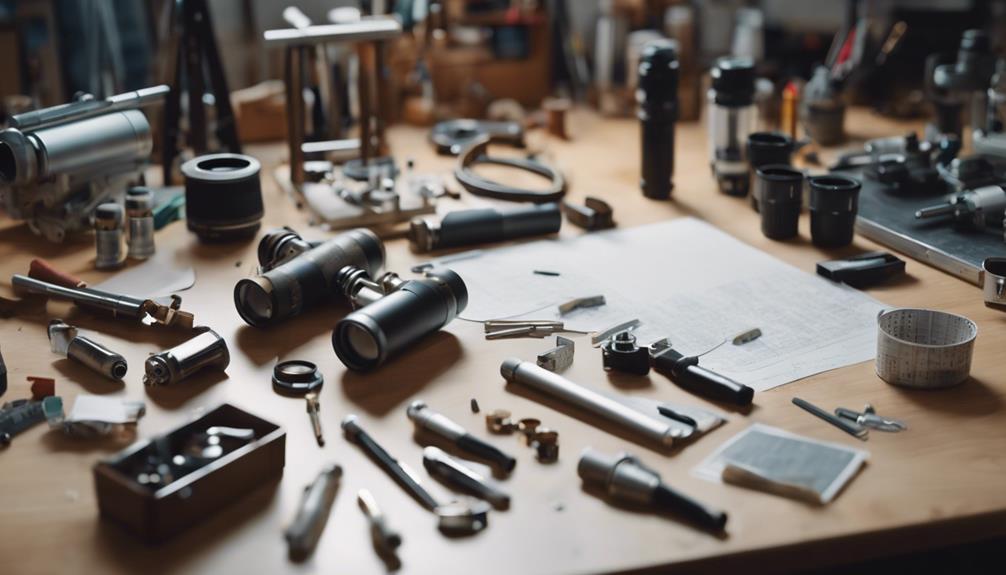
Selecting the Right Materials
To start on your telescope-making journey, you'll need to gather some basic yet essential materials, including paper towel tubes, convex lenses, masking tape, decorative supplies, and scissors. The heart of your DIY telescope lies in the clever repurposing of everyday items, transforming them into a gateway to the stars. A sturdy cardboard tube, often overlooked, serves as the perfect skeleton for your project. Its size and shape make it an ideal candidate for the telescope's body.
The choice of lenses is critical, with convex lenses acting as the magic window through which distant galaxies become visible. These lenses will be secured at both ends of your tube, allowing you to focus and magnify the night sky. Masking tape, an unsung hero in the crafting world, will keep your lenses firmly in place, ensuring that your telescope remains robust and functional.
Personalizing your telescope adds an extra layer of excitement to the project. Use your creativity with paints, markers, or crayons to make your telescope uniquely yours. Remember, a pair of scissors will be indispensable for cutting the tube to your desired length, ensuring that your telescope isn't only functional but also perfectly suited to your viewing needs.
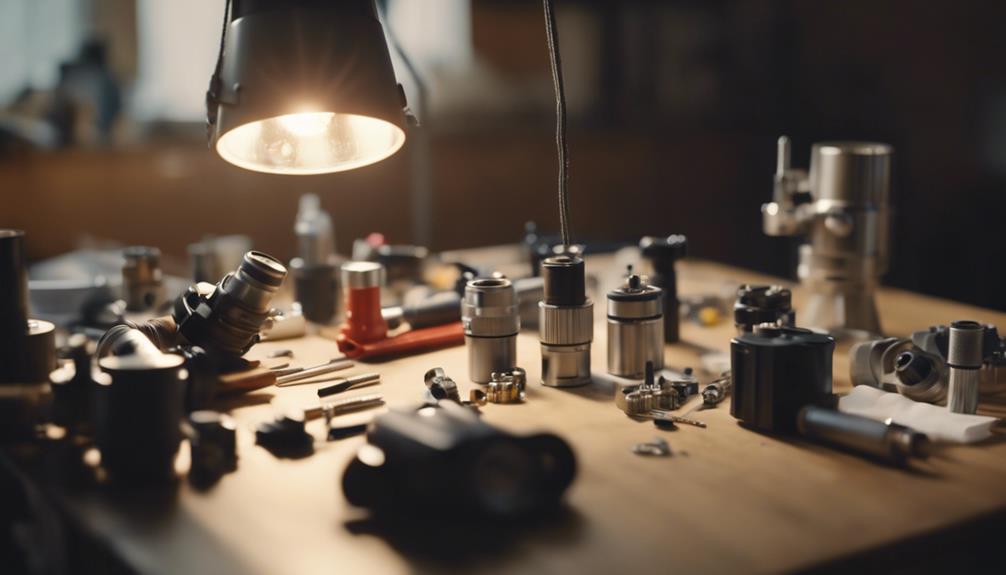
Acquiring Quality Optical Lenses

Now that you've chosen the right materials, it's time to focus on acquiring quality optical lenses.
You'll need to find reputable suppliers and understand the key metrics that indicate lens quality, such as focal length and coatings.
These steps are vital in ensuring your telescope performs at its best, providing clear and accurate images of the stars.
Selecting the Right Lens
Selecting the right lens is essential, as quality optical lenses are the heart of any telescope, ensuring you capture clear and vibrant images of the cosmos.
When building your homemade telescope, understanding the focal length and curvature of lenses is vital for achieving the desired magnification and image clarity.
Achromatic doublet lenses are highly recommended since they correct color aberrations, providing clearer, more detailed views.
Don't overlook the importance of proper handling and cleaning to maintain lens quality over time.
Additionally, experimenting with different lenses and configurations can be invaluable. It'll help you grasp how each lens impacts your telescope's performance, turning a simple magnifying glass into a gateway to the stars.
Optical Lens Suppliers
After deciding on the right lens for your telescope project, finding a reputable supplier is your next important step.
Reputable suppliers like Edmund Optics, Thorlabs, and Newport Corporation are go-to sources for quality optical lenses. They offer a variety of lenses, including plano-convex and double convex, suitable for different telescope constructions.
These lenses come in materials like BK7 glass and fused silica, each enhancing your telescope's performance in unique ways. With detailed specifications provided, including focal length and diameter, you can tailor your choice to your project's needs.
Sourcing your optical lenses from these established suppliers ensures you're getting precision, consistency, and reliability, critical for a successful telescope construction project.
Lens Quality Metrics
Understanding the quality metrics of optical lenses, such as surface accuracy, glass type, and coating quality, is essential for ensuring your homemade telescope delivers sharp and clear images.
| Metric | Why It Matters |
|---|---|
| Surface Accuracy | Determines image sharpness by matching the lens's intended shape precisely. |
| Glass Type | Affects image quality by reducing chromatic aberration with low-dispersion glasses. |
| Coating Quality | Enhances contrast and brightness by increasing light transmission and reducing reflections. |
Constructing the Telescope Mount

Why not commence on the thrilling journey of constructing your own telescope mount, an essential step towards stable and precise celestial observations? After focusing on lens quality metrics and understanding the importance of magnification, a sturdy mount is your next big leap. Whether you've started your homemade telescope project with a simple magnifying glass, two lenses, or a cardboard tube, ensuring it rests on a reliable foundation is critical for maximizing magnification and clarity.
Here are three key points to contemplate:
- Choose Your Mount Type: Decide between an altazimuth (altaz) mount for its simplicity and ease of use or an equatorial mount for its ability to track celestial objects smoothly as the Earth rotates. Consider your observational goals and technical comfort level.
- Stability is Key: Regardless of the type, building a sturdy and well-balanced mount is essential. This ensures that your telescope remains steady, allowing for smooth and accurate astronomical observations without vibrations or movements disrupting your view.
- Materials Matter: Use durable materials that can withstand the weight of your homemade telescope. Whether it's wood, metal, or a combination, the quality of your materials directly impacts the effectiveness and longevity of your mount.
Commencing on this part of your telescope-making journey enhances your skills and brings you closer to the stars.
Aligning the Optical Components

Once you've constructed a sturdy mount, the next critical step in your telescope-building journey involves accurately aligning the optical components. Proper alignment is the heart of a functional telescope, ensuring that you get clear images of celestial bodies. If you're using two magnifying glasses as your primary lenses, their alignment is paramount.
To align your optical components, you'll need tools like a collimator or laser collimator. These instruments help in making sure that the lenses or mirrors in your telescope are centered and parallel to each other. Misalignment can lead to distorted or blurry images, severely impacting your stargazing experience.
Here's a simple guide to alignment:
| Tool | Purpose |
|---|---|
| Collimator | Ensures lenses or mirrors are centered |
| Laser Collimator | Aids in achieving parallel alignment |
| Adjustment Screws | Fine-tunes the position of optical components |
| Regular Checks | Maintains alignment over time |
Assembling Your DIY Telescope
Now that you've got your optical components aligned, it's time to tackle assembling your DIY telescope.
You'll start by gathering all the necessary materials and then move on to the step-by-step instructions for putting everything together.
Gathering Necessary Materials
To kickstart your DIY telescope project, you'll need to gather a few basic materials, including two empty paper towel tubes, scissors, masking tape, decorative items like paint or markers, and two convex lenses. These items will serve as the foundation for your creation, transforming ordinary household objects into a functional magnifying glass to the stars.
Here are three essential items to focus on:
- Two Convex Lenses: The heart of your telescope, these lenses will magnify distant objects, bringing the wonders of the night sky closer.
- Scissors: You'll need these to cut the tubes to the correct length, ensuring everything fits perfectly.
- Masking Tape: This will hold everything together securely, from the lenses to the tubes, creating a sturdy and reliable telescope.
Steps for Assembly
Gathering your materials marks the first step, but assembling your DIY telescope is where the magic really begins. Start by securely attaching the lenses to the cardboard tube using spacers and glue. This guarantees their correct alignment, crucial for crisp, clear views of the stars.
You'll need to drill holes in the tube to slot in the lenses, maintaining their precise distance apart for best viewing performance. Experimenting with adjustments is key to achieving the right image orientation and focus. Don't hesitate to use a magnifying glass and prisms to enhance your viewing experience.
Each adjustment brings you closer to the wonders of the night sky, making this hands-on project both educational and thrilling.
Fine-Tuning Your Telescope
Once you've assembled your DIY telescope, fine-tuning it becomes the next essential step to reveal the full potential of your stargazing experience. This process guarantees that every celestial object you aim to observe appears as clear and detailed as possible.
Here's how to fine-tune your telescope:
- Align the Lenses: Secure the first magnifying glass within the inner tube, making sure it's perfectly aligned. Use the second magnifying glass at the opposite end, adjusting its position until the view is crystal clear.
- Drill for Precision: Create precise slots for the lenses using a drill. This guarantees they're securely held in place and perfectly aligned.
- Adjust the Distance: Experiment with the distance between the two magnifying glasses. Minor adjustments can significantly enhance magnification and image clarity.
Personalizing Your Telescope
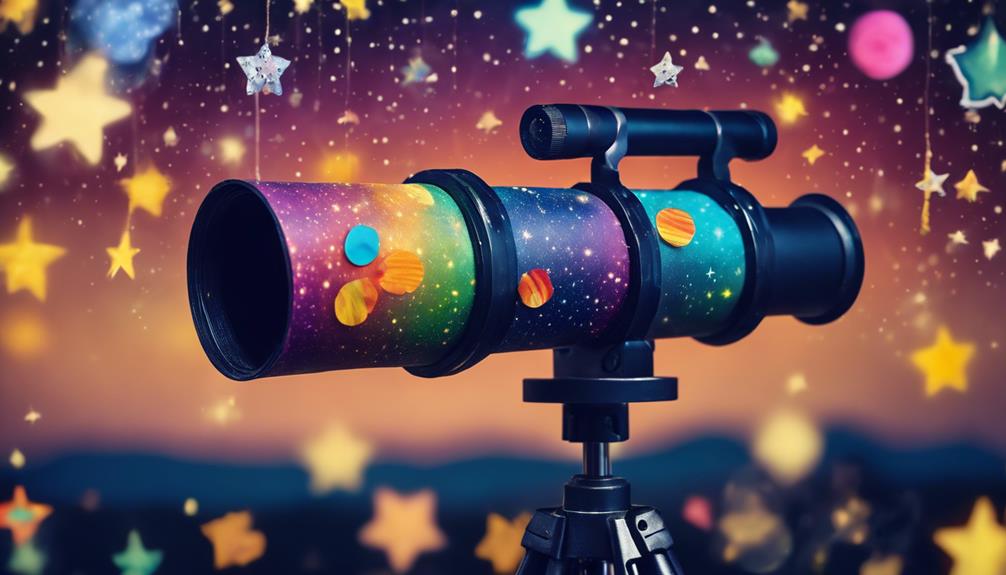
Adding a personal touch to your telescope can transform it into a unique masterpiece that mirrors your style and interests. Once you've assembled your DIY telescope, complete with a magnifying glass and cardboard tube, the next step is to make it truly yours. Personalizing your telescope isn't just about aesthetics; it's about creating a connection between you and your new gadget. Whether you prefer paint, markers, or crayons, you have the freedom to decorate the outer tube to match your personality. Imagine adding vibrant colors, intricate designs, or even patterns that mean something special to you.
Customizing your telescope can also instill a sense of pride in your creation. It's one thing to build a functioning telescope from scratch, but it's another to see it adorned with personal touches that showcase your creativity. These unique modifications not only make your telescope visually appealing but also make your stargazing experience more enjoyable. By personalizing your telescope, you're not just building a tool for exploring the stars; you're crafting an extension of your interests and personality, enhancing your connection to the cosmos.
Conducting Initial Observations

Beginning on your first adventure of celestial exploration with your DIY telescope, it's crucial to start by gently pressing your eye against the inner tube lens. Your homemade marvel, a blend of a magnifying glass and a cardboard tube, is now a gateway to the universe.
Here's how to initiate on this journey:
- Aim and Observe: Carefully point your telescope towards distant objects. Remember, peering at the sun is off-limits to avoid harm.
- Focus: Adjust the focus by sliding the inner tube in and out until the image sharpens. The slots in your cardboard tube aid in this adjustment, letting you capture the beauty of the night sky in detail.
- Understand Limitations: Recognize that the image size and clarity hinge on the curvature of your lenses. Your telescope's capability to magnify distant objects is a marvel of your craftsmanship, but it has its bounds.
Choosing an Eyepiece

As you venture into choosing an eyepiece, it's critical to grasp how the focal length affects your viewing experience, impacting both the magnification and clarity of the celestial bodies you're keen to observe.
Understanding magnification choices will empower you to tailor your observations to either wide-field views or detailed examinations of planets and stars.
Eyepiece Focal Length Basics
Understanding the focal length of an eyepiece is key to unlocking the full potential of your telescope's magnification and field of view. The eyepiece focal length, measured in millimeters, directly impacts your viewing experience, influencing how large or detailed celestial objects appear.
Here are three key points to remember:
- Eyepiece Focal Lengths Range: Typically from 4mm to 40mm, offering a spectrum of magnification possibilities.
- Magnification Calculation: Divide your telescope's focal length by the eyepiece's focal length to find the magnification.
- Viewing Experience: Shorter focal lengths yield higher magnification but a narrower view, while longer focal lengths provide a wider field of view with less magnification.
Choosing the right focal length is essential for achieving the desired magnification and enhancing your overall viewing experience.
Understanding Magnification Choices
Selecting the right eyepiece is essential for enhancing your telescope's magnification and achieving crystal-clear celestial views. The magnification of your telescope is determined by dividing the focal length of the objective lens by the eyepiece's focal length. This means the choice of eyepiece directly impacts the clarity and magnification of what you observe.
Telescopes with larger apertures particularly benefit from a variety of eyepieces, allowing for different magnification levels. It's important to understand how adjusting the distance between the eyepiece and the objective lens can fine-tune your view. Grasping the relationship between eyepiece focal length and telescope magnification is key to optimizing your celestial observations, ensuring you get the most out of your stargazing sessions.
Selecting Optical Quality
After exploring how eyepiece choices affect magnification, it's time to focus on the importance of optical quality in selecting an eyepiece for your telescope. The right eyepiece lens can greatly enhance the image clarity and detail you see. Here's what you need to know:
- Optical Quality: High-quality eyepieces reduce distortions and aberrations, providing a clearer, sharper image.
- Focal Length: This affects both magnification and field of view. Shorter focal lengths offer higher magnification but a narrower field of view.
- Field of View: Eyepieces with a larger apparent field of view allow you to see a wider area, making celestial observations more immersive and enjoyable.
Choosing an eyepiece with superior optical quality turns sky-gazing into a breathtaking experience, ensuring each observation is as detailed and clear as possible.
Tools and Materials Needed
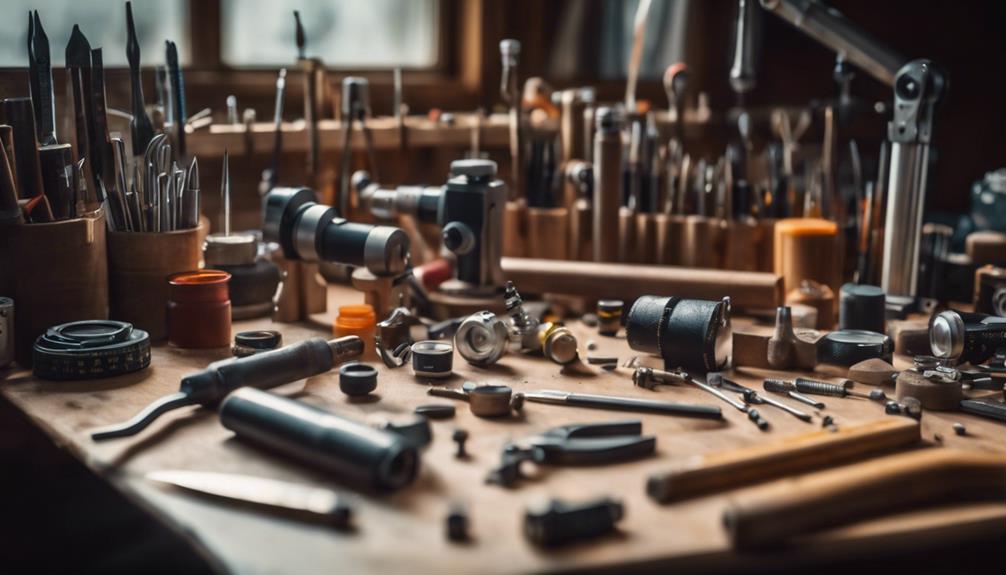
To kick off your telescope-building adventure, you'll need a few basic tools and materials, including two empty paper towel tubes and a pair of scissors. Constructing a basic telescope is a thrilling project that brings the cosmos a little closer to home. With the right lenses, your cardboard tube transforms into a gateway to the stars, offering a glimpse into the magnificence of the night sky.
Next, you'll need 2 vital lenses. These are essential for creating the magnification effect that makes a telescope, well, a telescope. The lenses will be mounted inside the cardboard tubes, working together to bring distant objects into clear view. To secure these lenses in place, masking tape will be your best friend. It's strong enough to hold the lenses but gentle enough not to damage them.
After the construction phase, it's time to give your telescope a personal touch. Paint, markers, or crayons come into play here, allowing you to decorate your telescope to match your style. This step not only makes your telescope uniquely yours but also adds an element of fun to the construction process.
Aim for the Heavens
Setting out on your journey to construct a DIY telescope, the 'Aim for the Heavens' guide provides detailed instructions designed for beginners, utilizing readily available materials and highlighting safety alongside discovery. With paper towel tubes, lenses, and basic tools, you're set to dive into an exciting project that not only enlightens but entertains.
Here are three key takeaways to get you excited:
- Experiment with Lenses: Dive into the world of optics by experimenting with different lenses and focal lengths. Discover how each lens affects magnification and clarity, bringing distant stars within your reach.
- Safety First: The guide underscores the importance of safety, especially advising against direct observation of the sun. It also guides you on handling larger lenses with care, ensuring your stargazing adventures are both safe and enjoyable.
- Grasp Telescope Fundamentals: By building your telescope from scratch, you'll gain a deep understanding of how telescopes work. This hands-on approach demystifies the complex principles behind magnifying distant objects, enriching your knowledge and appreciation of the night sky.
Dive into this DIY journey with confidence, knowing you're not just building a telescope; you're unlocking the door to the cosmos.
Frequently Asked Questions
How Do You Make a Simple Telescope at Home?
To make a simple telescope, focus on optical principles, choose two convex lenses considering focal length, and use mounting techniques for stability. Find a great viewing location, and you'll soon be exploring the stars.
Can I Build My Own Telescope?
Yes, you can build your own telescope! With basic materials, a mindful budget, and an understanding of magnification and optical alignment, you'll be tracking stars in no time. It's a rewarding DIY project.
How to Make a Telescope for Kids?
Explore the universe of star gazing with a homemade telescope. It's a fun, educational project using craft materials. You'll learn about optics while ensuring safety. It's an engaging activity that lights up young minds.
Which Type of Telescope Is the Simplest to Build?
You're looking for the simplest telescope to build? It's the refracting type. Focus on lens selection and securing them for best focal length. Forget mirror grinding or reflector basics; mount options are straightforward too.
Conclusion
You've selected your materials, acquired quality lenses, and built your mount. Now, with the optical components aligned and your telescope assembled, you're ready to commence on a celestial journey.
Conduct your initial observations, choose the perfect eyepiece, and let the stars be your guide. With just a few tools and materials, you've aimed for the heavens—and reached them.
This journey of discovery is just beginning; the universe is now yours to explore. Keep looking up, and marvel at the wonders above.