Easy DIY Fixes for Your Telescope Using Spare Parts
You might not be aware, but your household could already contain the makeshift toolkit needed to tackle common telescope malfunctions.
Utilizing spare screws to repurpose rubber bands, these easy DIY fixes can breathe new life into your stargazing companion without a trip to the repair shop.
However, knowing which spare parts can serve as quick fixes and how to apply them effectively requires a bit of guidance.
Let’s explore how a bit of ingenuity and some household items can transform into your telescope’s saving grace, ensuring you don’t miss out on the wonders of the night sky.
Key Takeaways
- Regular maintenance and timely part replacement prevent malfunctions and extend the telescope’s lifespan.
- Use spare parts from old equipment to ensure compatibility and save costs.
- Cleaning optical components with the right tools enhances viewing quality and protects the lens.
- Mirror alignment using collimation tools and techniques sharpens image quality and optimizes performance.
Assessing Your Telescope’s Condition
Before diving into repairs, it’s important to accurately assess your telescope’s condition, checking for visible signs of wear, rust, or damage that could hinder its performance.
Start by examining the telescope’s body and moving parts for any indications of deterioration. Pay close attention to the focal length adjustments and make certain they operate smoothly without resistance, as this is vital for achieving clear, sharp images.
Next, scrutinize the filter wheel, making sure it rotates freely and that each filter is securely in place. Any stiffness or misalignment in this component can greatly impact your viewing experience. Utilize a flashlight to peer into hard-to-reach areas, looking for dust, debris, or corrosion. These seemingly minor issues can affect the telescope’s functionality more than you might expect.
Make sure all screws, bolts, and knobs are tightly fastened. Loose components can lead to misalignment, affecting the stability and accuracy of your telescope. If you come across any missing parts, note them down so you can address this the next time you gather spare parts. This thorough inspection ensures you tackle all potential issues, maintain your telescope’s performance, and extend its lifespan.
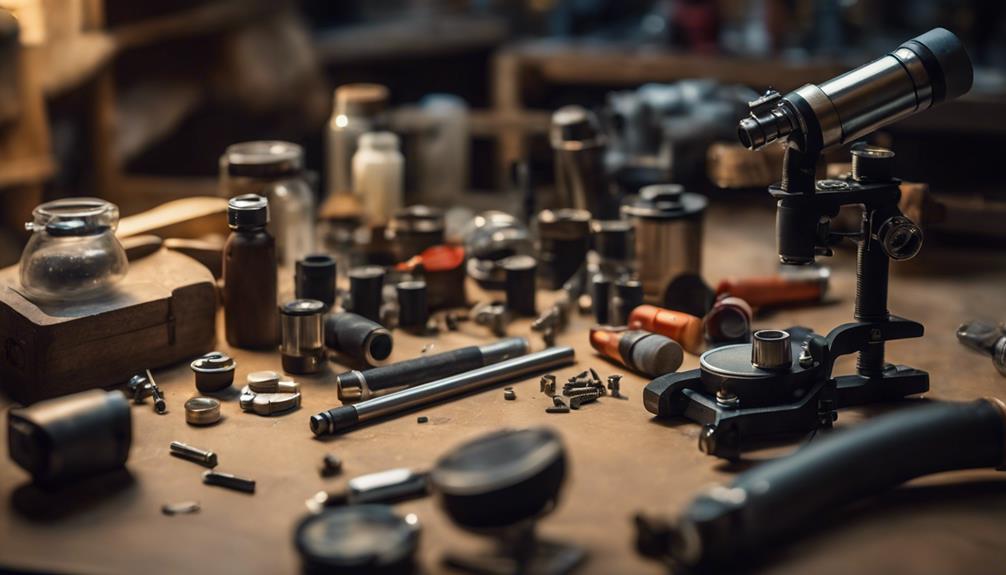
Gathering Necessary Spare Parts
Once you’ve identified the specific parts that require attention in your telescope, it’s vital to gather the necessary spare parts, making sure they match the size, material, and design needed for seamless functionality.
Here’s how you can efficiently collect the right components:
- Check Your Inventory: Before heading out to purchase new parts, see what you’ve got on hand. A well-organized inventory of spare parts like screws, washers, and nuts can save you both time and money.
- Salvage from Old Equipment: Don’t discard old or broken equipment just yet. Often, these can be a goldmine for compatible spare parts. A used one might just fit perfectly.
- Ensure Compatibility: It’s not just about finding a part that fits. The material and design must be compatible with your telescope’s specifications to avoid further damage or misalignment.
- Seek Precision: Accuracy is key. Using calipers or a detailed manufacturer’s guide guarantees that the replacements you’ve got are of the exact size and design as the original parts.
Cleaning Optical Components
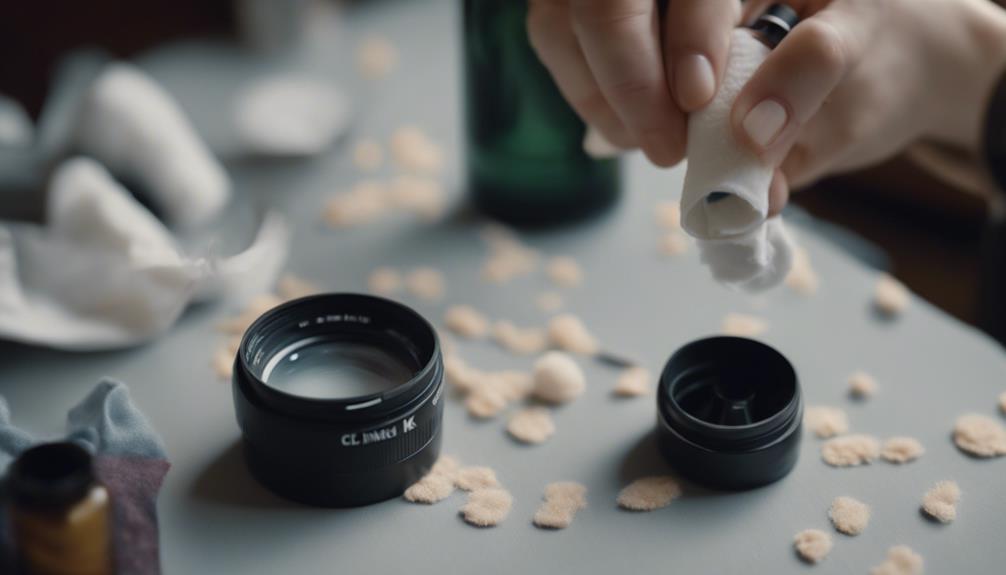
To maintain peak performance and clarity, it’s essential to regularly clean your telescope’s optical components, utilizing a microfiber cloth to gently remove dust and smudges without harming the sensitive surfaces. This practice is important for lens protection, ensuring that the delicate coatings on your optics are preserved, thereby maintaining the integrity and functionality of your telescope.
When it comes to cleaning tips, always steer clear of harsh chemicals or paper towels, as these can scratch or degrade the optical coatings. For more stubborn contaminants like fingerprints or spots, lightly moisten your microfiber cloth with distilled water or opt for a mild optical cleaning solution specifically formulated for lens care. It’s crucial to apply the solution to the cloth rather than directly onto the lens to avoid excess liquid seeping into unwanted areas.
Start the cleaning process at the center of the lens, gently wiping in a circular motion towards the edges. This technique helps prevent streaks and ensures that you don’t leave any residue behind.
Regular optical maintenance doesn’t just contribute to sharper images; it also extends the lifespan of your telescope by keeping the components in top condition. Following these guidelines will keep your telescope’s optics in pristine condition, ready for your next stargazing adventure.
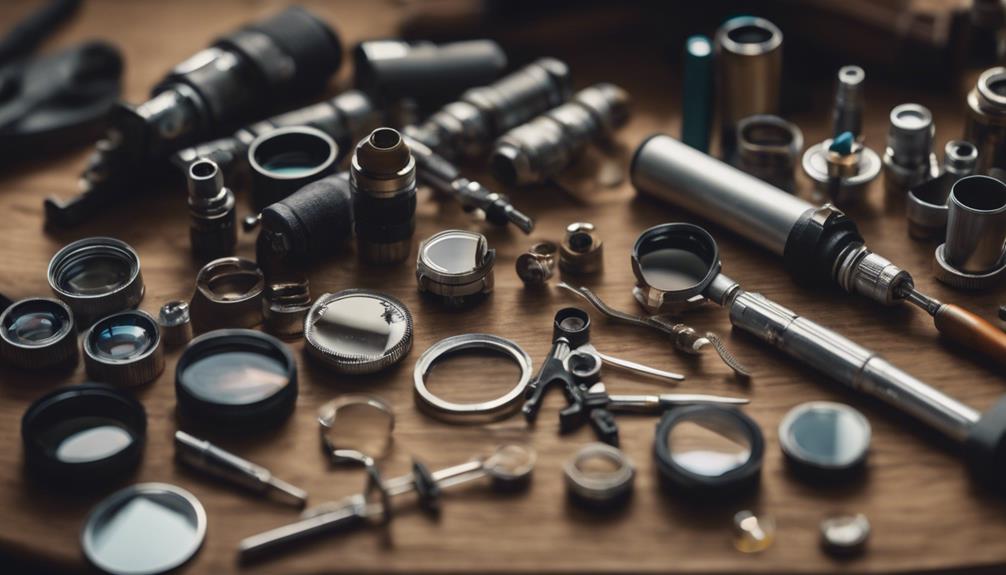
Replacing Eyepieces
Replacing your telescope’s eyepieces can greatly enhance your stargazing experience. You’ll need to select suitable eyepieces that match your device’s focal length and design for best performance.
Then, follow precise installation steps to guarantee a secure fit. Regular maintenance and careful cleaning of your eyepieces will also keep your views sharp and prolong the life of these critical components.
Selecting Suitable Eyepieces
When selecting a suitable replacement eyepiece for your telescope, it’s essential to take into account the focal length and magnification for the best viewing quality. Here are the key factors you should consider:
- Eyepiece compatibility: Check the barrel size of the eyepiece to guarantee it fits your telescope’s focuser.
- Magnification options: Different eyepieces offer varied magnifications. Choose one that complements your telescope’s specs.
- Focal length considerations: The eyepiece’s focal length directly affects the magnification and field of view.
- Optics quality: Opt for eyepieces with superior optics and coatings to enhance your viewing experience.
Exploring various eyepiece types like Plossl, wide-angle, or zoom can greatly enhance your observational versatility. Remember, the right eyepiece setup is essential for observing celestial wonders in detail.
Eyepiece Installation Steps
Before installing a new eyepiece, carefully unscrew the current one by turning it counterclockwise until it detaches from your telescope. This step is important for proper eyepiece maintenance, ensuring that the threads remain intact for future replacements.
Next, align the new eyepiece with the eyepiece holder, gently screwing it in clockwise until it’s snug but not overtightened. This prevents damage and ensures eyepiece compatibility with your telescope’s mount. Check the eyepiece for proper orientation to achieve your desired viewing angle.
Maintenance and Care Tips
After mastering the installation of your new eyepiece, it’s equally important to focus on its ongoing maintenance and care to guarantee performance and longevity. Here are essential tips:
- Storage Solutions: Invest in protective cases that shield eyepieces from dust and moisture. Proper storage solutions secure lens protection and equipment longevity.
- Maintenance Techniques: Regularly inspect and clean your eyepieces with a soft, lint-free cloth to remove fingerprints and dust, preventing debris buildup.
- Dust Prevention: Use lens caps when the eyepiece isn’t in use. This simple habit can significantly reduce dust accumulation, maintaining top viewing.
- Lens Protection: Apply anti-static sprays designed for optical equipment. These sprays repel dust and help in preserving the clarity and quality of your eyepiece lenses, ensuring immersive viewing sessions.
Adjusting Mirrors
Adjusting the mirrors in your telescope is essential for achieving clear, sharp images of celestial bodies.
By employing specific mirror alignment techniques and optimizing reflective surfaces, you’ll enhance your telescope’s performance.
Use collimation tools and adjustment screws for precise tuning, and consult your manual or online guides for tailored instructions.
Mirror Alignment Techniques
To guarantee your telescope provides precise and accurate performance, it’s crucial to properly align the mirrors using a laser collimator for the primary mirror and a Cheshire eyepiece for the secondary. This process guarantees your stargazing experiences are nothing short of spectacular.
Here’s how to keep your telescope at peak performance:
- Laser Technique, Secondary Alignment: Employ a laser collimator for quick and precise alignment of the primary mirror, making sure it’s perfectly centered.
- Star Observation, Barlow Enhancement: After initial adjustments, use a high-power eyepiece with a Barlow lens to refine your alignment by observing a star.
- Precise Adjustments, Optical Integrity: Make incremental adjustments while observing the star until it’s perfectly focused, maintaining your telescope’s optical quality.
- Regular Maintenance: Regularly recheck and adjust the alignment to compensate for any shifts or jostles, preserving the telescope’s performance.
Optimizing Reflective Surfaces
Ensuring your telescope’s mirrors are finely tuned is essential for capturing crisp and clear celestial images. Utilizing mirror alignment tricks and precision adjustments can greatly improve your viewing experience.
By integrating spare part solutions like shims or washers, you can make precise adjustments to mirror angles, optimizing their alignment for enhanced reflectivity. This DIY technique not only helps in overcoming issues like image distortion but also guarantees sharp and accurate celestial observations.
| Step | Tool | Outcome |
|---|---|---|
| 1. Inspect | Eyes | Identify misalignment |
| 2. Adjust | Shims | Correct angle |
| 3. Test | Telescope | Check clarity |
| 4. Refine | Washers | Fine-tune alignment |
| 5. Observe | Eyes | Enjoy improved views |
Mirror angle optimization through these steps ensures your telescope performs at its best, allowing you to explore the night sky with unparalleled clarity.
Troubleshooting Common Issues
When troubleshooting common issues with your telescope, start by identifying stuck components, which you can often address using spare rubber pads or strap wrenches for safe and effective resolution. These tools enable you to apply the necessary leverage without damaging delicate parts.
Here are steps you can take to resolve common issues:
- Using Lubricants: Apply silicone grease or a similar lubricant to tight parts. This not only loosens them but also prevents future sticking or fusion. Be precise in application to confirm mess and potential damage to sensitive components.
- Vinegar Solutions: For parts stuck due to corrosion or debris, a gentle tap or soak in a vinegar solution can be remarkably effective. Verify the solution contacts only the affected area to prevent damage to other parts.
- Specialized Wrenches: Use wrenches designed for specific telescope components. These tools provide the exact amount of force and grip needed, minimizing the risk of damage during disassembly and reassembly.
- Regular Maintenance: Consistent care and proper handling of spare parts not only solve current issues but also prolong the functionality and lifespan of your telescope. This includes cleaning, lubrication, and timely replacement of worn parts.
Frequently Asked Questions
How Do You Make a Telescope Out of Household Items?
To make a telescope from household items, focus on mirror polishing techniques to enhance clarity, devise light leakage solutions for improved visibility, and adjust the focal length between lenses for best magnification and sharpness.
How to Make an Eyepiece for a Telescope?
To craft an eyepiece, select high-quality eyepiece materials ensuring optical quality improvement. Adjust the focal length precisely for your telescope’s ratio, enhancing magnification. Secure in a well-designed barrel for durability and better viewing.
How to Make a Telescope at Home Without Lenses?
To make a lensless telescope at home, craft a pinhole projector using a cardboard tube. Add a mirror reflector inside for light direction. Incorporate a smartphone adapter at the viewing end for enhanced digital observation.
How Can I Make My Telescope More Stable?
To stabilize your telescope, start with tripod adjustments, adding weight for balance. Implementing vibration suppression pads beneath legs reduces shakiness. For best steadiness, explore counterweight solutions, ensuring even weight distribution and enhancing precision during observations.
Conclusion
In sum, you’ve assessed your telescope’s health, amassed essential spares, polished its optics, swapped eyepieces, and realigned mirrors. You’ve also tackled frequent hurdles. Now, wielding rubber bands for alignment, foam for stability, and homemade caps for protection, you’re set.
This hands-on journey not only sharpens your technical acumen but also deepens your connection with the cosmos. Remember, with precision, creativity, and a bit of DIY spirit, maintaining your telescope’s peak performance is within your grasp.
Keep gazing up, equipped and empowered.