Top 10 Must-Have Accessories for Stellar Astrophotography
Just as a painter carefully selects their brushes for a masterpiece, you must choose your tools wisely to capture the cosmos.
To begin on this journey, you’ll need a stable mount for precision, a tripod that stands firm on any terrain, and a camera adapter that bridges your vision to reality.
Additionally, a remote shutter release will guarantee your images remain sharp, while filters bring out the unseen details.
A reliable power supply and a field flattener become indispensable for those long nights and for achieving unparalleled image quality.
Let’s explore how these essential accessories can elevate your astrophotography, transforming your celestial captures into works of art that stand the test of time.
Key Takeaways
- Equatorial mounts are essential for precise celestial tracking and clear long-exposure astrophotography.
- Carbon fiber tripods enhance stability and reduce vibrations, crucial for sharp images.
- Camera adapters and the right filters are key for connecting cameras to telescopes and capturing detailed celestial images.
- A remote shutter release minimizes camera shake, while power supplies and field flatteners support extended sessions and improve image quality.
Selecting the Right Mount
Choosing the right mount is important for any astrophotography enthusiast seeking stability and precision in capturing the cosmos.
A robust mount not only provides the foundation for all your gear but is essential for tracking celestial objects with accuracy. Equatorial mounts, particularly German equatorial mounts (GEMs), stand out for their capability to compensate for Earth’s rotation. This feature is critical for long-exposure astrophotography, where even the slightest movement can blur your captured images.
GEMs are celebrated for their stability and precision. Their design allows for smooth tracking of celestial bodies across the night sky, making them a top choice for serious astrophotographers. While the setup might be more complex compared to alt-azimuth mounts, the precision in tracking they offer is unmatched. This precision therefore ensures that you capture the night sky in all its glory, with sharp, clear images of galaxies, nebulae, and star clusters.
For those starting out or seeking portability, alt-azimuth mounts offer a simpler setup. However, for endeavors in long-exposure astrophotography where stability and precise tracking are paramount, investing in a quality equatorial mount is a decision you won’t regret.
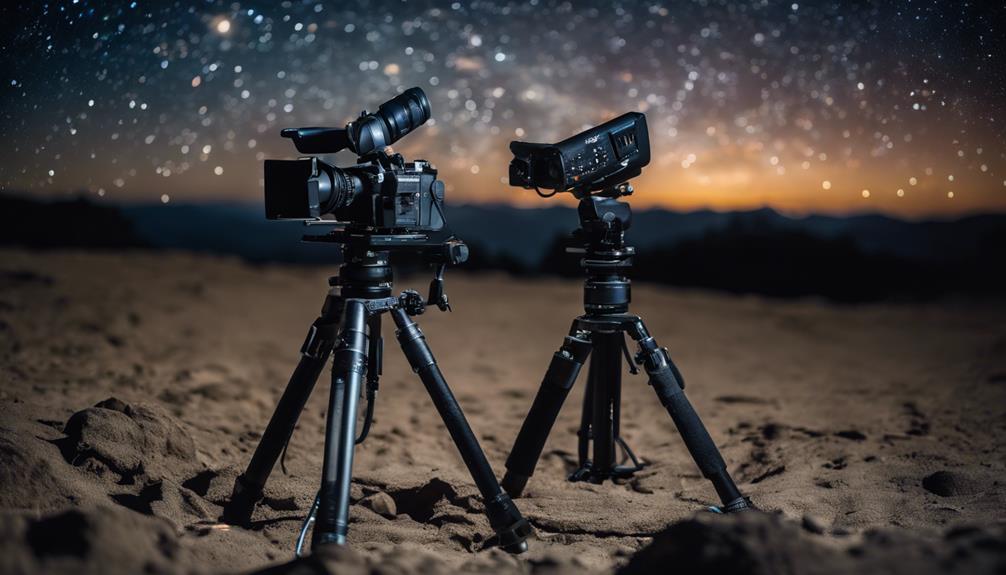
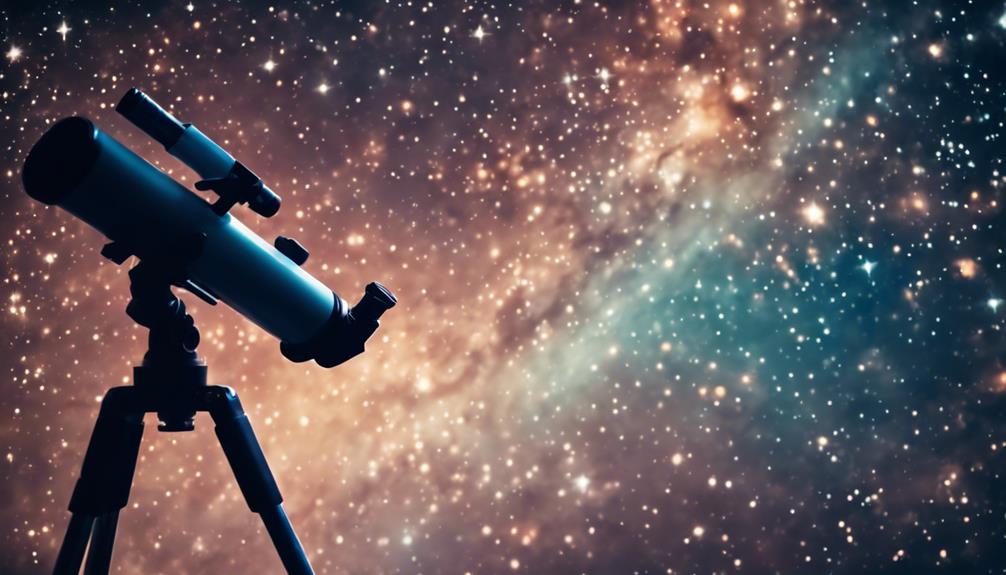
Choosing a Tripod
After selecting the right mount, it’s imperative to zero in on a sturdy tripod to anchor your astrophotography setup securely. Your tripod is the foundation that guarantees stability, essential for capturing the cosmos with precision and clarity.
When choosing a tripod, consider these key aspects:
- Weight and Payload Capacity: Guarantee the tripod can comfortably support the weight of your camera and any additional equipment. A mismatch here could lead to instability or even damage to your gear.
- Material: Aluminum tripods offer a balance between weight and stability, making them suitable for many. However, for the ultimate in stability and vibration reduction, especially under the heavy load of astrophotography gear, carbon fiber is king. Its lightweight nature also makes it ideal for those long treks to dark sky locations.
- Adjustable Legs and Height: Varied terrains demand versatility. Tripods with adjustable legs and height enable you to set up your equipment on uneven ground while still maintaining a level horizon, essential for stellar photography.
- Secure Positioning Features: Look for tripods that feature quick-release plates and sturdy leg locks. These ensure a quick setup and secure, unwavering positioning of your astrophotography setup, critical for those long exposure captures.
Choosing the right tripod means ensuring the stability, weight accommodation, and secure positioning of your setup, ultimately elevating your astrophotography to stellar heights.
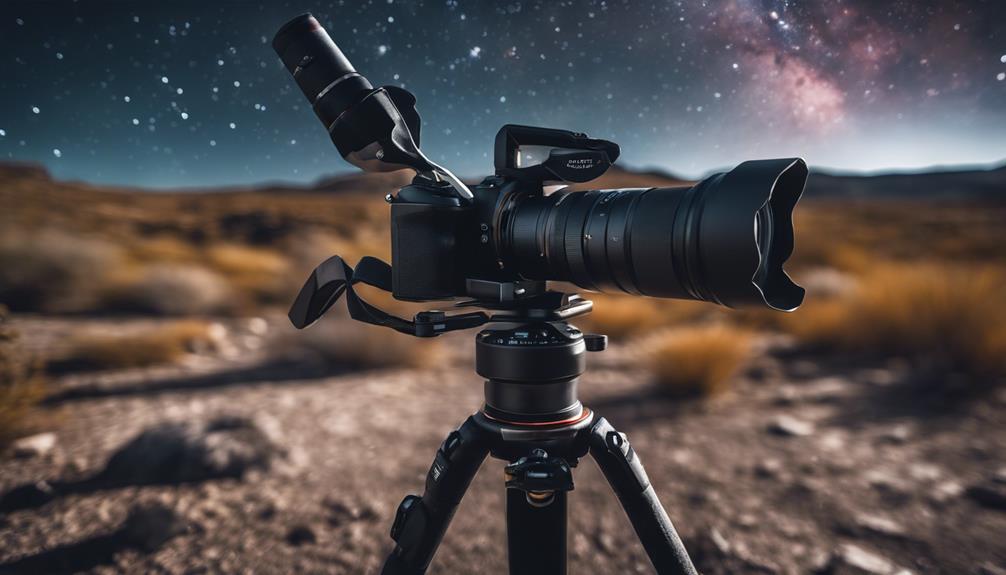
Connecting With a Camera Adapter

To access the full potential of your astrophotography journey, securing a camera adapter is a pivotal step, as it bridges your camera to your telescope, ensuring impeccable focus and image alignment.
This critical accessory allows you to transform nights of stargazing into sessions of capturing celestial marvels with precision. Camera adapters are designed with meticulous attention to detail, ensuring a stable and secure connection that’s foundational for high-quality astrophotography.
The right camera adapter not only promises a seamless connection but also plays a significant role in achieving precise focus. It’s the linchpin that aligns your camera’s sensor perfectly with the telescope’s optical path. With various sizes and designs available, selecting an adapter that fits your specific camera model and telescope setup is paramount. This compatibility ensures that every captured image is as sharp and detailed as possible, revealing the intricate beauty of the night sky.
Additionally, some adapters come equipped with additional features like tilt adjustment, offering you the flexibility to fine-tune your image composition. This level of control is indispensable for astrophotographers who aim for perfection in their celestial captures. The camera adapter, thus, isn’t just a connector; it’s an enhancer of your astrophotography adventure, enabling you to immerse deeper into the cosmos with unparalleled clarity.
Remote Shutter Release Techniques
In the domain of astrophotography, using a remote shutter release is a game-changer, ensuring your long exposure shots are impeccably sharp and free from any blur caused by camera shake.
This tool is indispensable for capturing the cosmos, allowing you to trigger your camera’s shutter without laying a finger on it, thereby eliminating any risk of introducing vibrations that can severely impact image quality, especially in low light conditions.
Here are four vital aspects to ponder when employing a remote shutter release:
- Choose the Right Type: Whether it’s wired, wireless, or app-based, select a remote shutter release that suits your setup and guarantees ease of use in the field.
- Practice Timing: Mastering the timing for long exposures is key to capturing the night sky’s fleeting moments with precision.
- Ensure Compatibility: Make sure the remote shutter release is compatible with your camera model to avoid any connectivity issues.
- Experiment with Features: Some remote releases come with additional features like intervalometers for time-lapses, enhancing your astrophotography experience.
Using Filters for Detail
As you explore the domain of astrophotography, comprehending the crucial role of filters can transform your captures. Each filter type, whether UHC, CLS, or L-Enhance, is designed to amplify specific features of the night sky, enabling you to penetrate light pollution and unveil the universe’s true beauty.
They’re not just accessories; they’re vital tools for accentuating the intricate details and elevating your astrophotography to new heights.
Filter Types Explained
Delving into the world of astrophotography, you’ll find that utilizing specific filter types can dramatically enhance your captures, revealing intricate details otherwise lost to light pollution and spectral interference.
Here’s a breakdown of essential filters:
- Essential Filters – These filters cut through the glow of artificial lighting, enhancing the contrast and allowing dim celestial objects to stand out.
- Key Filters – They isolate specific wavelengths, making the detailed imaging of emission nebulae and supernova remnants possible.
- UV/IR Cut Filters – By blocking unwanted ultraviolet and infrared light, these filters improve color balance and image sharpness.
- LRGB and Ha Filters – LRGB filters separate light into red, green, blue, and luminance channels for full-color imaging. Ha filters, on the other hand, capture the red hues of hydrogen-rich nebulae, bringing out their ethereal beauty.
Each filter plays an important role in your quest to capture the cosmos, transforming your astrophotography journey into vibrant, detailed images.
Enhancing Specific Features
Harnessing the right filters can reveal a universe of detail in your astrophotography, from the subtle shades of a distant galaxy to the vibrant hues of nebulae. Filters, such as light pollution filters, UV/IR cut filters, and narrowband filters, are your essential weapons.
They block unwanted light while enhancing targeted emissions, making the invisible, visible. The use of a filter wheel simplifies switching between these crucial tools, ensuring your setup remains undisturbed.
| Filter Type | Purpose | Emotional Impact |
|---|---|---|
| Light Pollution | Reduces background glow | Reveals stars against the night |
| UV/IR Cut | Blocks ultraviolet/infrared wavelengths | Sharpens and clarifies images |
| Narrowband | Isolates specific wavelengths | Distinguishes subtle celestial features |
Investing in quality filters means not just capturing, but also celebrating the cosmos in its purest form.
Power Supply Solutions
As you venture into the night to capture the cosmos, ensuring your gear stays powered is essential.
Portable battery options with robust durability can withstand the rigors of outdoor astrophotography, offering peace of mind.
We’ll also share tips on maximizing charging efficiency, keeping you focused on the stars, not your power levels.
Portable Battery Options
For astrophotography enthusiasts, selecting the right portable power supply is important, as it must have a high capacity, typically ranging from 5000mAh to 30000mAh, to endure long nights under the stars. Lithium-ion batteries, with their high energy density, make these portable power supplies both lightweight and powerful.
Here’s what you should look for:
- Lithium-ion batteries for their efficiency and lightness.
- Multiple output ports (USB, DC, AC) to charge various devices simultaneously.
- Built-in inverters to supply AC power for more demanding equipment.
- Size and weight considerations for easy transport; the best options weigh between 1-2 pounds.
Your choice in portable power supplies should balance functionality with convenience, ensuring your astrophotography sessions are as productive as they’re thrilling.
Power Bank Durability
After exploring portable power options, let’s focus on the durability of power banks, a key factor in maximizing your astrophotography adventures.
The Explore Scientific Power Bank, with its robust 99.6Wh/8300mAh capacity and versatile output ports (USB Port 5 VDC, 2A, and 12 VDC, 6A), stands out as an exceptionally reliable power supply solution. Weighing in at just 635g, it’s designed to guarantee extreme temperatures, ensuring your equipment remains powered in the most challenging conditions.
Its durable construction guarantees that whether you’re charging your camera, mount, or other devices, you’ve got the power you need. With a maximum charging time of 6 hours, this power bank guarantees you’re quickly back to capturing the cosmos, making it an indispensable ally in your astrophotography toolkit.
Charging Efficiency Tips
Maximizing your astrophotography sessions requires a power supply that not only boasts high capacity but also guarantees efficient energy management to keep your devices charged and ready for the night sky. To achieve this, consider these essential factors:
- Invest in a power bank with at least 10,000 mAh for enduring power.
- Multiple output ports are vital for charging your camera, phone, and additional gadgets simultaneously.
- Fast charging capabilities make sure your equipment is quickly recharged, minimizing downtime.
- A rugged design offers durability against outdoor conditions and rough handling.
Additionally, confirm the power supply’s compatibility with your astrophotography equipment by verifying voltage and connector types. This combination of capacity, versatility, speed, and resilience in your power bank will elevate your astrophotography experience, allowing you to focus on capturing the cosmos.
Incorporating a Field Flattener
Incorporating a field flattener into your astrophotography setup can dramatically correct field curvature and coma, guaranteeing stars appear impeccably sharp and round across your entire field of view.
This optical accessory is a game-changer, refining the quality of your astrophotography images beyond what you might’ve thought possible. It’s particularly indispensable for tackling wide-field astrophotography shots where the edges of your images can often suffer from distortions.
A field flattener corrects field curvature, a common issue where the focus isn’t uniform across the image plane, leading to stars that look sharp in the center but increasingly distorted towards the edges. By flattening the field, it ensures that every star, from center to edge, is captured with the same level of precision and clarity. For telescopes with fast focal ratios, this accessory isn’t just helpful; it’s essential for achieving the level of detail and sharpness that astrophotography demands.
Using a field flattener, you’re not just taking pictures; you’re capturing the universe in all its breathtaking clarity and detail. It’s an investment in your passion, elevating your astrophotography images from impressive to truly stellar.
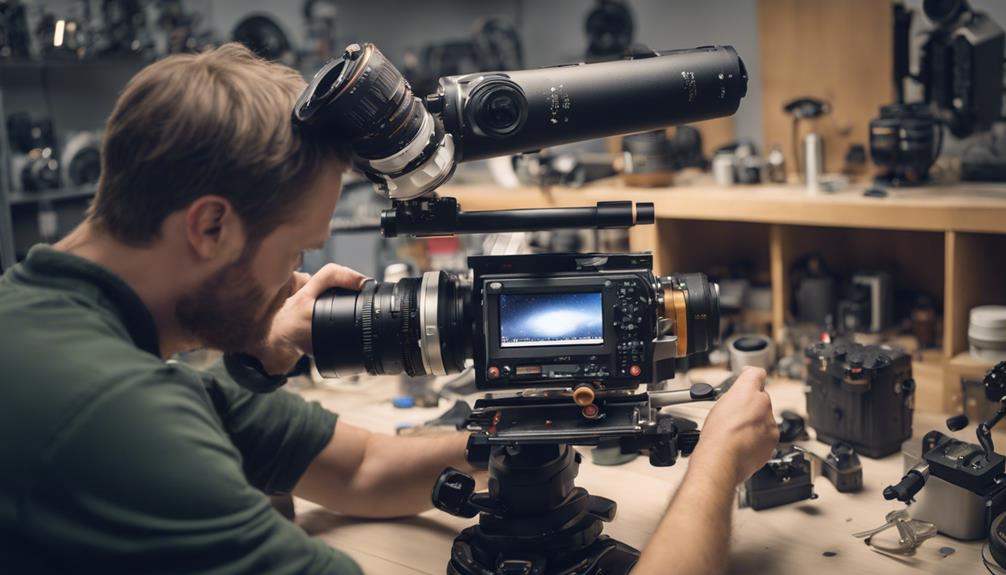
Understanding Telescope Parts
To truly excel in astrophotography, you must familiarize yourself with the essential components of your telescope, each playing a pivotal role in capturing the cosmos with unparalleled clarity. Understanding the synergy between the telescope parts is vital to achieving stellar results.
The heart of your astrophotography setup is the optical tube assembly (OTA). It’s here, within this vital component, that the magic begins. The OTA houses the primary mirror or lens, responsible for gathering and focusing light, allowing you to glimpse the universe in all its splendor.
Key parts of your telescope to understand include:
- Mount: The backbone that supports the OTA, offering stability and precision in tracking celestial bodies.
- Focuser: A critical element for fine-tuning the sharpness of your images. Its ability to make minute adjustments can mean the difference between a good and a phenomenal photograph.
- Accessories: Items like finderscopes and mirrors not only assist in locating your celestial target but also in directing the light correctly for ideal viewing.
- OTA: The main component where light is collected and focused, setting the stage for everything that follows in astrophotography.
Mastering these components and their interplay is essential for capturing the night sky with clarity and detail.
Astrophotography Composition Tips
As you venture into the domain of astrophotography, mastering the art of framing celestial subjects is vital. You’ll need to meticulously balance the cosmic spectacle in your viewfinder, ensuring each star and galaxy finds its rightful place in your composition.
Additionally, combating light pollution is paramount, as it directly impacts the clarity and vibrancy of your celestial captures, urging you to adopt strategies that preserve the night sky’s natural beauty.
Framing Celestial Subjects
Mastering the art of framing celestial subjects in astrophotography can elevate your photos from good to breathtaking, employing techniques like the rule of thirds to create compelling compositions.
With your camera securely mounted on a sturdy tripod, and the right filters attached for enhanced contrast, you’re set to explore the cosmos. The power guarantee ensures your session extends until you’ve captured the perfect shot.
Here are key tips:
- Utilize foreground elements, like trees or mountains, to add depth.
- Experiment with angles and perspectives for dynamic compositions.
- Incorporate leading lines to draw attention to celestial wonders.
- Balance light and dark areas carefully for visually appealing results.
With these strategies, your mount, tripod, camera, filters, and power guarantee become tools in painting the night sky with light.
Light Pollution Mitigation
Light pollution filters are indispensable tools for astrophotographers seeking to capture the pristine beauty of the night sky amidst an urban glow.
These specialized astrophotography accessories are your first line of defense against the pervasive wash of urban lighting and artificial sources that can obscure celestial wonders.
By selectively blocking specific wavelengths emitted by artificial light, light pollution filters enhance contrast and bring out the intricate details of the night sky. They’re designed to fit various lens sizes, ensuring that your setup can adapt to combat light pollution effectively.
Incorporating a light pollution filter into your gear is a game-changer, dramatically improving image quality and clarity. It’s a must-have for anyone passionate about revealing the true splendor of the cosmos, especially when battling the challenges of artificial illumination.
Maintenance and Care
To guarantee your astrophotography accessories retain their peak performance, it’s vital to regularly clean and meticulously inspect them for any signs of dust or debris buildup.
This maintenance is particularly important for ensuring the stability of your mount, the reliability of your tripod, the precision of your camera adapter, and the efficiency of your power supply. Each component plays a pivotal role in capturing the cosmos with astounding clarity and detail.
Here are four essential steps to maintain your equipment:
- Use lens caps and covers to shield lenses and filters from scratches and dust when not in use.
- Store accessories in a dry, secure location to prevent damage from moisture or accidental drops.
- Keep electronic components like power supplies away from moisture to avoid short circuits or corrosion.
- Follow manufacturer guidelines for specific maintenance and care instructions, ensuring each piece of equipment functions at its best.
Adhering to these practices not only prolongs the lifespan of your astrophotography gear but also enhances your passion for capturing celestial wonders. Remember, your dedication to maintenance reflects in the quality and beauty of your astronomical imagery.
Frequently Asked Questions
What Equipment Is Needed for Astrophotography?
You’ll need a star tracker for precise movement, a guide scope for accuracy, lens selection for clarity, filters to reduce light pollution, and cooling systems to prevent noise. This gear elevates your astrophotography to new heights.
What Is the Best Setup for Astrophotography?
Your journey to capturing the cosmos starts with choosing the right lens, venturing to dark sites, mastering exposure techniques, and employing post-processing software. Don’t forget cooling systems to keep your gear at prime performance.
What Do You Need for Deep Space Astrophotography?
For deep space astrophotography, you’ll need autoguiding systems for precision, cooling mods to reduce noise, dark frame collection for clarity, light pollution filters to enhance contrast, and sensor cleaning kits to maintain image quality.
What Is a Good Tripod for Astrophotography?
In your quest for celestial snapshots, a sturdy tripod’s your silent guardian. Opt for carbon fiber for lightweight strength, ensuring it’s got a hefty weight capacity. Look for versatile tripod heads, secure leg locks, and a compact, folded size.
Conclusion
In wrapping up, selecting the right mount guarantees stability, while choosing a versatile tripod adapts to every terrain.
Connecting your camera seamlessly, using a remote shutter release sharpens your shots.
Filters reveal the cosmos’ depth, and a reliable power supply extends your quest.
Incorporating a field flattener enhances image quality, making every capture extraordinary.
Remember, understanding your gear and maintaining it passionately elevates your astrophotography journey.
Plunge into the cosmos with confidence, armed with these essentials, and let every shot tell a stellar story.