How to Snap Sharper Photos With Your Telescope

Imagine your telescope as an interstellar camera, capturing moments light-years away, yet sometimes the clarity of these cosmic snapshots falls short of the awe-inspiring reality.
You're on a quest to start this gap, beginning with the basics—ensuring stability and mastering the art of focus. From selecting the right equipment to understanding the whims of our atmosphere, every adjustment you make is a step closer to transforming blurred stars into sharp celestial masterpieces.
Let's start on this journey together, exploring techniques to enhance your astrophotography skills, and perhaps, disclose the secrets of the cosmos one sharp image at a time. Why settle for less when the universe is waiting to be seen in all its clarity?
Key Takeaways
- Invest in high-quality optics and a sturdy mount for precision tracking and stability.
- Monitor atmospheric conditions and adjust settings for optimal image sharpness.
- Utilize techniques like image stacking and post-processing for enhanced detail.
- Employ precise focusing tools and camera attachments specific to your telescope for sharp images.
Selecting the Right Equipment
Choosing the right equipment is an essential step in capturing sharper, more breathtaking photos of the cosmos. When you're diving into astrophotography, your telescope isn't just a tool; it's your gateway to the universe. Opt for telescopes with larger apertures, ideally 80mm or above, as they excel in light-gathering, allowing you to expose the delicate details of distant galaxies and nebulae. But it's not just about size. High-quality optics, such as ED or APO refractors, play a pivotal role in minimizing chromatic aberration, ensuring your celestial images aren't just bright but crisply clear.
Your journey doesn't end with the telescope. A sturdy equatorial mount is non-negotiable for tracking the celestial dance with precision, essential for long-exposure shots where even a slight movement can blur the stars into streaks. Pairing your setup with a camera that can handle long shutter speeds, or even a smartphone with the right adapter, can open up a world of astrophotography possibilities. Don't overlook accessories like precision focusers and camera adapters, tailored for your setup, to push the boundaries of clarity and sharpness in your cosmic captures.
Understanding Atmospheric Impact
While selecting the right telescope and equipment is important, it's equally important to understand how the Earth's atmosphere can greatly affect the sharpness of your celestial photos. Atmospheric conditions such as turbulence, temperature differentials, and air density play significant roles in the clarity of telescope photography. As light travels through the various atmospheric layers, it encounters distortion and blurring, which can mar the quality of your telescope images.
Factors including altitude, weather patterns, and proximity to water bodies can influence atmospheric stability, thereby affecting image sharpness. For instance, higher altitudes may offer clearer skies, while locations near large bodies of water might introduce additional atmospheric instability.
To tackle these atmospheric effects, adopting techniques like stacking multiple frames or using advanced image processing software can enhance the sharpness of your telescope photos. These methods help to mitigate the distortions caused by the atmosphere, ensuring that your celestial captures retain their detail and clarity.
Understanding and monitoring atmospheric conditions are important steps in capturing sharp and detailed telescope images. By keeping an eye on the sky's behavior and adapting your techniques accordingly, you'll be better positioned to snap those crisp, awe-inspiring shots of the cosmos.
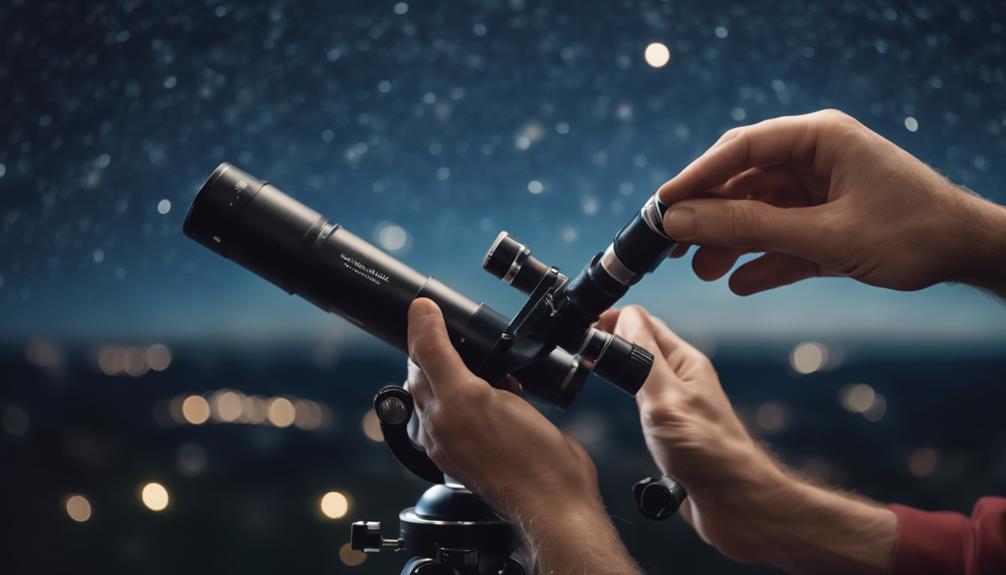
Attaching and Aligning the Camera
Securing your camera to the telescope using the right adapter is a pivotal step in capturing the cosmos with unparalleled sharpness. By guaranteeing a seamless connection, you're laying the foundation for astrophotography that truly dazzles.
Here's how to perfect the process:
- Choose the Right Camera Adapter: Make sure you have a camera adapter specifically designed for your telescope model. This guarantees a stable attachment and avoids any undue stress on your equipment.
- Align with the Optical Axis: Carefully align the camera with the telescope's optical axis. This precision is critical for capturing sharp images of celestial wonders, ensuring every star and planet is crisply defined.
- Secure with a T-Ring Adapter: Utilize a T-ring adapter to connect your camera securely to the telescope's eyepiece holder. This step is essential in maintaining the correct distance and alignment between your camera and the telescope.
- Stabilize to Counteract Vibrations: Before you start capturing the night sky, take a moment to stabilize your telescope setup. Eliminating any potential vibrations is key to ensuring the sharpest images possible.
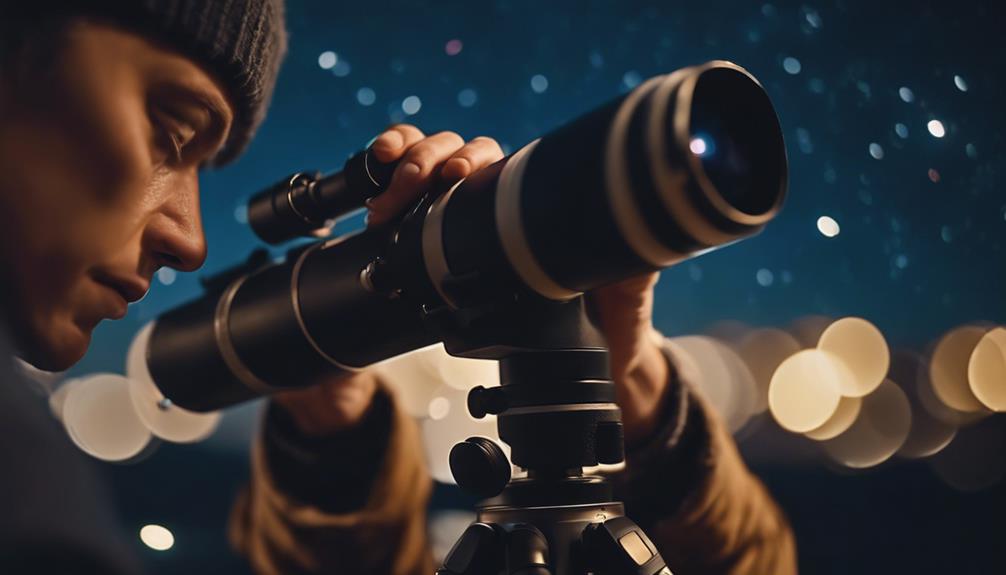
Mastering Focus for Sharp Images
Once you've got your camera aligned with your telescope, it's time to focus on achieving those crisp, celestial images you're after. By exploring focus aids like the Bahtinov mask and honing in on techniques for manual and software-assisted focusing, you'll be well on your way to capturing the cosmos with unparalleled sharpness.
However, it's also crucial to understand the common challenges that can blur your astrophotography ambitions, ensuring you're equipped to overcome them.
Achieving Perfect Focus
Mastering focus is essential for capturing the universe's stunning details through your telescope, and achieving sharp images starts with understanding and implementing precise focusing techniques. Here's how you can guarantee your astrophotography captures are as sharp as the cosmos allows:
- Bahtinov Mask: Utilize to achieve precise focus by observing diffraction patterns that pinpoint best sharpness.
- LiveView: Magnify images on a camera or laptop for accurate focusing adjustments until you reach peak sharpness.
- Dual-Speed Focuser: Invest in for fine adjustments, minimizing camera shake and ensuring perfect focus.
- Mark Focus Position: Note the best setting on your telescope for quick, consistent sharpness, especially important as temperature changes can affect focus during your session.
Focus Aids and Techniques
To capture the universe's intricate beauty through your telescope, employing focus aids and techniques is essential for producing sharp images. A Bahtinov mask, for instance, becomes your best friend in the dark, using diffraction patterns to pinpoint precise focus. Pairing this with LiveView on a laptop can magnify your target, allowing for minute adjustments you'd otherwise miss.
Don't forget to regularly check and mark your focus position; this consistency is key. Upgrading to a dual-speed focuser offers the finesse needed for those critical, sharp captures. Additionally, integrating filters and a dew heater can significantly enhance your focusing conditions, mitigating common disturbances and ensuring your celestial snapshots are as crisp as the night sky itself.
Common Focus Challenges
Having explored various aids and techniques to focus your telescope, it's important to address the challenges you'll encounter on your quest for sharp images. Mastering focus is vital, but it comes with its hurdles. Here's what you need to know:
- Finding the Right Focal Point: Achieving sharp focus demands precision. Experiment with auto-focus features or manual adjustments to hone in.
- Minimizing Vibrations: Even the slightest movement can blur your images. Stabilize your setup to combat this issue.
- Adjusting for Atmospheric Conditions: Turbulence in the air can distort your view. Patience and timing are key.
- Using a Bahtinov Mask: This tool helps by creating diffraction patterns, making fine-tuning focus easier and more accurate.
Tackling these challenges will significantly enhance the sharpness of your telescope photos.
Optimizing Exposure for Clarity
Adjusting your telescope's exposure settings, such as shutter speed and ISO, is essential for capturing photos that are both sharp and full of clarity. The dance between gathering light and freezing motion is a delicate one, especially when Earth's rotation threatens to blur your long-exposure shots. To maintain sharpness, you'll need to find the sweet spot in your exposure settings that allows enough light in without letting camera shake or the planet's movement turn your stars into streaks.
Here's a quick guide to start experimenting:
| Setting | For Bright Objects | For Dim Objects |
|---|---|---|
| Shutter Speed | Faster to reduce blur | Slower to gather more light |
| ISO | Lower to decrease noise | Higher to increase sensitivity |
| Stability | Essential for all | Critical for long exposures |
Post-Processing Techniques
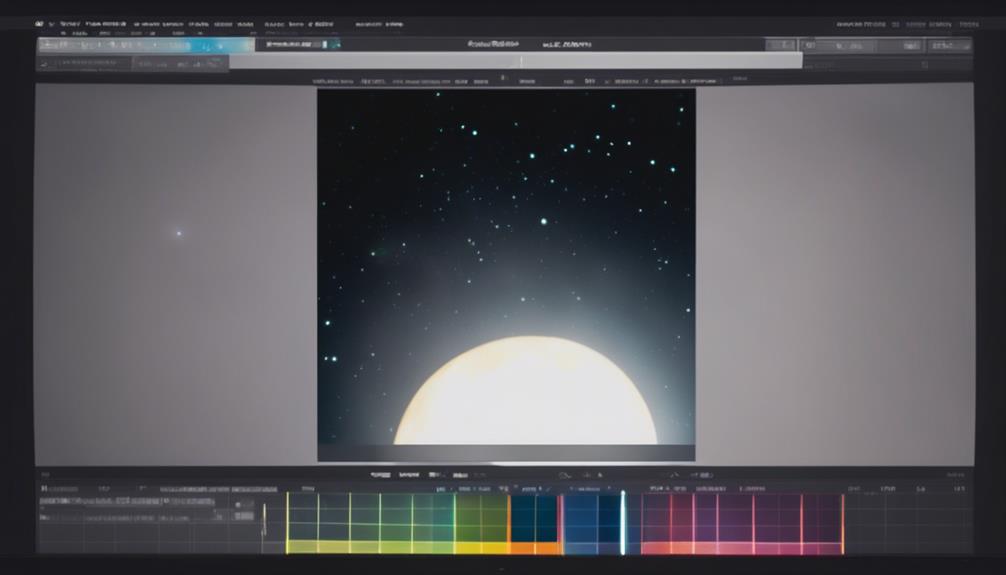
Once you've captured the cosmos through your telescope, post-processing techniques become your digital darkroom keys to reveal an image's full potential.
You'll explore how enhancing image sharpness, applying color correction methods, and employing noise reduction techniques can transform a good snapshot into a breathtaking celestial portrait.
These steps are essential in revealing the subtle details and vibrant colors that make astrophotography truly mesmerizing.
Enhancing Image Sharpness
Exploring the cosmos through your telescope, you'll find that post-processing techniques, such as utilizing sharpening tools in software like Adobe Photoshop, can greatly enhance the fine details and clarity in your celestial captures. Here's how to refine your astrophotography shots for breathtaking sharpness:
- Utilize Sharpening Tools – Enhance fine details and boost clarity using software-specific sharpening features.
- Adjust Contrast and Clarity – Dial in the contrast and clarity settings to spotlight sharpness in desired areas.
- Employ Deconvolution Techniques – Correct optical imperfections in your telescope images to improve overall sharpness.
- Apply Noise Reduction – Minimize graininess in your shots, which in turn, enhances the perceived sharpness of celestial objects.
Experiment with different post-processing filters and adjustments to master the art of capturing the cosmos with impeccable sharpness.
Color Correction Methods
After refining your astrophotography shots for breathtaking sharpness, it's time to tackle color correction methods to guarantee your images reflect the true beauty of the cosmos.
The telescopes use captures light from celestial bodies, but the colors may not always align with reality. Through color correction, you're adjusting the color balance, enhancing the accuracy and clarity of your astrophotography images.
Utilizing post-processing techniques and tools like Adobe Photoshop or Lightroom, you can correct color inaccuracies. By balancing red, green, and blue color channels, you'll improve the overall representation and eliminate issues like color casts and white balance discrepancies.
Proper color correction not only enhances the visual appeal but also assures the celestial objects you've captured truly mirror their cosmic splendor.
Noise Reduction Techniques
To elevate your astrophotography images to the next level, it's important to implement noise reduction techniques during post-processing, effectively minimizing graininess while boosting detail and clarity. Here's how you can enhance image quality:
- Utilize Specialized Software: Delve into Adobe Photoshop, Lightroom, or dedicated astrophotography tools for advanced noise reduction capabilities.
- Fine-Tune Settings: Adjust luminance and color noise reduction sliders to precisely target and reduce unwanted noise.
- Employ Stacking Techniques: Combine multiple images of the same scene to reduce noise while preserving the intricacies and clarity of your celestial subjects.
- Experiment: Each image may require a unique approach. Don't hesitate to test different methods to discover the most effective noise reduction strategy for your shots.
Regular Maintenance for Quality Imaging
Maintaining your telescope through regular cleaning and adjustments is important for capturing impeccably sharp images of the cosmos. To start, keeping the lens and mirrors free from dust and debris is vital. Use a soft brush or compressed air for gentle cleaning. These optical elements are your window to the universe, and even the smallest particle can blur the wonders you're trying to capture.
Next, immerse yourself in the world of collimation. This process guarantees that all optical elements are perfectly aligned. Misalignment can greatly impact the sharpness of your images, making stars appear bloated or distorted. Regular checks and adjustments to the collimation will keep your views crisp and your images sharp.
Do not overlook the importance of your telescope's mount and focus mechanism. A stable mount and smoothly operating focus mechanism are key to maintaining the sharpness of your images, especially during long exposure times. Make any necessary adjustments or lubrications to prevent jittery images.
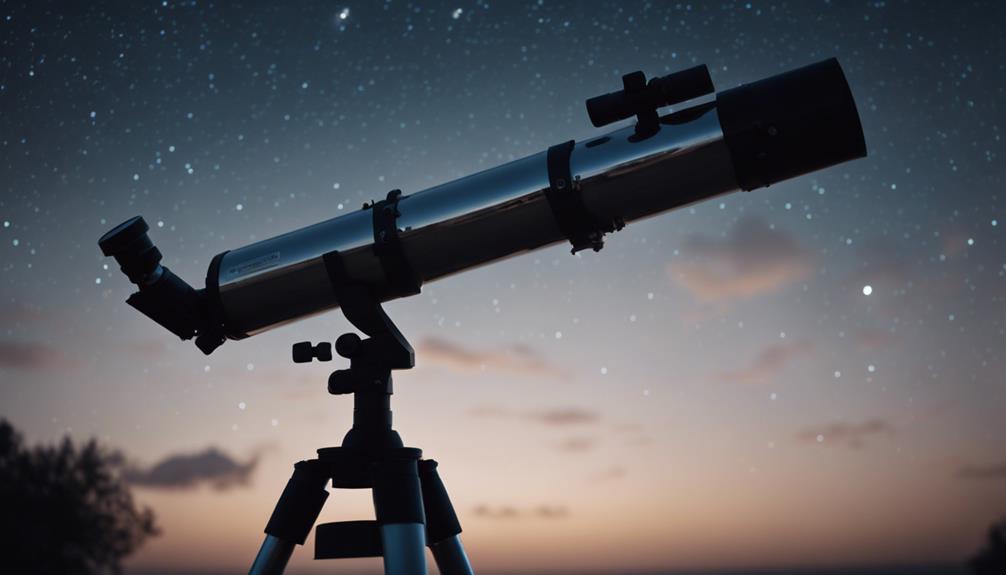
Navigating Telescope Setup
Once you've verified your telescope is in pristine condition, setting it up properly becomes your next step toward capturing the universe's awe-inspiring details. Your telescope setup is critical in the journey to unravelling the cosmos' mysteries. Here's how you can guarantee a setup that leads to sharper, breathtaking images:
- Maintain Stability: Tighten all screws on the telescope's supports and tube. A stable foundation is key to clear imagery. Without it, even the slightest vibration can blur your cosmic captures.
- Start With a Low-Power Eyepiece: Use a low-power eyepiece to easily locate and center objects in the night sky. It's like finding your way in a cosmic map before zooming in for the details.
- Align Computerized Telescopes: For those with computerized telescopes, begin by aligning your telescope with bright stars. This calibration allows for precise automatic slewing, ensuring your telescope tracks celestial objects accurately.
- Opt for Quality Accessories: Attach your smartphone with a drop-proof case and use quality adapters from trusted brands. This reduces wobble and allows for finer adjustments, essential for capturing the universe's elegance.
Guiding your telescope setup with these steps not only enhances your astrophotography experience but brings the universe a little closer to home.
Adjusting for Atmospheric Conditions
The atmosphere's mood swings, from turbulence to tranquil air, play an important role in the clarity of your celestial shots. Atmospheric conditions, such as turbulence and air density, can have a major impact on the quality of images captured through your telescope. To combat these challenges, astrophotography enthusiasts must become adept at adjusting for atmospheric conditions.
One effective tool in your arsenal is a Barlow lens, which increases both the focal length and magnification of your telescope, helping to mitigate the effects of atmospheric distortion. However, it's a delicate balance; longer focal lengths and higher magnifications can also amplify these distortions, requiring thoughtful adjustments to achieve sharper images.
Monitoring weather patterns and astronomical forecasts is crucial. Planning your astrophotography sessions around nights with stable air, known as good 'seeing' conditions, can make a substantial difference.
| Strategy | Benefit | Consideration |
|---|---|---|
| Barlow Lens | Increases magnification | May amplify distortions |
| Weather Monitoring | Identifies stable conditions | Requires advance planning |
| Focal Length Adjustment | Tailors magnification | Balances clarity and detail |
| Magnification Control | Manages distortion levels | Avoids over-magnification |
| Seeing Conditions | Optimizes atmospheric stability | Limits available shooting nights |
Enhancing Images With Camera Attachments
To significantly enhance the sharpness and detail in your celestial photographs, consider investing in specialized camera attachments designed for astrophotography. These tools bridge the gap between your telescope and camera or smartphone, letting you capture the cosmos with precision and ease.
Here's how you can elevate your astrophotography game:
- T-ring Adapters: Essential for directly connecting your DSLR or mirrorless camera to your telescope, T-ring adapters guarantee a stable, aligned setup, maximizing image quality.
- Eyepiece T-mount Adapters: These adapters provide a secure link between your camera and telescope's eyepiece, allowing for detailed shots of celestial bodies with minimal vibration.
- FoneMate from TeleVue Optics: Specifically designed to enhance planetary surface detail, the FoneMate adapter connects your smartphone to your telescope, delivering sharp, vibrant images of the planets.
- Smartphone Adapters: Devices like the iOptron Universal Smartphone Adapter offer hands-free, stable adjustments, making it easier to capture the night sky without worrying about shaking or misalignment.
Frequently Asked Questions
How Do You Take Good Pictures With a Telescope?
To take good telescope pictures, you'll need mount stabilization, precise focus adjustments, and best aperture settings. Adjust exposure timing based on lighting conditions, and consider image stacking and filter usage for clarity and detail enhancement.
How Can You Produce a Better Image of Your Telescope?
You can enhance your telescope's images by ensuring diligent maintenance, precise mirror alignment, minimizing light pollution, mastering focusing techniques, stabilizing the mount, considering atmospheric conditions, and adjusting camera settings for crystal-clear celestial captures.
How Can I See Better With a Telescope?
To see better with your telescope, guarantee perfect alignment and select the right magnification. Consider light pollution, atmospheric conditions, and eyepiece selection. Regular maintenance and a good viewing location are key for clearer observations.
How Do You Snap Astrophotography?
To snap stunning astrophotography, you'll need to master camera settings, use night filters, and practice image stacking. Employ post-processing techniques, reduce light pollution, adjust exposure, and guarantee celestial tracking for sharper, breathtaking night sky images.
Conclusion
In your journey to capture the cosmos, remember, 90% of astrophotography's success hinges on mastering your equipment and the environment.
By regularly maintaining your gear, optimizing exposure, and adjusting for atmospheric conditions, you'll greatly enhance your images.
Embrace the challenge of aligning and focusing with precision, and don't shy away from enhancing your shots with suitable camera attachments.
Keep experimenting and learning; the universe is vast, and each clear, sharp photo you snap is your unique window into its wonders.