How to Take Amazing Moon Photos Using Your Telescope
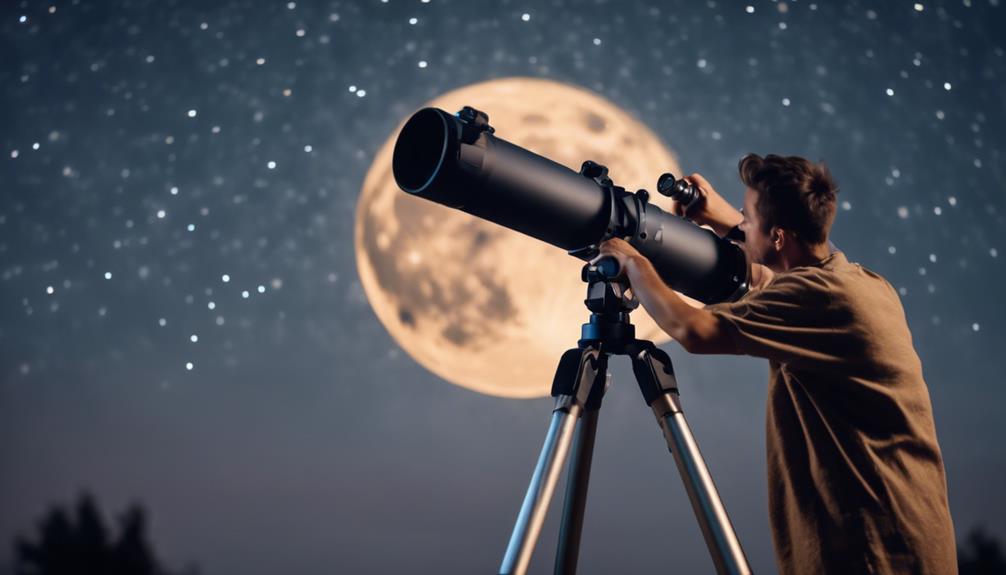
When Andrew McCarthy captured the internet’s imagination with his stunningly detailed shots of the lunar surface, he showed the world what’s possible with a telescope and a bit of know-how. You’re likely to capture your own mesmerizing moon photos, and it’s entirely within your reach.
By selecting the right telescope, mastering the camera attachment, and tweaking your focus and exposure settings, you’ll be well on your way. But there’s more to it than just the basics.
To truly elevate your lunar photography, understanding techniques like image stacking and post-processing is key. Stick around to uncover these essential tips that will transform your moon shots from ordinary to extraordinary.
Key Takeaways
- Choose a telescope with a suitable aperture, focal length, and high-quality coatings for detailed lunar imagery.
- Employ proper mounting and utilize a T-ring and T-adapter to securely attach a DSLR to the telescope.
- Experiment with shutter speeds, ISO settings, and image stacking to capture clear and detailed moon photos.
- Enhance your lunar photography with post-processing techniques, including adjusting brightness, contrast, and using noise reduction tools.
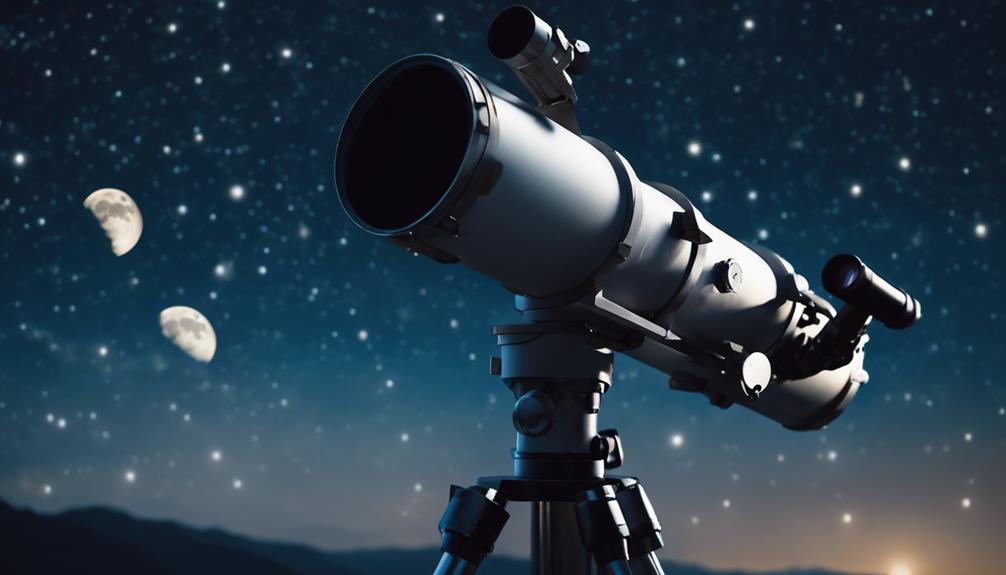
Selecting the Right Telescope
When choosing the perfect telescope for moon photography, consider the aperture size and focal length to ensure breathtaking lunar shots.
The aperture size is vital, as it determines your telescope’s light-gathering ability and, ultimately, the resolution of your moon images. A larger aperture captures more light, revealing intricate lunar details you won’t want to miss.
Meanwhile, the focal length influences your magnification level, allowing you to zoom in on the moon’s surface to capture its craters and mountains with incredible clarity. But remember, a sturdy mount is just as important. It minimizes vibrations, making sure that your celestial subject stays sharp throughout your photography session.
You’ll also want to pay close attention to the optics. High-quality coatings enhance image contrast, making the moon’s features pop against the backdrop of space. Whether you opt for a refractor telescope for its crisp images or a reflector telescope for its cost-effective, larger apertures, make certain it aligns with your photography goals.
Plunge into moon photography with the right telescope, and you’re set for an out-of-this-world experience.
Attaching the Camera Properly
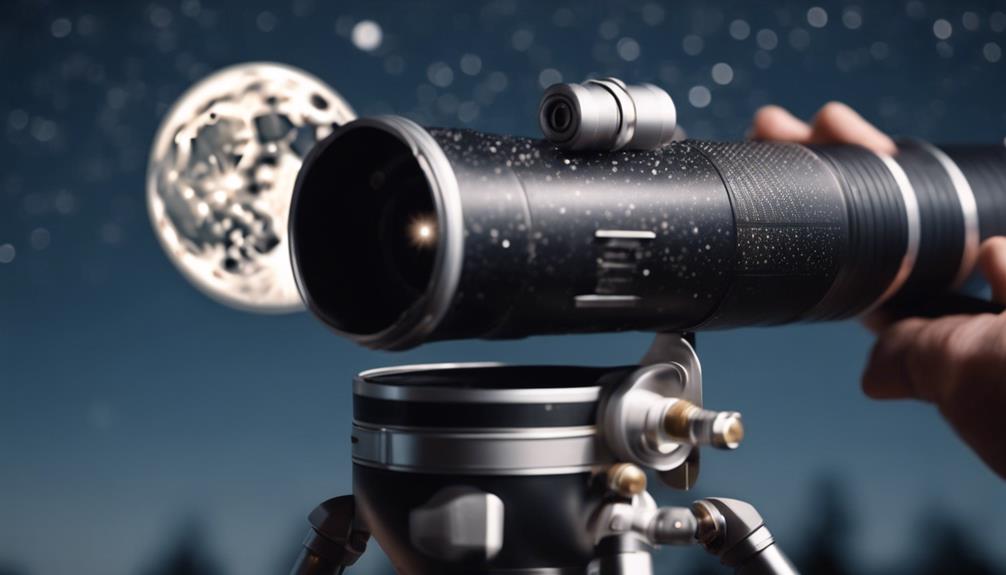
To capture the moon’s mesmerizing detail, you’ll need to attach your DSLR camera to the telescope using a T-ring and T-adapter, making sure it’s mounted securely to eliminate any vibrations during the shoot. This step is essential for achieving those breathtaking moon photos you’re after.
Here’s what you need to know:
- T-ring and T-adapter: These are the essential pieces for connecting your DSLR to the telescope. The T-ring attaches to your camera’s lens mount, while the T-adapter goes on the telescope’s focuser.
- Secure mounting: Make sure the camera is tightly attached to prevent any wobble. A firm attachment ensures that your images won’t be ruined by unexpected movements.
- Prime-focus photography: This technique transforms your telescope into a powerful telephoto lens, perfect for capturing detailed shots of the moon.
- Vibration elimination: It’s essential to eliminate all potential vibrations. Even the slightest shake can blur your moon photos, reducing the clarity and detail you’re aiming for.
Adjusting Focus for Clarity
After securely attaching your camera to the telescope, it’s time to focus on adjusting the focus for crystal-clear moon images.
Achieving sharp focus is key to capturing the moon’s intricate details, from its mesmerizing craters to towering mountains. The clarity of your lunar images depends on how well you fine-tune the focus knob on your telescope. Remember, the moon isn’t just a bright spot in the sky; it’s a world filled with fascinating features waiting to be explored through your lens.
As you peer through the eyepiece, start by gently adjusting the focus. You’ll notice the surface of the moon becoming more defined. This step is important, especially when aiming for those full moon shots where every detail counts. The atmosphere can play tricks on your image, causing blurriness. That’s why it’s crucial to continuously adjust your focus, ensuring that your lunar photography captures the moon in all its glory, sharp and clear.
Mastering the focal length and understanding how it interacts with your telescope’s capabilities will elevate your moon photography. Each slight turn of the focus knob can mean the difference between a blurry image and a breathtaking lunar landscape. So take your time, adjust carefully, and prepare to capture the moon like never before.
Setting the Correct Exposure
Now that you’ve got your focus dialed in, it’s time to tackle exposure, ensuring your moon shots are nothing short of breathtaking.
Understanding the basics of exposure will let you play with shutter speed to capture the moon in all its glory, avoiding the pitfalls of overexposure or underexposure.
Let’s explore how adjusting your settings can dramatically enhance the details and textures of the lunar surface in your photographs.
Understanding Exposure Basics
Mastering the right exposure settings is key to capturing breathtaking moon photos that pop with detail and luminosity. In lunar photography, understanding exposure basics is essential. Here’s how you can ace it:
- Lower your ISO setting for full moons to avoid overexposure while capturing the moon’s brilliance.
- Faster shutter speeds help in reducing the blurring effect, especially when your telescope mount isn’t motorized.
- Spot metering mode allows for precise light measurements from the moon, enhancing the clarity of your shots.
- Adjust exposure compensation to fine-tune the light reaching your camera sensor, ensuring your lunar photos are neither too bright nor too dark.
Experiment with these settings on your astrophotography equipment, considering the moon phase and using the afocal method for stunning results.
Adjusting Shutter Speed
Having covered the basics of exposure, let’s focus on how adjusting your shutter speed can dramatically enhance the quality of your moon photos. By tweaking the shutter speed on your camera, you’re basically controlling the light’s entrance during the shoot.
Want those bright, detailed lunar images? A longer shutter speed is your friend, allowing more light and capturing the moon’s intricate details. But beware of overexposure! A shorter shutter speed helps keep the brightness in check, ensuring your moon isn’t just a white blotch.
Don’t shy away from experimenting with various settings to strike the perfect balance between brightness and clarity. And remember, a tripod is indispensable for those longer exposures, keeping your camera steady and your images sharp.
Utilizing Image Stacking for Detail
To capture the moon’s elusive beauty in exquisite detail, consider leveraging the power of image stacking, a technique that merges multiple photos to greatly enhance clarity and reveal finer surface features. Image stacking isn’t just about engaging in this method; it’s a refined process that astrophotographers swear by to bring out the best in their lunar photography.
Here’s why you should delve into this technique:
- Enhances details: By combining several photos, you’re able to bring out even the most minute details on the lunar surface that single shots might miss.
- Reduces noise: It markedly diminishes graininess, making your images smoother and clearer.
- Improves signal-to-noise ratio: A higher signal-to-noise ratio means your moon photos will have less background noise, allowing the true beauty of the moon to shine through.
- Captures fine lunar features: From craters to the subtle play of light and shadow, stacking helps in showcasing the moon’s geography in stunning clarity.
Using the right software to align and stack your photos can transform your moon shots from good to breathtaking. Embrace this technique, and you’ll be amazed at the difference it makes in your astrophotography journey.
Enhancing Images in Post-Processing
Once you’ve captured the moon’s ethereal beauty through your telescope, the next step is diving into post-processing to truly make those images pop. With the right post-processing software, you can transform your lunar shots from great to breathtaking.
By adjusting the contrast, brightness, and sharpness, you’ll enhance the clarity and detail of the moon’s surface. Noise reduction tools are essential for smoothing out the grain and improving the overall quality of your image. Don’t forget to crop and resize to highlight the most interesting lunar features and create a visually appealing composition.
Here’s a quick guide to get you started:
| Enhancement | Purpose |
|---|---|
| Contrast Adjustment | Enhances the moon’s textures and visual elements |
| Brightness Enhancement | Illuminates shadowed areas, making features pop |
| Sharpness Adjustment | Brings out intricate details |
| Color Balance & Saturation Levels | Achieves a vibrant, yet realistic lunar landscape |
Experiment with different filters and effects to add unique visual elements. Remember, the goal is to experiment and have fun while staying true to the moon’s natural allure. Adjusting the color balance and tinkering with the saturation levels can significantly improve the realism and vibrancy of your lunar imagery.
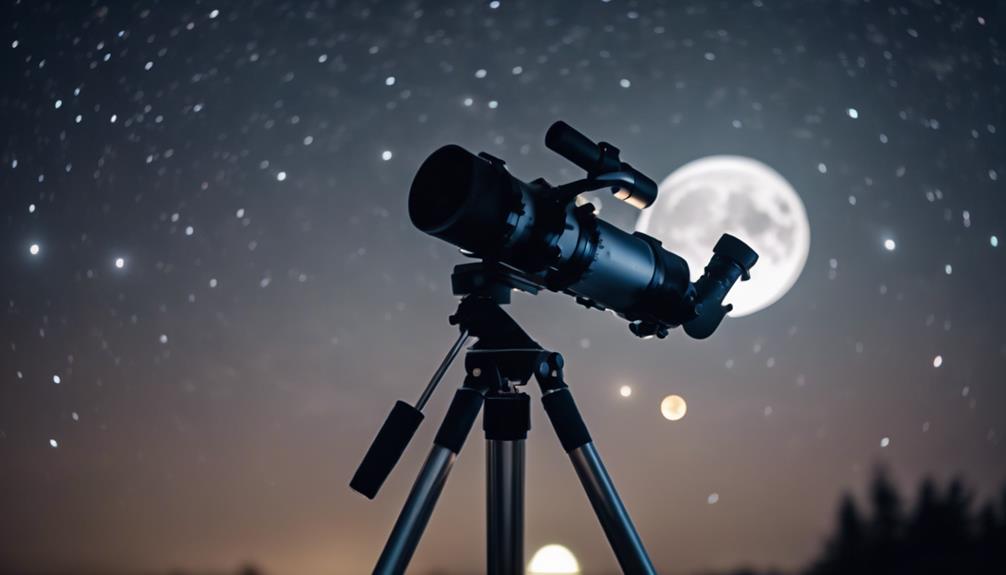
Best Practices for Lunar Photography
For stunning lunar photography, mastering a few best practices can dramatically elevate the quality of your moon shots. Whether you’re a seasoned astrophotographer or just starting out, using your telescope in conjunction with a DSLR camera can reveal a universe of detail in your moon images.
By adhering to these guidelines, you’re on your way to capturing the moon’s mesmerizing beauty like never before.
- Use prime-focus photography by attaching your DSLR camera directly to the telescope. This method allows for crisp, close-up views of the moon’s surface, showcasing its craters and textures in high definition.
- Experiment with eyepiece-projection photography for a deeper look into the moon’s geography. This technique magnifies lunar features, bringing distant craters and landscapes into sharp focus.
- Try afocal photography for capturing the moon in its entirety. Holding your camera lens over the telescope eyepiece offers a wide-angle perspective, perfect for framing the moon against a night sky backdrop.
- Don’t forget about software editing. Tools like Adobe Photoshop can greatly enhance your moon images, allowing you to adjust contrast, brightness, and sharpness for the best clarity.
Capturing Lunar Events

After mastering the basics of lunar photography, you’re now ready to capture the breathtaking drama of lunar events with your telescope. Remember the Total Lunar Eclipse on September 27th, 2015? Such events offer a unique spectacle, showcasing the night sky in a way that’s unlike any other. With your telescope’s eyepiece, you can immerse yourself in the world of Moon Photography, turning moments like the Super Blood Moon eclipse into timeless images.
To make the most of these celestial events, adjust your exposure settings carefully. Lunar eclipses, with their dramatic shifts in light, challenge even the seasoned photographer. Yet, with a bit of practice, you’ll find the right balance to bring out the deep reds of a Total Lunar Eclipse, all while capturing the stars in the background sky.
For those starting out, afocal photography—aligning your smartphone cameras directly to the telescope’s eyepiece using an eyepiece holder—can be an effective method.
This approach allows you to capture the waxing crescent moon, a slender smile in the night sky just days after a new moon, with ease. Position your telescope at the moon when it hangs low, over the trees, and you’ll snag images that aren’t just photos, but stories written in light.
Frequently Asked Questions
How Do You Take High Quality Pictures of the Moon?
Want to capture the moon’s beauty? Adjust your camera settings for the phase and weather, select the right lens, use a tripod and remote shutter. Don’t forget photo editing to beat light pollution and enhance details!
What Is the Best Telescope to Photograph the Moon?
To capture the moon’s beauty, pick a telescope with a large aperture and long focal length. Consider refractors or Schmidt-Cassegrains for sharp images, ensuring camera compatibility and mount stability. Don’t forget filters to enhance detail!
How Do I Get the Sharpest Picture of the Moon?
Worried your moon shots won’t pop? Immerse yourself in manual mode, adjust camera settings, and master focus technique. Utilize image stacking, exposure adjustments, and moon filters. Don’t overlook a stable tripod, remote shutter, and post-processing tips!
How Do You Track the Moon With a Telescope?
To track the moon with your telescope, start with polar alignment and adjust the mount’s azimuth. Use manual tracking or drive systems, and enhance accuracy with tracking software and Go To technology based on celestial coordinates.
Conclusion
Now, you’re equipped to capture the moon’s mystique through your telescope, transforming night into day with your lens.
Remember, each photo is a dance with light and shadow, a chance to freeze time.
Embrace the nuances of lunar photography, from the gentle caress of focusing to the final flourish of post-processing.
Your persistence paints the sky, bringing distant wonders within reach.
So, venture forth, camera in hand, and let the moon’s silver glow guide your creative journey.