How to Capture Stunning Stars With Cheap Telescopes
So, you’ve decided to capture the cosmos with a telescope that’s less expensive than a trip to the local observatory—commendable yet ambitious.
You might think your budget-friendly gear can’t possibly rival the clarity and depth of those high-end setups, but with the right approach, you’re about to prove that theory wrong.
By focusing on a few key techniques, such as selecting a telescope that punches above its weight class and mastering some essential astrophotography skills, you’ll be well on your way to snapping breathtaking starry scenes.
Stick around to uncover how to make the most of your modest equipment, transforming your backyard into a gateway to the galaxy.
Key Takeaways
- Affordable telescopes like the Celestron StarSense Explorer DX 130AZ offer clear celestial viewing and photography features.
- Stabilizing equipment and manual camera settings are crucial for capturing detailed astrophotography.
- Combating light pollution with filters and choosing dark sky sites enhance photo quality.
- Post-production software significantly improves astrophotography by adjusting key image attributes.
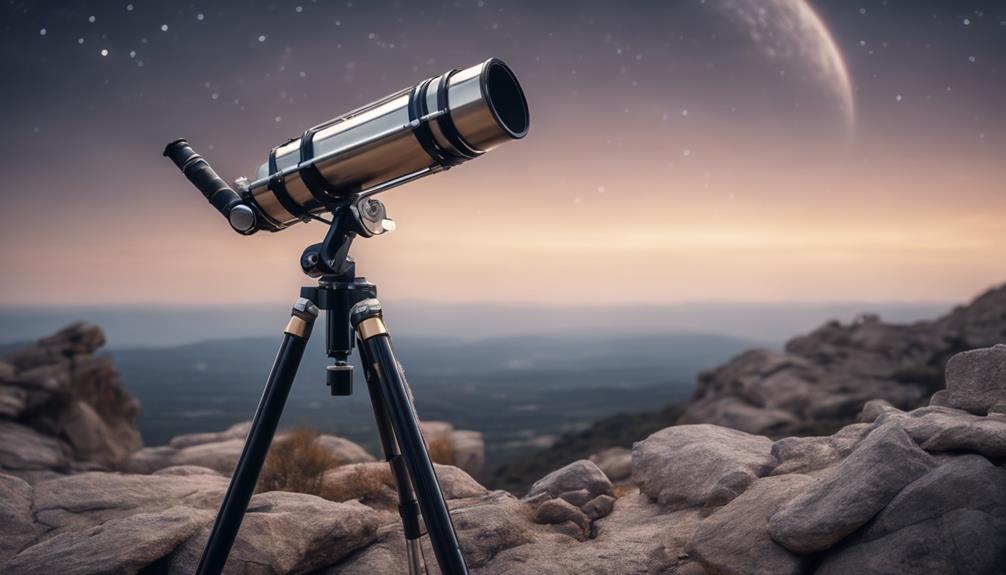
Choosing Your Telescope on a Budget
When selecting your telescope on a budget, opt for models under $500 like the Celestron StarSense Explorer DX 130AZ, which offers the perfect blend of affordability, performance, and ease of use for budding astrophotographers.
This telescope stands out in the night sky pursuit not just because it’s budget-friendly but because it embodies what every astrophotography enthusiast seeks: a gateway to the cosmos without breaking the bank.
The 130-mm aperture is a critical feature, gathering ample light to transform faint smudges of distant galaxies into clearer, more detailed celestial objects.
It signifies a threshold, ensuring that your foray into astrophotography is marked by success in capturing the night sky’s wonders.
Thus, the addition of smartphone docking capabilities merges the traditional telescope experience with modern technology. By utilizing the StarSense app, you’re no longer aimlessly searching the night sky. This app guides you, offering an extensive database of celestial objects, making the experience not only beginner-friendly but deeply engaging.
Cheap doesn’t have to mean compromised quality. With features like these, the Celestron StarSense Explorer DX 130AZ demonstrates that even on a tight budget, the universe is within your reach.
Adapting Your Camera for Telescope Use
Having selected your budget telescope, it’s time to focus on adapting your camera to release the full potential of celestial photography. The journey into astrophotography requires precision, passion, and the right gear to bridge your camera with the cosmos. Here’s how to make sure your camera is perfectly adapted for capturing the night sky:
- Use a T-ring adapter: Connect your DSLR camera to the telescope seamlessly. This piece is essential for astrophotography, acting as a bridge between your camera’s body and the telescope’s eyepiece holder.
- Consider a T-adapter for prime focus photography: This allows your camera sensor to capture images directly through the telescope, offering clarity and detail in your celestial shots.
- Utilize a Barlow lens: Increase magnification effortlessly, bringing distant celestial bodies closer to your lens, and enhancing the quality of your captures.
- Make sure proper camera orientation and alignment: Critical for framing your celestial subjects and achieving the composition you desire. This step can’t be overlooked if you aim for stunning astrophotography results.
- Experiment with camera settings: Adjust exposure time and ISO to suit the celestial objects you’re capturing. Different settings can dramatically affect the outcome, allowing you to capture breathtaking starry skies even with a budget telescope setup.
Embrace these adaptations, and you’re on your way to capturing the universe’s unparalleled beauty through your lens.
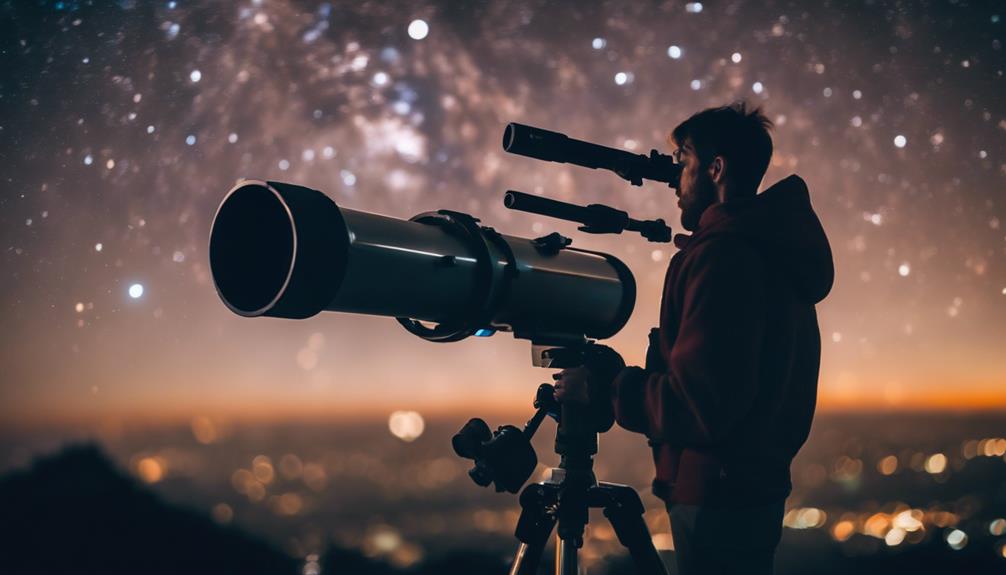
Setting Up for Stability
To capture the mesmerizing dance of stars across the night sky, guaranteeing your setup’s stability is paramount, particularly when utilizing budget telescopes.
A sturdy tripod is your first line of defense against vibrations that can blur the celestial spectacle during long exposure shots. It’s not just about having a tripod, though; it’s about leveraging it for maximum stability.
Incorporate a remote shutter release or a timer to minimize camera shake. This small step can drastically improve the clarity of your star photos, making each celestial body pop against the dark canvas. Don’t overlook the significance of a counterweight. By attaching a counterweight to your tripod, you enhance its stability, preventing any disastrous tipping that could interrupt your astrophotography session or damage your equipment.
Anchor your setup firmly to the earth using sandbags or weights, ensuring that even a gust of wind won’t sway your focus.
And always choose a flat, level surface for your tripod. This ensures that your equipment is perfectly balanced, a critical factor in capturing sharp star photos. By meticulously setting up for stability, you transform your astrophotography journey, turning fleeting moments of cosmic beauty into timeless works of art.
Manual Settings for Stellar Clarity
After ensuring your setup’s stability, it’s time to master the manual settings on your camera for stellar clarity in capturing the night sky. Achieving that dream shot of celestial objects with a cheap telescope isn’t just about pointing and shooting; it demands a meticulous adjustment of your camera’s settings.
Embrace the challenge and let your passion for the cosmos shine through by tweaking these settings for top-notch performance:
- Wide Aperture: Set your camera to a wide aperture (low f-stop like f/2.8) to allow more light to hit the sensor, making distant stars stand out against the dark void.
- Longer Exposure Time: Opt for a longer exposure time (20–30 seconds) to reveal the faintest stars, adding depth and drama to your star images.
- ISO Setting: Find the sweet spot for your ISO setting (around 800-1600), high enough to capture light but balanced to minimize noise.
- Manual Focus: Engage manual focus to pinpoint the crispness of celestial bodies, ensuring unmatched clarity in your captures.
- Experimentation: Don’t shy away from experimenting with different combinations of the above settings to discover the ideal setup for stunning photos.
Mastering these manual adjustments can transform your star-gazing moments into captivating stellar clarity, immortalizing the beauty of the night sky through your lens.
Battling Light Pollution
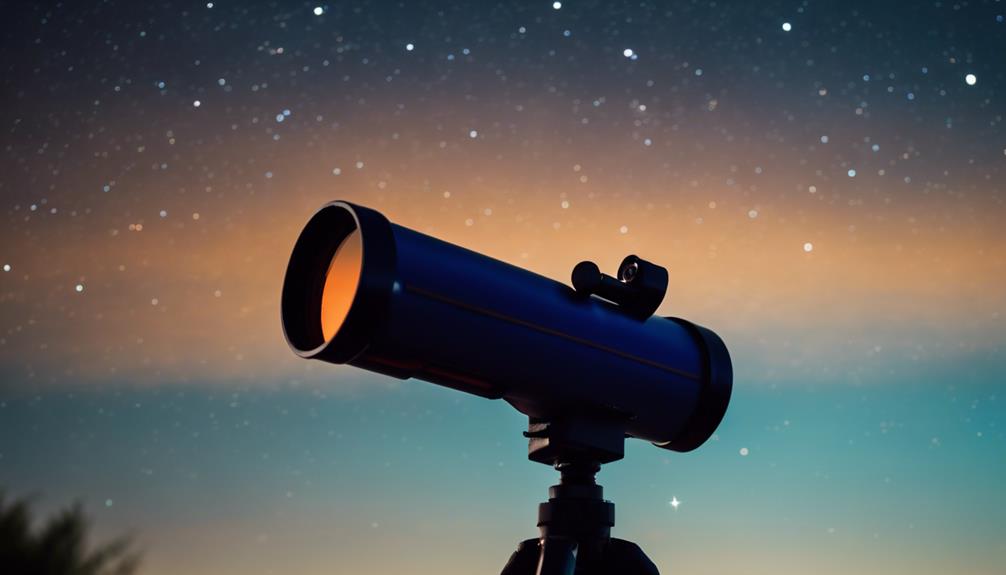
You’re up against a formidable foe in your quest for celestial clarity: light pollution. Identifying dark sky sites becomes your first line of defense, guiding you to locations where the stars dare to shine their brightest.
Armed with light pollution filters and precise exposure settings, you’ll reclaim the night sky’s awe-inspiring beauty, capturing it through your lens with unprecedented detail and contrast.
Identify Dark Sky Sites
Identifying a dark sky site, free from the invasive glare of urban lighting, is a critical step in capturing the celestial wonder of the Milky Way with your telescope. To make sure you’re setting up in a location that promises the best celestial views, consider the following:
- Utilize Dark Site Finder to pinpoint locations with low light pollution levels.
- Seek out spots where Milky Way visibility is known to be exceptional.
- Plan your outings on moonless nights to guarantee ideal conditions.
- Employ astronomy software like Stellarium for precise site selection.
- Remember, a true dark sky site elevates your astrophotography from mere snapshots to breathtaking star photography.
Armed with knowledge and the right tools, you’re all set to capture the universe’s majesty through your lens.
Utilize Light Pollution Filters
Having pinpointed the perfect dark sky site, it’s equally important to equip your telescope with a light pollution filter to battle the pervasive glow of urban areas.
Light pollution filters, such as the CLS filter, are indispensable in astrophotography for their prowess in mitigating artificial light’s adverse effects.
These filters excel by enhancing the contrast and visibility of deep-sky objects. They operate on a principle of selective transmission, allowing specific beneficial wavelengths through while blocking detrimental light spectrums, thereby greatly improving image quality.
Embracing a quality light pollution filter isn’t just a smart move; it’s a cost-effective strategy to elevate your astrophotography. With such a filter in place, you’re set to capture breathtakingly clear and detailed celestial images, making every star-studded session a triumph against the tide of artificial luminance.
Adjusting Exposure Settings
Adjusting exposure settings in your astrophotography endeavors is a critical step towards capturing the elusive beauty of stars amidst the challenge of light pollution. When battling the pervasive glow of artificial light with cheap telescopes, it’s imperative to fine-tune your approach for stellar results.
- Increase exposure time to gather ample light from faint celestial objects, overcoming the wash of urban glow.
- Lower the ISO setting to curtail noise, preserving the pristine quality of the night sky.
- Experiment with longer shutter speeds, allowing you to trace the stars’ gentle motion without succumbing to light pollution.
- Embrace noise reduction in post-processing, refining your captures into clear, celestial wonders.
- Continuously adjust these settings, finding the sweet spot where light pollution is minimized, and starlight is maximized.
Enhancing Your Starry Photos in Post-Production

Once you’ve captured the night sky through your lens, the magic of post-production can transform your images, elevating the stars from mere points of light to celestial wonders.
The journey from a raw snapshot to a masterpiece of the cosmos hinges on your skill in post-processing. With software like Adobe Photoshop or Lightroom at your fingertips, you’ve got the power to bring out the hidden details within your starry photos.
Immerse yourself in the software, and start by adjusting the brightness and contrast to make those celestial bodies pop against the dark sky. It’s essential to find the right balance; too much brightness might wash out the finer details, while too little keeps them hidden in the shadows. Then, tweak the color balance to enhance the natural hues of the night sky, making the stars and nebulae look as vibrant as they do through a telescope.
Noise reduction is your next weapon of choice. This tool helps minimize the graininess, ensuring your starry photos are as crisp as the cold night air. Don’t shy away from experimenting with different filters and effects to add a unique touch to your captures. But remember, always save your original files before plunging into this creative journey, preserving your ability to revisit and revise your cosmic artistry.
Frequently Asked Questions
Can You See Stars With a Cheap Telescope?
Yes, you can see stars with a cheap telescope by mastering star alignment, minimizing light pollution, ensuring mount stability, optimizing focal length and aperture size, and following observation tips for the night sky and planetary details.
How Much Can You See With a Cheap Telescope?
You’ll marvel at lunar details, planetary colors, and deep sky objects within your budget telescope’s magnification limits. Aperture importance, eyepiece quality, and mount stability amplify your experience, even as observing conditions and light pollution challenge your views.
Are Cheap Telescopes Worth It?
Yes, cheap telescopes are worth it, considering budget constraints. You’ll notice differences in optical quality and durability among brands. Prioritize maintenance and accessory upgrades to improve your user experience and overcome magnification and portability limits in night sky photography.
What Can I See With Budget Telescope?
You’ll marvel at lunar craters, planetary rings, and the intricate shapes of nebulae. Witness galaxy clusters, comet tails, asteroid paths, and solar flares. Engage in observing star clusters and the moons of Jupiter and Saturn.
Conclusion
In your quest for celestial wonders, remember that the sky’s the limit, not your budget.
By choosing a telescope that marries affordability with quality, adapting your camera with care, and mastering the art of stability and manual settings, you’ll reveal the universe’s secrets, one star at a time.
As you combat light pollution and refine your shots in post-production, remember: each photo is a canvas, painting the cosmic ballet of light across the night sky. Embrace this journey with passion, and let the stars guide your path.