Perfect Telescope Settings for Stunning Star Shots
Exploring the cosmos through your telescope’s lens can feel like embarking on a journey in uncharted waters, yet the quest for stunning star shots doesn’t have to be intimidating.
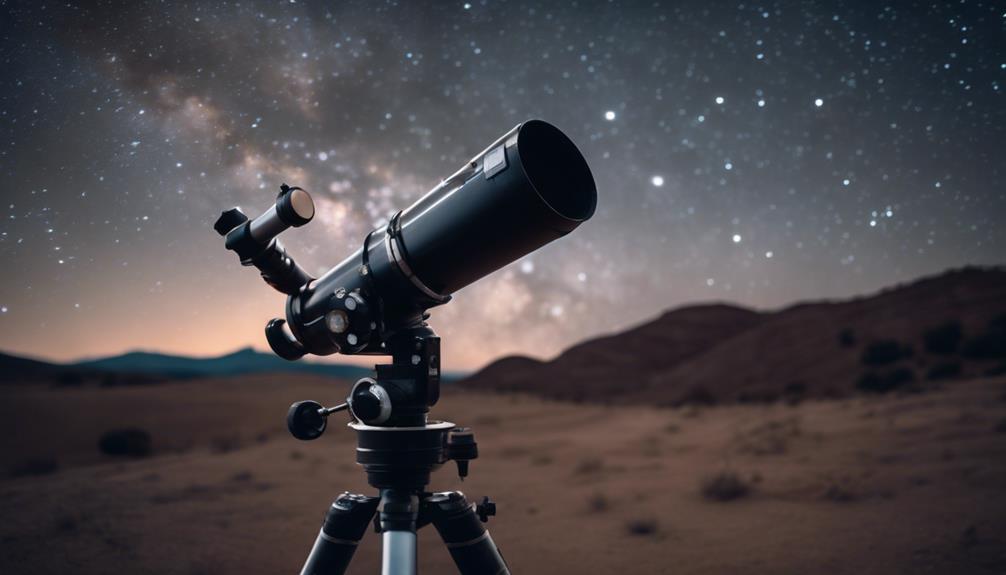
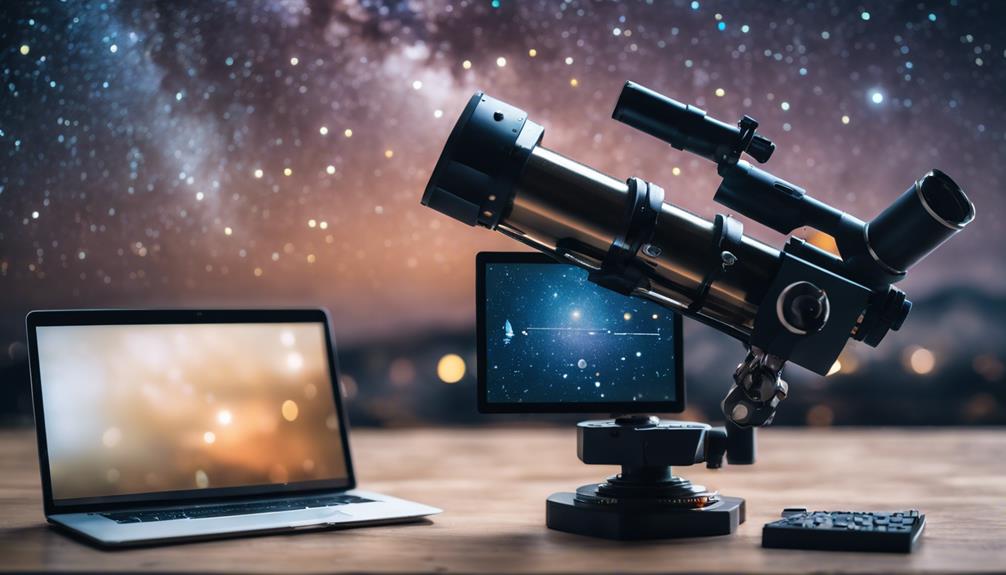
You’ll need to anchor your setup with a sturdy tripod to combat even the slightest tremble that could blur your celestial captures.
Adjusting your aperture to the sweet spot between f/2.8 and f/4 will let in an ocean of starlight, while fine-tuning your exposure to the 15–30 second range guarantees you don’t miss any distant twinkle.
As you contemplate the balance between ISO settings and the risk of digital noise, remember, the perfect shot lies in the delicate interplay of these settings.
But how do you navigate the next steps to make sure your night sky photography stands out in a galaxy of snapshots?
Key Takeaways
- Master camera settings like aperture and ISO within the 800-3200 range for optimal star brightness and minimal noise.
- Utilize a tracking mount, ideally an equatorial type, for precise stellar tracking and to prevent star trails in long exposures.
- Achieve sharp focus using manual adjustments and tools like a Bahtinov mask, and consider light pollution filters to enhance contrast.
- Experiment with post-processing techniques, including image stacking and adjustments, to minimize noise and improve image quality.
Understanding Aperture in Star Photography
To capture the night sky’s awe-inspiring beauty, understanding your telescope’s aperture settings is key. It dictates how much light you let in to reveal the stars’ hidden wonders. When you’re delving into the domain of night photography, the term ‘aperture’ becomes as familiar as the constellations.
Basically, aperture controls the amount of light entering your telescope, a fundamental aspect when your subjects are light years away.
Opting for a larger aperture, or a lower f-stop, like f/2.8, gathers more light. This setting is particularly ideal for photographing dim stars that are otherwise invisible to the naked eye. However, it’s not just about brightness; adjusting your aperture also impacts the depth of field.
This means your choice influences the sharpness and focus across your starry images, determining whether a star appears as a sharp point or a soft glow.
Mastering your aperture settings is essential for achieving those stunning star shots that leave viewers in awe. It’s a delicate balance: too much exposure can wash out your image, while too little leaves you in the dark. By carefully adjusting your aperture, you’re not just taking pictures; you’re painting with light, capturing the night’s ethereal beauty.
Balancing ISO Sensitivity for Clear Night Skies

When capturing the beauty of clear night skies, you’ll need to find the sweet spot for your ISO sensitivity to make sure your star shots shine. Balancing ISO is a dance between managing low light challenges and achieving the best settings that minimize noise without losing detail.
Understanding ISO Sensitivity
Mastering ISO sensitivity is key to capturing the mesmerizing beauty of clear night skies in your astrophotography endeavors. ISO sensitivity greatly affects image brightness and noise levels; understanding its impact is essential. Higher ISO settings can increase your camera’s sensitivity to light, allowing you to capture fainter stars.
However, this comes with a trade-off of increased noise levels, which can detract from the clarity of your star shots.
| ISO Level | Image Brightness | Noise Level |
|---|---|---|
| Low | Dim | Low |
| Medium | Balanced | Moderate |
| High | Bright | High |
| Ultra-High | Very Bright | Very High |
| Ideal | Just Right | Acceptable |
Experimenting with different ISO levels to find the ideal balance is essential for achieving stunning results without excessive noise.
Low Light Challenges
Understanding how to adjust ISO sensitivity effectively is a game-changer for tackling the challenges of low light in astrophotography. When you’re aiming to capture the majesty of the night sky, balancing ISO is vital.
High ISO settings, like 1600–3200, are often your go-to in these dark environments. They amplify your camera’s sensitivity to light, bringing distant stars and celestial bodies into view. However, this comes with the trade-off of increased digital noise. That’s where noise control becomes essential.
Experimenting with different ISO levels allows you to adjust exposure compensation, striking that perfect balance. You’re not just brightening the night sky; you’re preserving the quality of your star shots.
Finding this balance between high ISO for adequate brightness and effective noise control is key to achieving stunning star photos without compromising on clarity.
Optimal ISO Settings
Exploring the domain of ISO settings, you’ll find that aiming for a range between 800 and 3200 often yields the clearest night skies, teeming with stars. This range is essential for capturing the beauty of the night without losing the stars to noise or graininess. Here’s why:
- ISO 800 offers a great starting point with minimal noise, letting you capture the natural beauty of the night sky.
- ISO 1600 increases sensitivity, revealing more stars and details without compromising too much on quality.
- ISO 3200 pushes the limits of low-light performance, bringing out faint stars at the cost of some graininess.
Experimenting within this ISO range allows you to balance brightness and image quality effectively. Adjust based on the available light and desired detail for stunning star shots.
Calculating Optimal Exposure Time
To capture the night sky’s breathtaking beauty without the annoyance of star trails, you’ll need to zero in on the ideal exposure time using the 500 Rule. This straightforward method allows you to determine the maximum exposure time your camera can handle before the stars blur into trails, ensuring your star shots remain sharp and clear.
By basing the calculation on your lens’s focal length and your camera’s sensor size, the 500 Rule tailors the exposure time perfectly to your setup.
Here’s how you do it: divide 500 by your lens’s focal length. If you’re using a full-frame camera or a crop sensor, this formula still applies. For instance, with a 50mm lens, you’d calculate 500/50, resulting in a maximum exposure time of 10 seconds. This is your sweet spot for avoiding star trails while capturing the stunning details of the night sky.
It’s important to adjust your shutter speed accordingly. If your calculations suggest a 10-second exposure, set your camera to this exact shutter speed to achieve the best results. Remember, the aim is to maintain the fine balance between a long enough exposure to capture the stars’ glory and a short enough exposure to prevent any unwanted blurring.
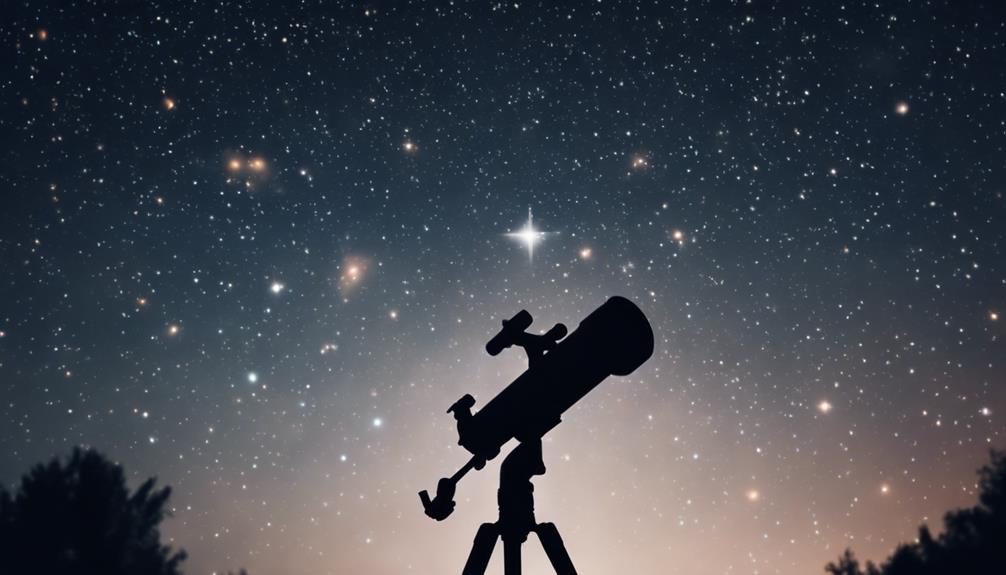
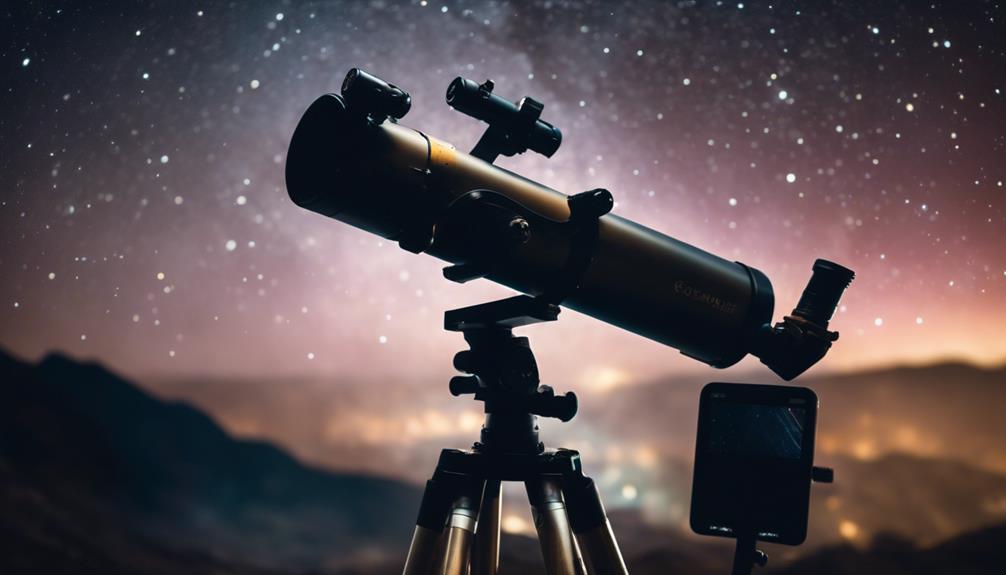
Utilizing Tracking Mounts for Precision
To capture the night sky’s mesmerizing beauty, you’ll need to understand the types of tracking mounts available. Setting up your mount correctly is essential for aligning with celestial bodies and achieving those crisp, detailed images.
Enhancing precision with the right accessories can elevate your star shots from good to breathtaking, making every effort worth it.
Types of Tracking Mounts
When you immerse yourself in the world of astrophotography, understanding the different types of tracking mounts can greatly enhance your precision in capturing the night sky’s wonders. Tracking mounts are pivotal to counteract the Earth’s rotation, enabling you to take long exposure shots without worrying about star trails blurring your captures.
Here’s what you need to know:
- Equatorial Mounts: These align with the celestial pole, offering precise tracking of stars, making them ideal for capturing deep-sky objects.
- Alt-Azimuth Mounts: They operate on altitude and azimuth axes, suitable for general celestial tracking.
- Motorized Equatorial Mounts: These provide automatic tracking capabilities, significantly easing the process of astrophotography.
Each type of mount offers unique benefits, so choosing the right one can drastically improve your star shots.
Setting Up Your Mount
Having explored the various types of tracking mounts and their benefits, it’s now time to focus on setting up your mount to ensure precision in your astrophotography endeavors.
Using an equatorial tracking mount effectively compensates for Earth’s rotation, keeping stars in sharp focus during long exposures. It’s essential to align your mount with the celestial pole accurately and ensure it’s on a stable surface to prevent vibrations that can blur your images.
| Step | Importance |
|---|---|
| Align with celestial pole | Ensures accurate star tracking |
| Calibrate for latitude | Optimizes tracking performance |
| Adjust tracking speed | Maintains sharpness in long exposures |
| Setup on stable surface | Prevents vibrations, enhancing precision |
Enhancing Precision With Accessories
Incorporating specialized accessories into your telescope setup, such as motorized tracking mounts, greatly sharpens your astrophotography by compensating for Earth’s rotation during lengthy exposures. These devices are essential for capturing the universe’s majesty with precision and clarity. Here’s why you should consider them:
- Accurate Tracking: Tracking mounts enable your telescope to follow celestial bodies accurately, ensuring sharp, detailed images without the blur caused by Earth’s motion.
- Capture Faint Details: Adding a motorized mount enhances your setup’s ability to reveal faint details in deep-sky objects, from distant galaxies to nebulae.
- Equatorial Alignment: Equatorial mounts are favored in astrophotography for their alignment with Earth’s axis, offering precise tracking of stars and planets.
Embrace these accessories to elevate your quest for stunning celestial imagery.
Achieving Sharp Focus on Distant Stars
To capture the elusive beauty of distant stars with crystal clarity, you’ll need to master the art of manual focus, an important step in astrophotography. This manual adjustment guarantees your photos are as sharp as possible, an essential element when you’re aiming to create breathtaking images of the night sky.
Delve into your camera settings and switch to live view mode; this allows you to magnify the image and meticulously fine-tune the focus on individual stars, making sure each one pops with detail.
Another tool in your arsenal should be a Bahtinov mask. This ingenious accessory aids in achieving precise focus by creating diffraction spikes around stars, making it easier to adjust until you’ve hit the sweet spot.
But don’t stop there; implement focus stacking to elevate your shots even more. By taking multiple photos at slightly different focus points and then merging them, you can achieve unparalleled sharpness across your image.
Incorporating Light Pollution Filters
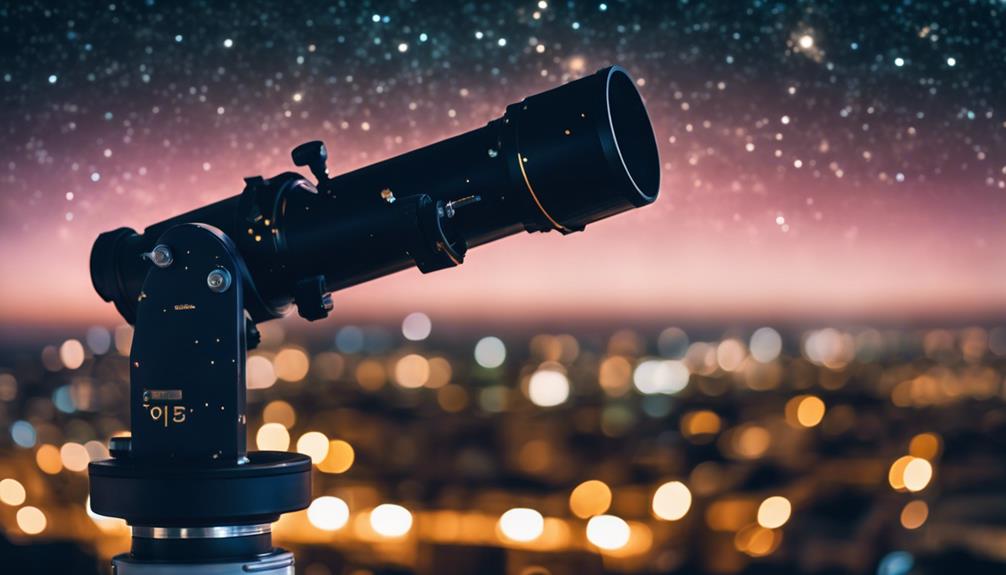
Frequently overlooked, light pollution filters are a game-changer for astrophotographers battling against the glow of city lights. These filters are your secret weapon in reducing the impact of artificial light on your astrophotography, offering a clearer view of the cosmos from light-polluted areas.
Here’s how you can leverage them:
- Choose Your Filter Wisely: Filters like the L-Pro, CLS, and UHC are designed to enhance contrast and visibility of celestial objects by selectively transmitting light from specific emission lines, such as hydrogen-alpha and oxygen. This selection helps block out unwanted wavelengths of light pollution.
- Understand the Benefits: By incorporating a light pollution filter into your setup, you’re not just reducing the effects of skyglow; you’re significantly boosting the quality of your images. Nebulae, galaxies, and star clusters become more visible, bringing out details that would otherwise be lost in the glare of city lights.
- Match the Filter to Your Location and Targets: The effectiveness of light pollution filters varies depending on your shooting location and what you’re aiming to capture. Choosing the right filter based on these factors can exponentially enhance the quality of your astrophotography images.
Enhancing Images With Post-Processing Techniques
Once you’ve captured the night sky through your lens, post-processing techniques become essential tools for refining and enhancing your astrophotography images.
Using software such as Adobe Photoshop Lightroom and Adobe Photoshop, you’re able to correct imperfections, enhance details, and significantly reduce noise in your photos. These applications offer the capability to stack images, a method that combines multiple exposures to minimize noise while improving focus and detail.
Lightroom presets and manual adjustments are powerful for tweaking brightness, contrast, and color balance, allowing you to bring out the best in your celestial captures. Adjusting settings such as clarity can make stars appear more brilliant, while color corrections can bring out the natural hues of the night sky, enhancing the overall aesthetic of your astrophotography.
Moreover, post-processing is your pathway to creating breathtaking compositions. It’s not just about correcting errors; it’s an opportunity to infuse your images with a unique flair that elevates them to a professional level.
As you refine your editing style, you’ll discover that post-processing isn’t just a step in the astrophotography process—it’s an art form that lets you express your creative vision, turning a good shot into an extraordinary one.
Mastering Telescope Photography Basics
After mastering the art of post-processing, it’s time to focus on perfecting your skills in telescope photography to capture the stars like never before. Understanding the basics of your equipment is essential to achieving those breathtaking celestial shots. Here’s what you need to know:
- Focal Length and Aperture: The focal length of your telescope determines how wide or narrow your field of view will be, while the aperture affects the amount of light that enters. A larger aperture allows more light, which is ideal for dim stars, but remember, it also influences the depth of field and the final image’s sharpness.
- Camera Attachment: Learn to use the eyepiece hole of your telescope for camera attachment. This requires the right adapters but opens up a world of possibilities for capturing detailed celestial images. The connection should be seamless to prevent any vibration or movement during long exposures.
- Shutter Speed Experiments: Adjusting the shutter speed on your camera when it’s attached to the telescope can dramatically change the outcome. Slow shutter speeds capture more light, ideal for faint objects, but require excellent stabilization to avoid blurring.
Incorporate telescope accessories, like Barlow lenses for extra magnification and dedicated camera adapters, to fine-tune your setup. Practice makes perfect, especially in stabilizing your telescope to make sure those stars appear as sharp pinpoints in your final shot.
Exploring Advanced Imaging Strategies
Diving deeper into astrophotography’s potential, let’s explore advanced imaging strategies that can truly elevate your celestial captures. To combat the challenges of capturing the night sky, especially the subtle details of deep-sky objects like galaxies and nebulae, mastering specific techniques is essential.
First off, consider the art of image stacking. This method, utilizing specialized software such as DeepSkyStacker or Sequator, enhances details while reducing noise by layering multiple exposures of the same scene.
Another important aspect is to experiment with varying exposure lengths and ISO settings. Finding the sweet spot for these settings is key to optimizing image quality without introducing unwanted noise or losing detail in those mesmerizing starry vistas.
However, to truly capture the majesty of the night sky, incorporating tracking mounts or equatorial mounts becomes necessary. These devices compensate for the Earth’s rotation, allowing for longer exposures without the blur caused by star movement.
This capability is essential for achieving sharper, more detailed images of celestial objects, making tracking mounts a game-changer in your astrophotography toolkit.
Frequently Asked Questions
What Are the Best Settings for Star Photography?
For star photography, you’ll need to dial in wide aperture settings, between f/2.8 and f/4, and master manual focusing techniques. Also, combat light pollution by choosing a high ISO, around 400 to 1600.
What Is the Best ISO for Star Photography?
For star photography, you’ll find the best ISO ranges between 800 and 3200, ensuring star clarity. While 3200 boosts brightness in low light, it also adds noise. Aim for exposure balance and noise management by experimenting.
How Do You Take Pretty Pictures of Stars?
To take pretty pictures of stars, choose dark locations away from city lights, consider moon phases for less light pollution, and check weather conditions for clear skies. These steps make for vibrant, detailed star photography.
Should ISO Be High or Low for Astrophotography?
For astrophotography, you’ll want a higher ISO to capture faint stars, considering noise considerations and finding a balance with exposure. This enhances the dynamic range, allowing you to see more details in the night sky.
Conclusion
As you venture into the night, remember that capturing the stars is like fishing in a vast cosmic sea.
Just as a fisherman adjusts his techniques for the catch, you’ve learned to fine-tune your telescope settings—balancing aperture, ISO, and exposure—and embracing tools like tracking mounts and filters.
This knowledge is your bait; the night sky is your ocean. With practice, patience, and these techniques, you’re set to reel in stunning celestial vistas that resonate with the beauty of the universe.