Solving Your Telescope Troubles: Easy Fixes for Users
You might think that resolving issues with your telescope requires expert knowledge, but often, the solution is simpler than you’d expect.
By familiarizing yourself with a few basic troubleshooting steps and maintenance tips, you’ll find that enhancing your stargazing experience is within reach.
Whether it’s aligning mirrors accurately, cleaning optics without causing damage, or correcting focusing issues, this guide covers essential techniques to tackle common problems effectively.
So, if you’re ready to elevate your viewing sessions and make sure your telescope performs at its best, let’s explore how these straightforward fixes can make a significant difference.
Key Takeaways
- Regular cleaning and maintenance prolong the telescope’s lifespan and preserve image quality.
- Proper setup and alignment ensure optimal telescope performance and clearer observations.
- Addressing optical aberrations and misalignments promptly prevents viewing errors and enhances enjoyment.
- Utilizing specific filters can mitigate atmospheric disturbances for better viewing conditions.
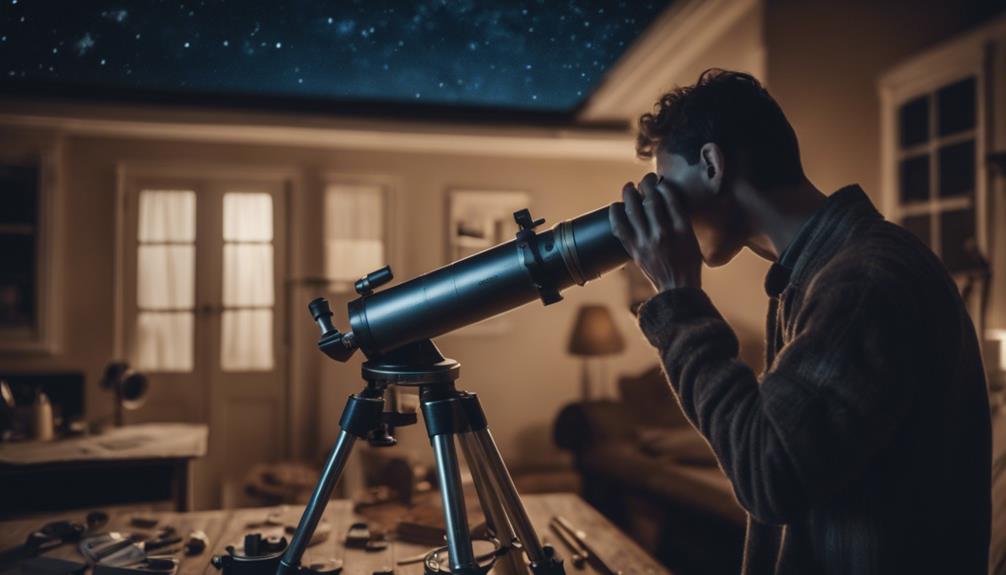
Initial Setup and Alignment
To optimize your telescope’s performance, it’s important to begin with a proper initial setup and precise alignment, ensuring you accurately align the finderscope with the main telescope for easier location of celestial objects.
This critical step involves meticulously adjusting the finderscope so its line of sight precisely matches that of the main telescope’s optical path, which is centered through the mirror. Using a larger eyepiece initially can greatly facilitate this process by broadening your field of view, making it easier to pinpoint and center your target.
Once alignment is achieved, adjusting the focus is paramount to enhancing the clarity and sharpness of the observed objects. This entails fine-tuning the telescope’s focus mechanism until the image seen through the eyepiece is at its crispest. Proper focus adjustment is particularly important when observing objects that demand high levels of detail for identification and appreciation.
Understanding the limitations inherent to visual observation is also essential. This knowledge helps in managing expectations regarding what can be realistically achieved during the alignment and setup processes.
Recognizing the capabilities and constraints of your telescope’s optics, especially the mirror’s role in gathering and focusing light, allows for a more informed and effective setup, paving the way for rewarding astronomical observations.
Cleaning Your Optics
After ensuring your telescope is properly aligned and focused, it’s important to turn your attention to maintaining the clarity of your optics, as dust, moisture, and fingerprints can greatly degrade image quality. Cloudy optics not only reduce contrast but also result in hazy views and diminished sharpness, affecting your observations of the sky.
To combat these issues, you must employ a meticulous cleaning regimen using specialized tools. Begin by gently blowing off any loose debris from the lens or mirror surfaces. A lens brush can then be used to dislodge more stubborn particles without scratching the delicate optical coatings.
Next, apply a few drops of optical cleaning solution to a lens cloth. It’s vital to avoid applying the solution directly to the optics to prevent damage. Gently wipe the surface in a circular motion, starting from the center and moving outward. This technique ensures an even cleaning process without leaving streaks or residues that could impair your view of the sky.
Regularly cleaning your telescope’s optics is essential for preserving image quality and preventing potential damage. By following these steps, you’ll ensure your telescope performs optimally, allowing for clear and sharp observations of the cosmos.
Achieving Sharp Focus
While maintaining clean optics is a critical step, achieving sharp focus in your telescope observations also necessitates a thorough inspection for loose components and proper alignment. This meticulous approach is essential, especially when delving into the domains of deep sky observation, where precision is paramount. Symptoms indicating focusing issues, such as blurry images or the inability to achieve crispness, often stem from overlooked details in the telescope’s setup.
To tackle these challenges, start by methodically checking each component for signs of looseness or misalignment. Even the slightest deviation in the positioning of lenses or mirrors can have a major impact on your telescope’s performance. Ensuring everything is securely fastened and correctly aligned forms the foundation of resolving focus problems.
Furthermore, understanding the underlying causes of these issues is important. It involves a blend of technical knowledge and practical troubleshooting skills.
If, after all adjustments, clarity remains elusive, consulting with an expert or seeking professional advice might be necessary. This step underscores the importance of not just addressing symptoms but comprehensively understanding and rectifying the root causes to maintain peak performance and enjoy clear, sharp views of the deep sky through your telescope.
Addressing Optical Aberrations
When you’re troubleshooting optical aberrations in your telescope, recognizing common issues like astigmatism and spherical aberration is paramount. STAR testing plays a critical role in identifying these aberrations, with sharp Fresnel rings signaling proper collimation and blurry ones indicating the need for adjustment.
Correcting these aberrations effectively involves precise adjustments, such as tweaking mirror clips for astigmatism or applying a primary mirror mask for turn-down edge problems, aiming for diffraction-limited performance that greatly enhances your viewing experience.
Identifying Common Aberrations
Identifying common aberrations such as astigmatism, spherical aberration, and turn-down edge issues is essential for enhancing telescope performance and achieving ideal viewing experiences. By conducting a STAR test, you can assess these aberrations effectively. This test reveals the quality of your telescope’s optics through the appearance of fresnel rings.
Sharp images of these rings indicate good collimation, essential for peak performance. Conversely, blurry rings suggest issues needing attention, such as overcorrection or undercorrection. Astigmatism, often caused by improperly adjusted mirror clips, and turn-down edge problems, potentially rectified with a primary mirror mask, are critical to address.
Achieving diffraction-limited performance, where your telescope operates at its theoretical best, hinges on resolving these aberrations, thus optimizing mirror quality for unparalleled viewing.
Correcting Aberrations Effectively
After understanding common aberrations like astigmatism and spherical aberration, you’ll find that correcting these optical distortions is the next step towards achieving crystal-clear celestial views. Here’s how you can address these issues effectively:
- Alignment Adjustments: Make sure the alignment of your telescope’s optical system, particularly the mirror or the lens, is precise. Misalignment can exacerbate aberrations.
- Use of Specialized Tools: Tools like a Cheshire eyepiece or a laser collimator can aid in fine-tuning your telescope’s optics for best performance.
- STAR Testing: This technique reveals the presence of optical aberrations by examining the diffraction pattern of a star. Analyze the pattern to guide your corrections.
- Understanding Mirror Quality: Recognize that the quality of the mirror affects the telescope’s diffraction limitation. Opt for high-quality mirrors to minimize aberrations.
These steps are critical for mitigating the impact of optical aberrations and ensuring the sharpness and clarity of your celestial observations.
Ensuring Stability for Accurate Viewing
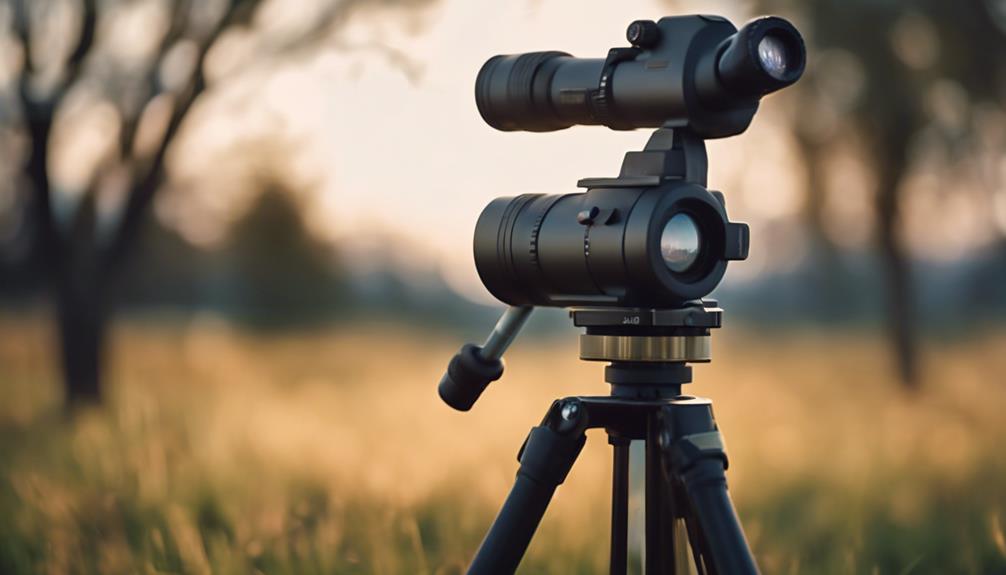
To achieve precise and distortion-free celestial observations, it’s imperative to maintain your telescope’s stability throughout the viewing session. Stability is essential to avoid image distortion and vibrations, which can greatly impact the quality of your observations.
Employing a sturdy mount or tripod is the first step in ensuring a stable setup. These platforms are designed to absorb and minimize vibrations, allowing for clearer and more accurate viewing.
Incorporating vibration damping pads or weights further stabilizes your setup, ensuring that your telescope remains steady even in less than ideal conditions. These accessories work by reducing the transfer of ground vibrations to your telescope, which is particularly important when observing sensitive targets or when using high magnifications.
Additionally, utilizing tripod leg spreaders or leveling platforms can aid in maintaining a level and stable base. This is essential for the accurate tracking of celestial objects across the sky. Ensuring the proper balance of the telescope, especially the correct distribution of weight among mirrors and lenses, is vital.
Misalignment can lead to tracking errors and image distortion, compromising the quality of your observations. By addressing these stability concerns, you’ll enhance the performance of your telescope, allowing for more precise and enjoyable celestial viewing.
Regular Maintenance and Care
Building on the foundation of stability, regular maintenance and care of your telescope’s components, such as lenses and mirrors, play a pivotal role in preserving optical clarity and ensuring high-quality celestial observations. The meticulous upkeep of your device, including the delicate task of cleaning and aligning, is paramount.
Here are some essential steps to take into account:
- Cleaning Lenses and Mirrors: Regularly check and clean your telescope’s optical elements to eliminate dust, fingerprints, and other contaminants. Use a blower or soft brush for loose particles and a proper optical cleaner for stubborn dirt, making sure you don’t scratch the delicate surfaces. Pay special attention to the secondary mirror, as its alignment and cleanliness have a significant impact on image quality.
- Collimation Troubleshooting: Misalignment, particularly of the secondary mirror, can lead to focusing problems and blurry images. Utilize collimation tools and techniques to realign your telescope’s optics, enhancing sharpness and detail in your observations.
- Motor Drives and Go-To Systems Maintenance: Keep these components clean and lubricated to ensure smooth operation and accurate positioning. Regular firmware updates may also be necessary to improve functionality and compatibility.
- Monitoring for Cloudy Optics Symptoms: Stay vigilant for signs like reduced brightness and contrast, which indicate the need for maintenance. Early detection and correction can prevent lasting damage to optical performance.
Dealing With Atmospheric Disturbances
How can you combat the inevitable atmospheric disturbances, such as turbulence and thermal variations, that greatly impact the quality of your telescope’s viewing experience? Turbulence in the atmosphere causes stars to twinkle and blurs images, affecting the sharpness within your telescope’s field of view.
Additionally, thermal variations alter air density, which in turn affects how light refracts as it travels through the atmosphere, leading to distorted images.
To mitigate these disturbances, one effective strategy is the use of specific filters designed to enhance image quality under certain atmospheric conditions. These filters can help reduce the effects of twinkling and blurring caused by turbulence, ensuring a clearer and more stable view of celestial objects.
Observing during stable atmospheric conditions is another important approach. Early mornings or evenings, when the air tends to be calmer and temperature variations are minimized, can provide more favorable viewing conditions. Understanding and managing these atmospheric effects is key to optimizing your telescope’s performance and achieving the best possible image clarity within its field of view.
Correcting Misaligned Mirrors
Misaligned mirrors, causing distorted star images and blurry views, can be corrected by adjusting their alignment indoors with the assistance of a helper, a process that demands patience for best telescope performance. To achieve this, here’s a straightforward guide:
- Center a Bright Star: Begin by centering a bright star in your telescope’s eyepiece at high magnification. This step is pivotal, as bright stars provide a clear reference point for adjustments.
- Adjust the Primary Mirror: If the star’s image isn’t sharp, the primary mirror likely needs adjustment. Using your telescope’s adjustment screws, gently tweak the mirror’s position while continually observing the star’s image. Aim for the smallest, tightest point of light.
- Check the Secondary Mirror: If distortions persist, the secondary mirror may require realignment. This step is more delicate and should be done with minimal adjustments, observing changes in the star’s image throughout.
- Repeat as Necessary: Achieving perfect alignment can be a trial-and-error process. Repeat the adjustments, alternating between the primary and secondary mirrors, until the star image is as crisp and undistorted as possible.
Seeking advice from experienced astronomers or consulting online resources can provide additional insights. Remember, properly aligned mirrors are key to opening your telescope’s full potential, offering clear and focused views of the cosmos.
Resolving Focusing Issues
Encountering focusing issues with your telescope, such as blurry images or inconsistent sharpness, often stems from factors like dirty optics, loose components, or misalignment within the instrument’s system.
As an amateur astronomer, understanding that these issues can impact your observational sessions, reducing the clarity and detail of celestial objects, is crucial.
To effectively resolve these issues, you’ll need to adopt a systematic approach. Begin by examining the alignment of your telescope’s optics.
Misalignment can occur from accidental bumps or shifts during transport. Next, check for any loose parts in the focusing mechanism. Even slight looseness can lead to significant issues with achieving sharp focus.
| Issue | Symptom | Solution |
|---|---|---|
| Dirty Optics | Blurry Images | Clean optics carefully |
| Loose Components | Inconsistent Sharpness | Tighten and secure all parts |
| Misalignment | Difficulty Focusing | Adjust and realign telescope |
Cleaning the Eyepiece
Moving on to cleaning the eyepiece, it’s important you select the appropriate materials for the task to prevent damage to the delicate lens coatings.
A step-by-step guide will walk you through the process, starting with gently removing dust using compressed air, followed by careful wiping with a soft microfiber cloth.
This method guarantees you maintain the eyepiece’s integrity while restoring image clarity and quality.
Selecting Proper Cleaning Materials
When cleaning the eyepiece of your telescope, it’s important to first remove any loose debris using a soft camel hair brush or compressed air to prevent scratching the delicate glass surface. This step is critical, similar to cleaning the primary mirror cell, where precision and care are paramount.
Selecting the proper cleaning materials guarantees the longevity and performance of your telescope.
- Microfiber cloths or lens tissues – Ideal for gently wiping the eyepiece without causing scratches.
- Isopropyl alcohol diluted with distilled water – Use sparingly for stubborn smudges, making sure it doesn’t harm the coatings.
- Avoid household cleaners – These can damage the eyepiece’s delicate coating.
- Store in a clean, dry case – To reduce dust and dirt buildup, protecting the eyepiece between uses.
Step-by-Step Cleaning Guide
Having discussed the importance of selecting the right cleaning materials, let’s now focus on how to effectively clean your telescope’s eyepiece step by step.
Start by removing any dust using a soft, lint-free cloth or lens cleaning tissue, ensuring you apply gentle pressure to avoid scratching the surface.
It’s critical to avoid harsh chemicals, as these can damage the eyepiece’s delicate coatings. Instead, opt for a mild, alcohol-based solution if necessary, applying it sparingly to the cleaning cloth rather than directly onto the eyepiece.
Regular cleaning is essential for maintaining clear views, preventing image distortion, and ensuring your observations are properly focused. This meticulous care not only prolongs your telescope’s lifespan but also enhances your enjoyment during observation sessions.
Frequently Asked Questions
How Can I Improve My Telescope?
To improve your telescope, regularly clean its lenses and mirrors. Guarantee mirror alignment for clear images, check for loose parts, and maintain your motor drives. Aligning the main telescope with the finderscope also enhances viewing.
How Do You Troubleshoot a Telescope?
To troubleshoot a telescope, remember “a stitch in time saves nine.” Start by checking collimation techniques, ensuring mirrors align perfectly. Adjust the finder scope during the day, and consult forums for precise, analytical solutions.
How Do You Fix a Poor Focus on a Telescope?
To fix a telescope’s poor focus, you’ll need to employ collimation techniques, ensuring mirrors are aligned accurately. Clean lenses and mirrors thoroughly, check the focusing mechanism, and seek expert advice for precise adjustments and maintenance.
How Can I Make My Telescope More Stable?
To make your telescope more stable, consider upgrading your mount and adding a heavier counterweight. Also, invest in a sturdier tripod and utilize vibration suppression pads to minimize shaking during your celestial observations.
Conclusion
In sum, mastering your telescope’s intricacies isn’t just about combating dust or tweaking mirrors; it’s a delicate dance between precision and patience.
By meticulously aligning optics and refining focus, you transform a mere tool into a portal, revealing the cosmos’s majesty beyond atmospheric murk.
As you conquer optical aberrations and stabilize your gaze, remember, each adjustment isn’t just technical—it’s an art.
Embrace this journey of troubleshooting as your gateway to the stars, where clarity meets infinity.